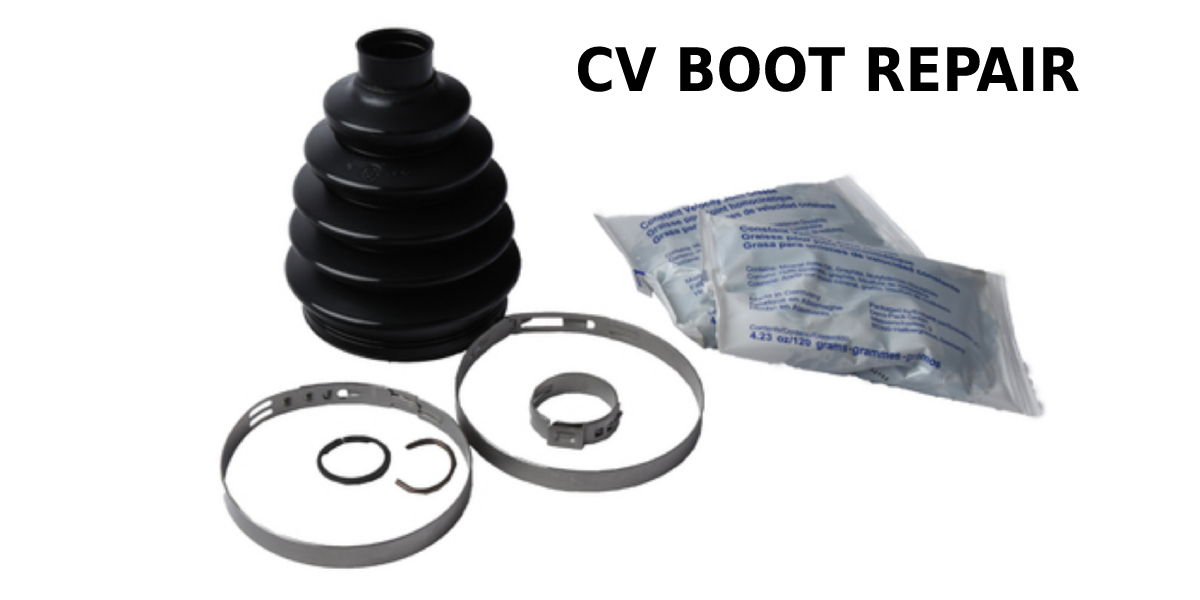
A CV boot is a flexible rubber component that protects the CV joint in a vehicle. The CV joint is a flexible part found on both sides of the drive axle. The outer joint allows the front wheels to turn and move upwards or downwards, while the inner joint lets the suspension move and axle to telescope inwards and outwards. The CV joints, which are packed with generous amounts of grease, are protected by the CV boots. They keep the dirt and grime out and keep the grease in for an optimal operation. If you have ever wondered when it is time to replace a CV boot or what happens to your car it is swapped out, keep on reading. Also, if you are considering doing the CV boot repair yourself, our handy guide below can help you along.
Shop All CV Boots Here
What Is A CV Boot / CV Joint?
To completely understand the job of a CV boot, it’s important to know what the “CV” actually means. A constant velocity (CV) joint is a coupling found on one or both ends of the axle shafts fitted to vehicles with independent suspension systems. A ball-shaped part on the axle shaft end(s) sits within a cups-shaped component that is attached to the shorter shafts that lead to the wheels or center mounting point. Ball bearings are located in between to allow axles equipped with CV joints to flex. CV joints are most often found on front-wheel-drive vehicles for the simple reason that they can best accommodate steering angles and wheel travel (up and down). Axles must flex to allow the suspension to move up and down as well as let the front wheels turn left and right. However, many rear-wheel-drive vehicles today that have independent rear suspension setups also incorporate CV joints at the ends of the rear axle half-shafts and even driveshafts.
The part that enables the axle to flex while transmitting the driving force from the engine to the wheels is known as a drive axle joint; it is also called a constant velocity joint. The CV boot is a ribbed and flexible rubber boot that keeps water and grit out of the joint and the special grease that is found inside of it. If the CV boot undergoes severe wear and is torn open, the exposed grease is expelled by centrifugal forces as the axle rotates and the joint becomes contaminated with elements like sand, rocks, and dirt, thus rapidly damaging the joint components. Excessive wear may make it necessary to replace the entire axle shaft assembly, which is a much pricier process than merely replacing the CV boot itself.
Look for the Signs
Signs of a CV boot include clicking or popping sounds that occur when turning or accelerating. If you notice changes in how your vehicle sounds, be aware of when and where the noise occurs. For example, does it happen with turning or always on one side versus at specific speeds? All of this information will help your mechanic determine whether the CV boot or axle is creating the noise, or if it is coming from another part or assembly on your car. Keep in mind that most CV boots will last around 100,000 miles, but with newer and improved materials being used, they can last up to 200,000 miles and more.
Check the Condition of the CV Joint
If a CV joint is damaged, packing the joint with new grease and installing a new CV boot will not repair the already damaged CV joint. The only solution for a damaged CV joint is to replace the CV axle. So, before putting new grease into a CV joint and installing a new CV boot, it’s important to first determine the condition of the CV joint itself.
Checking the CV Joint
Step 1: Take a flashlight and look inside the damaged or torn CV boot. Pay close attention to the CV joint and take notice if there is still some grease in the joint.
Step 2: Firmly grasp the CV axle near the joint and try to move the axle back and forth and then in and out. There should be little or no movement in any of these directions.
Step 3: Find an open space where you can safely drive in a circle without endangering yourself or others around you. Once there, turn the steering wheel all the way in one direction and begin to move in a circle. After that, attempt the same thing in the opposite direction. See if you can hear any clicking or popping when traveling in these circles.
Note: Your CV joint is good if you felt little to no movement when moving the axle and if there were no noises coming out when driving in the circles. Also, if there is still some grease in the CV joint, you may be safe. Replacing the damaged CV boot, in this case, is the practical and appropriate repair to save you money and achieve the proper results.
How to Replace an Outer CV Boot
Since outer CV boots need to be replaced more often than the inner ones, we will take a look at the process of replacing them below. Once the vehicle wheel is removed and the axle shaft is free, getting the old one off and putting the new one on is relatively simple. In the steps below, we will outline the process from the point at which the lug nuts and bolts have been taken off of the wheel.
Step 1: Using a socket, loosen and remove the axle nut from the center of the wheel. This will let the axle be pulled from the steering knuckle assembly later on. Remove the wheel from the vehicle.
Step 2: Under the steering tie rod linkage connection, you will find a threaded stud with a cotter pin. Use a set of needle-nose pliers to grab and remove that pin. Once it is out, you can loosen and remove the nut. After that, you will need to hit the end of the threaded stud to unfasten and remove it as well. Be careful not to cause damage to the studs or threads.
Step 3: Temporarily disconnect and remove the sway bar link rod that connects the sway bar to the lower control arm. This helps to make sure that you are able to push that lower control arm all the way down in one of the upcoming steps. The link rods use standard bolts on bolt ends, so taking them off should be a seamless process.
Step 4: You will now want to free the ball joint at the end of the lower control arm so it can be disconnected. To do so, you will have to loosen a long horizontal bolt and slide it outward. Tap downward on the lower control arm using a hammer to break the pin free from the steering knuckle that the wheel and brake parts mount to. This pin should slide down and out without a problem.
Step 5: When the pin is removed, the steering knuckle can be positioned so that the axle can be pulled loose from the splined hole in that piece.
Step 6: Here you will loosen the old ring clips or metal bands using a plier or screwdriver, then slide them off.
Step 7: Get a razor blade or channel locks and cut away the old CV boot and remove it from the axle shaft. Clean it well to get as much of the old grease off of it as possible with a towel. Then spray a cleaning solution on it to thoroughly remove any dirt or grime that may have stayed.
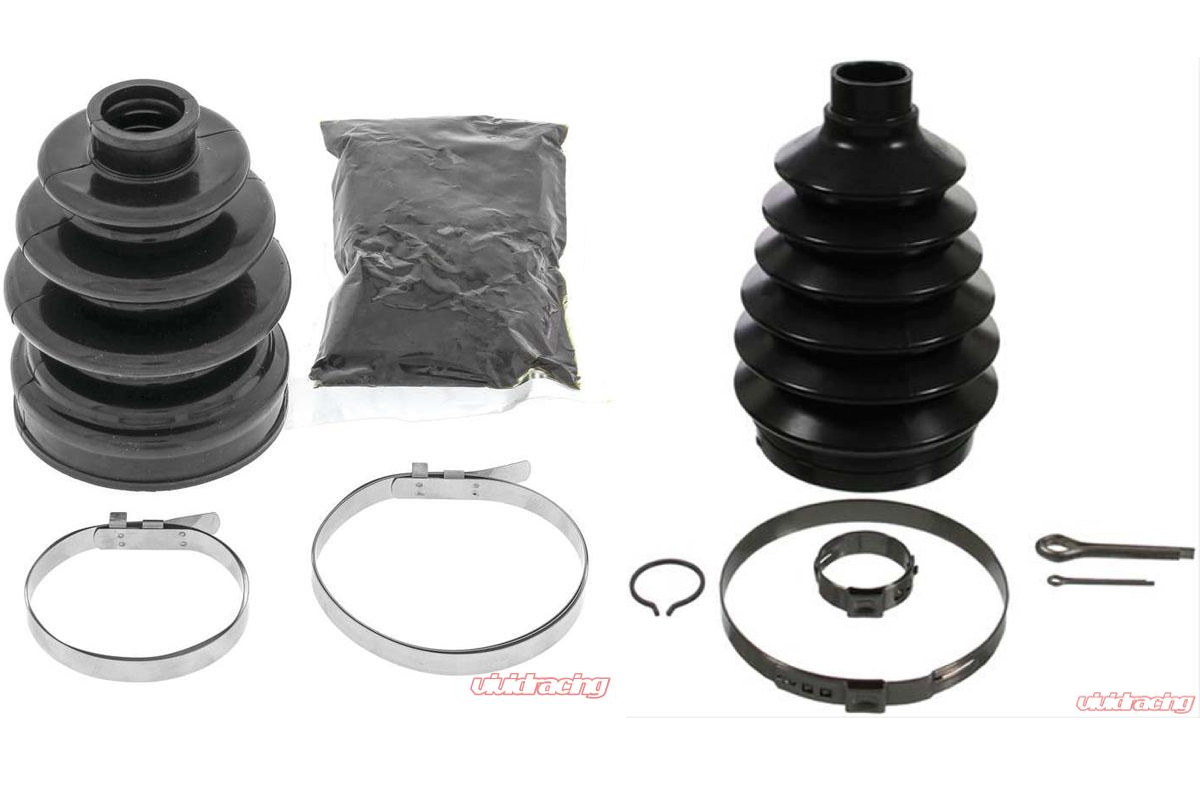
Step 8: This is the step where your new CV boot is installed. First, take the new part and flip it inside out. Then, take a long plastic funnel, coat the outside with grease, and insert the bigger end over the axle CV joint. Most CV boot repair kits will come with a tube of grease so you can just use the one that was included. Take the CV boot and slide it (wide end first) over the lubricated funnel until it fully goes over the funnel. Correct the inverted position of the boot by holding the wide end of it and flipping it over as you pull it toward your body. Now that it is positioned properly for installation, put some new axle grease in the CV joint.
Step 9: Install the two new ring clips or bands onto the new CV boot. One of them is on the larger outboard side and the other is on the smaller inboard side. After getting each one in its rightful place, pull the banding secure. Create a bend by pulling the extra banding the opposite way. Then, using any cutting tool, bend the retaining tabs over the extra banding and remove the excess. You will want to neatly trim off excess CV boot material here too.
Step 10: Finally, reinstall all of the steering and suspension parts in the reverse order in which you disassembled them until the wheel is secured onto the vehicle. It is highly recommended that once you torque everything to the right specs, you go out on a short drive to test everything out and re-inspect the new boot once you return. This way, you can make sure that it is still tight and not showing signs of any leakage.
Conclusion
CV boot kits are an efficient and cost-effective way to repair an axle that has a damaged boot. Once you follow the steps below and succeed in replacing your boot, make sure that you demonstrate best practices and inspect it regularly. At the very minimum, make it a habit to check your vehicle’s CV boots every time you do an oil change and even more so if you go off-roading a lot. The goal here is to catch and fix any damage to the boot as soon as you see it and before it extends to the actual CV joint. You can check out Vivid Racing’s entire selection of CV boot kits here. Be sure to reach out to the experts at Vivid Racing by phone at 1-480-966-3040 or via email at sales@vividracing.com for more information.