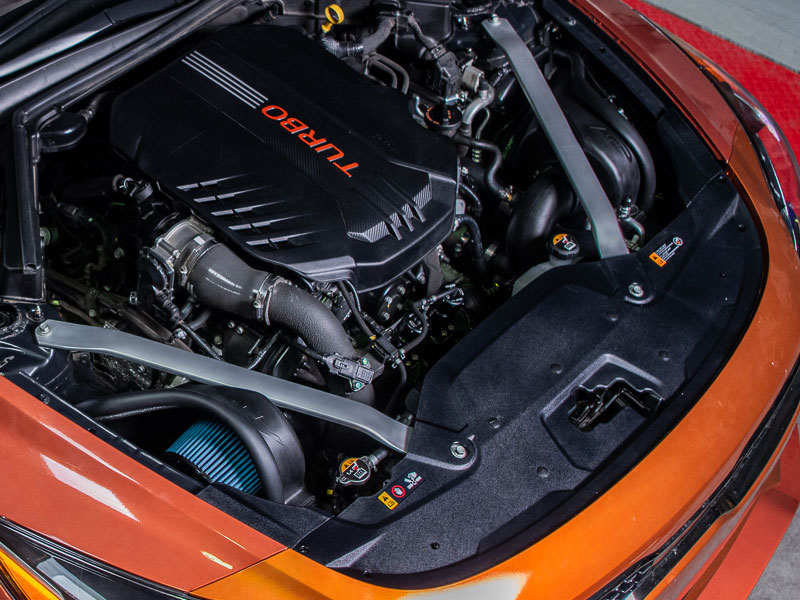
This Install Guide is intended to help with the installation of the VR Performance Cold Air Intake System on the 2018 – 2019 Kia Stinger GT with 3.3L TT V6.

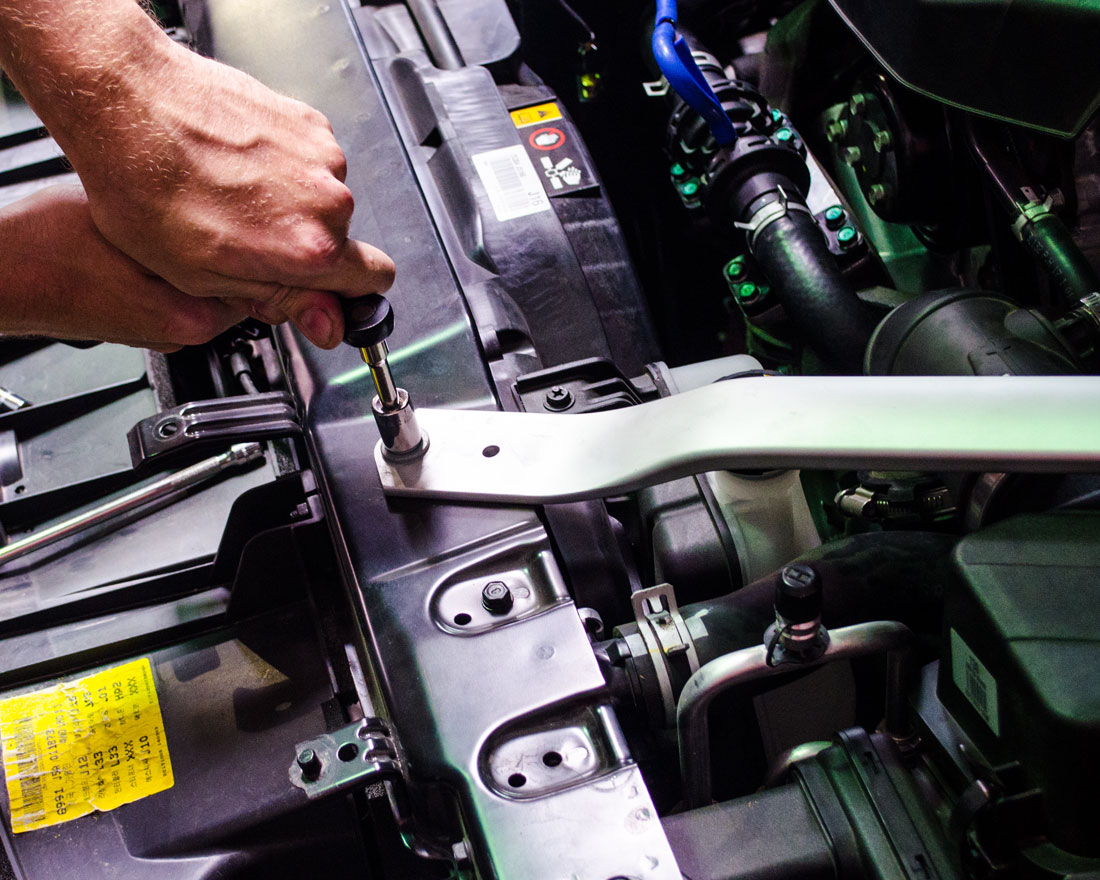
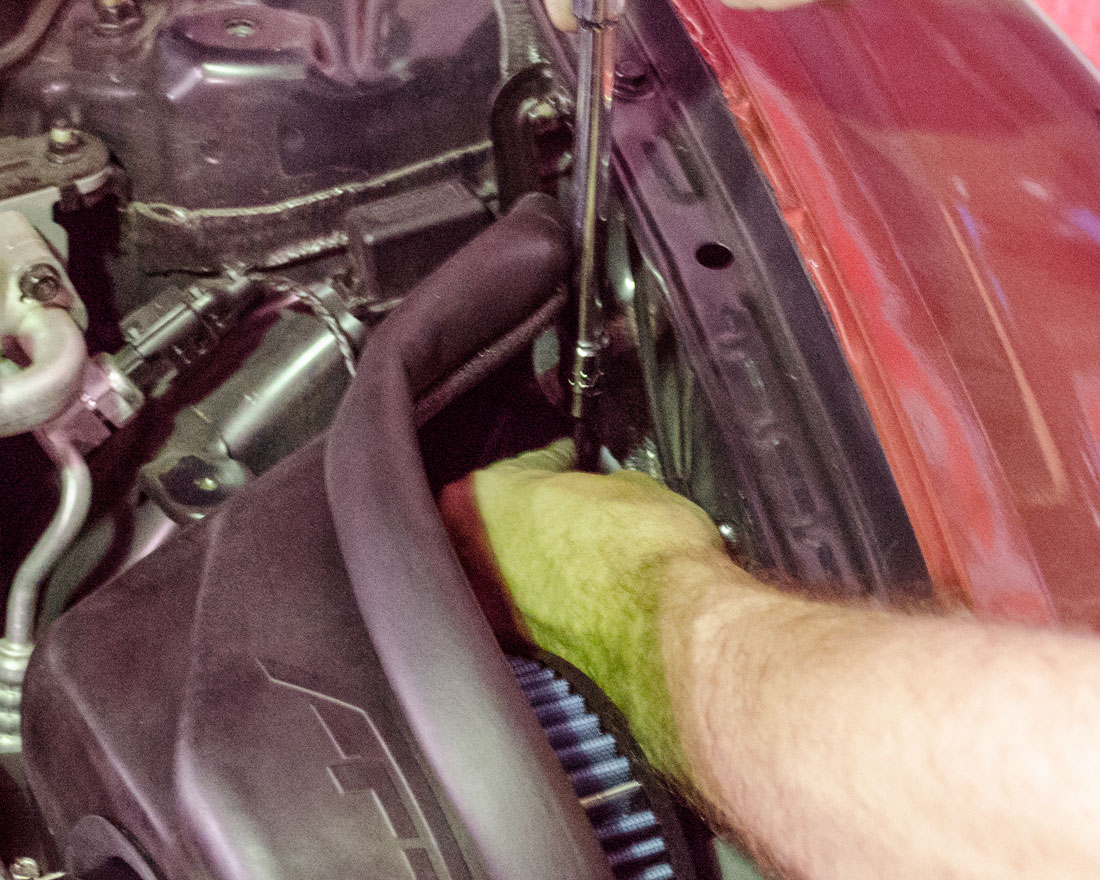
Step 1)
Unbolt 2 bolts holding cross support bar on the driver side then repeat on the passenger side. Remove bars and place them to the side to re-install later.
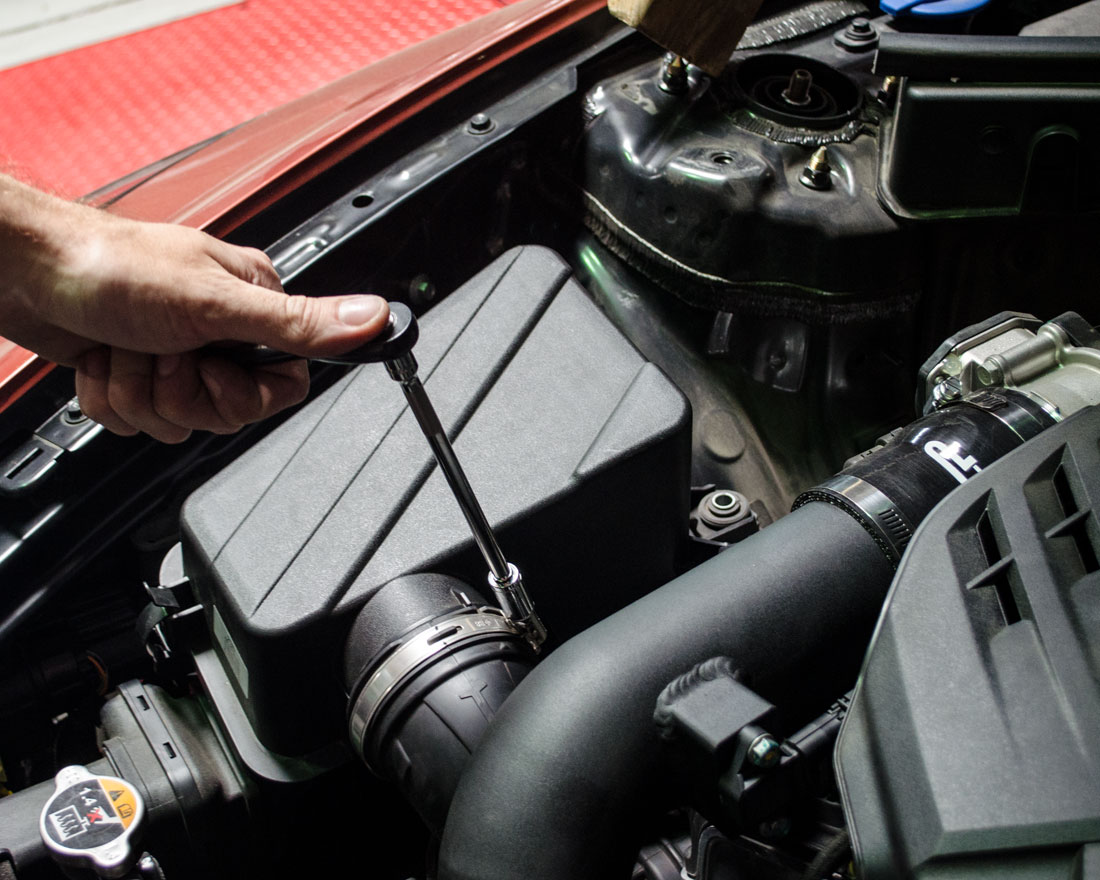
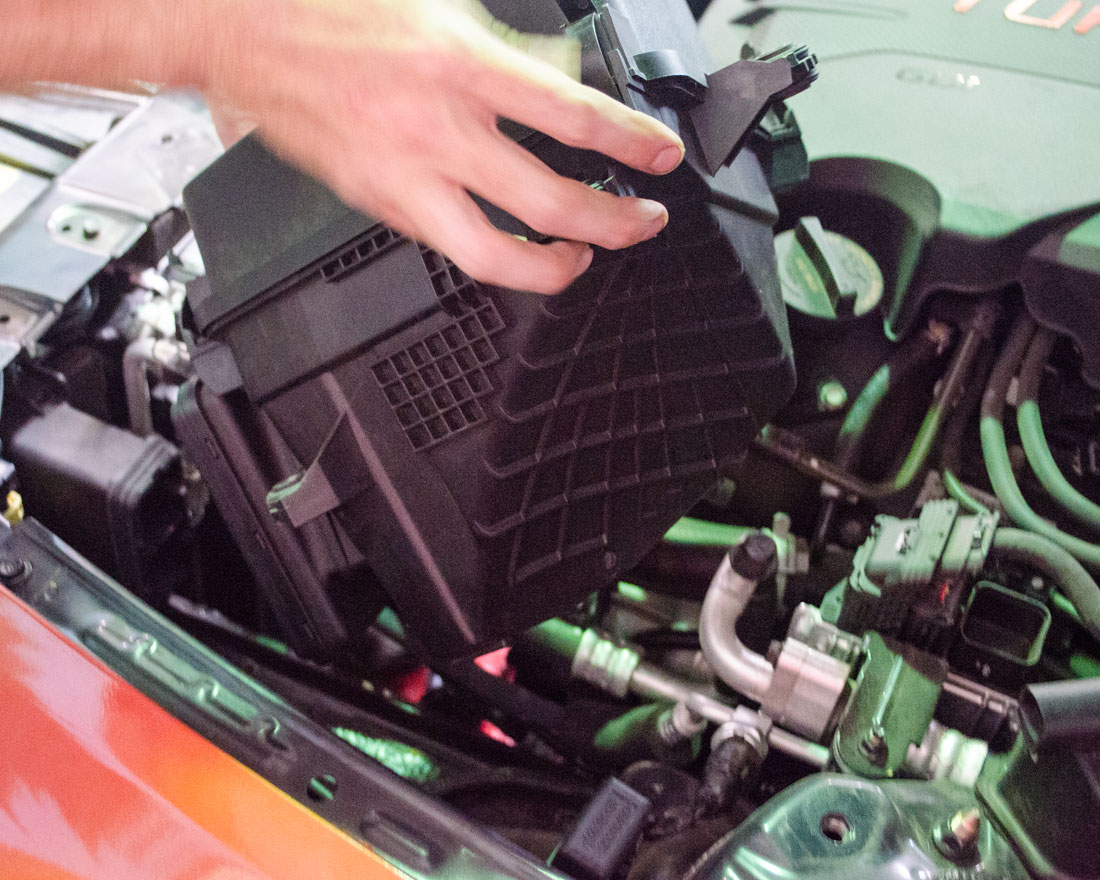
Step 2)
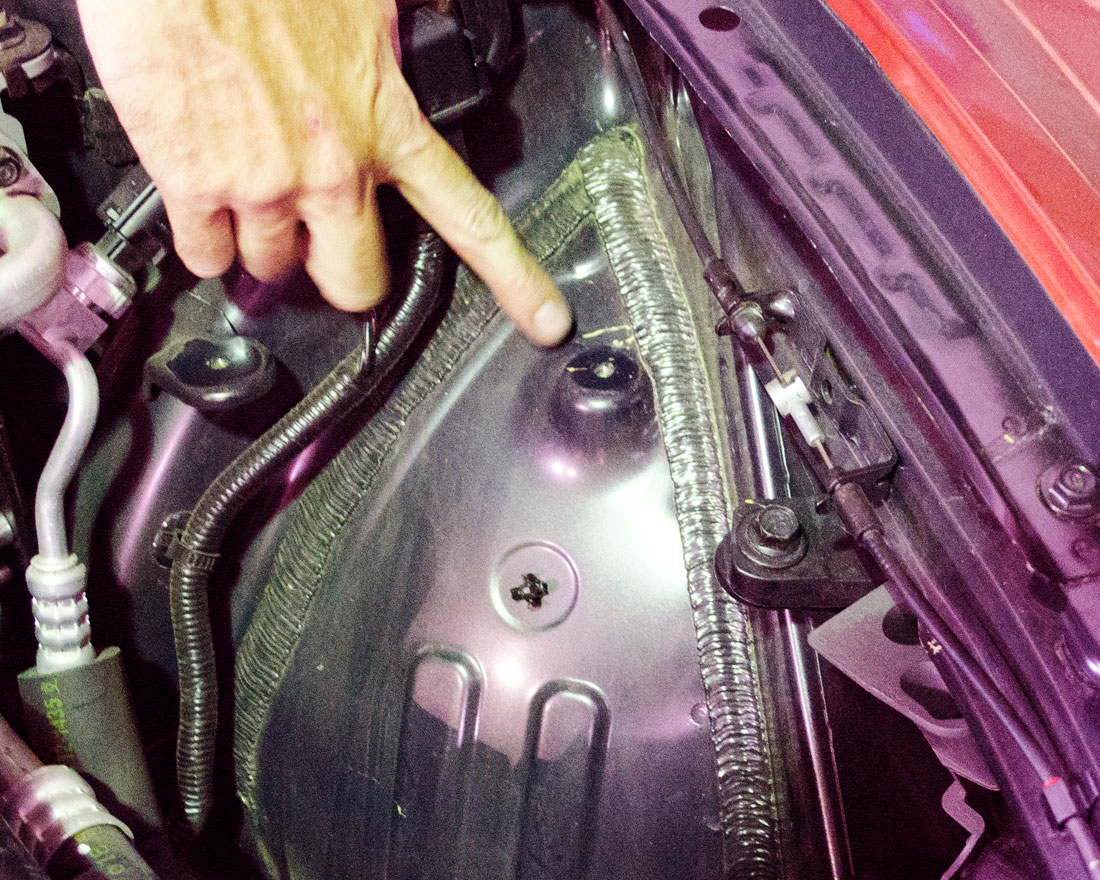
Removal of Factory Air Box Same For Both Passenger and Driver Side. Loosen the clamp on the intake tube. Find the 3 bolts, 1 at the top of the air box near the shock tower and 2 along the fender sides. Unbolt the 3 bolts and carefully remove airboxes. Keep the 2 fender bolts they will be re-used when installing new airboxes.


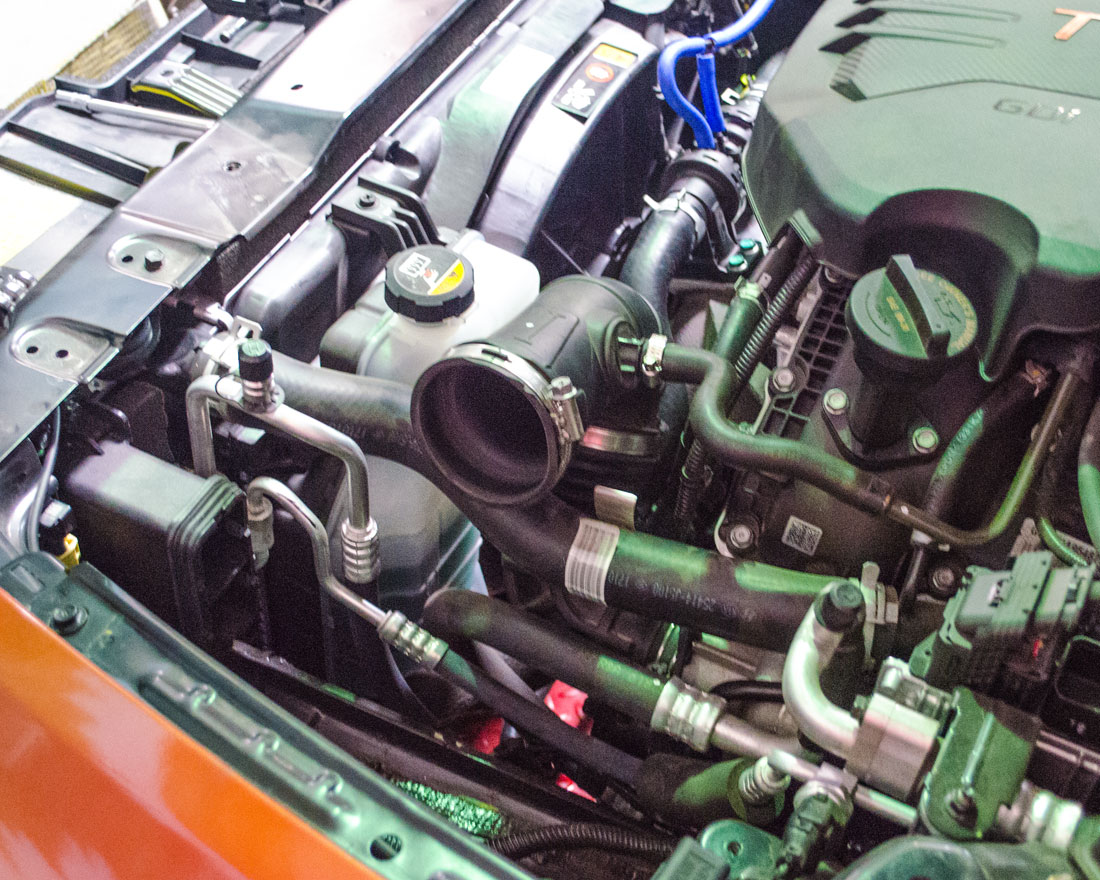
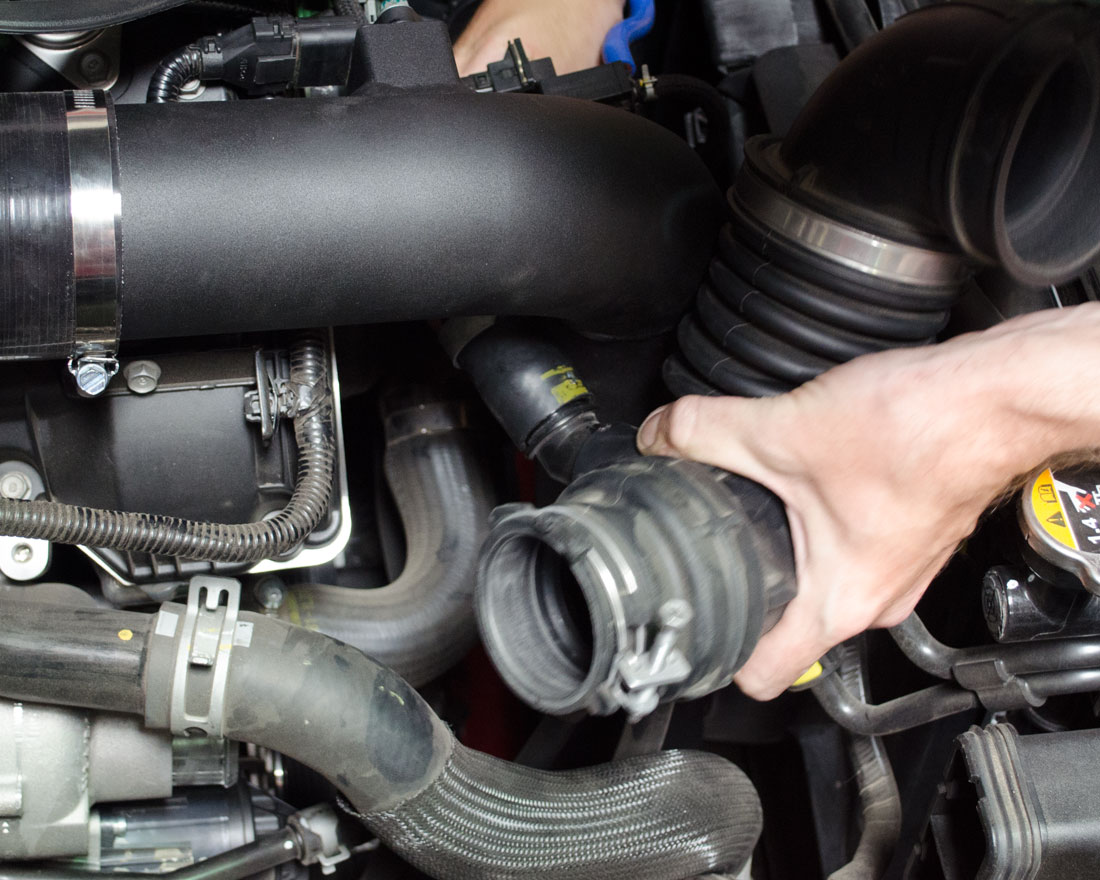
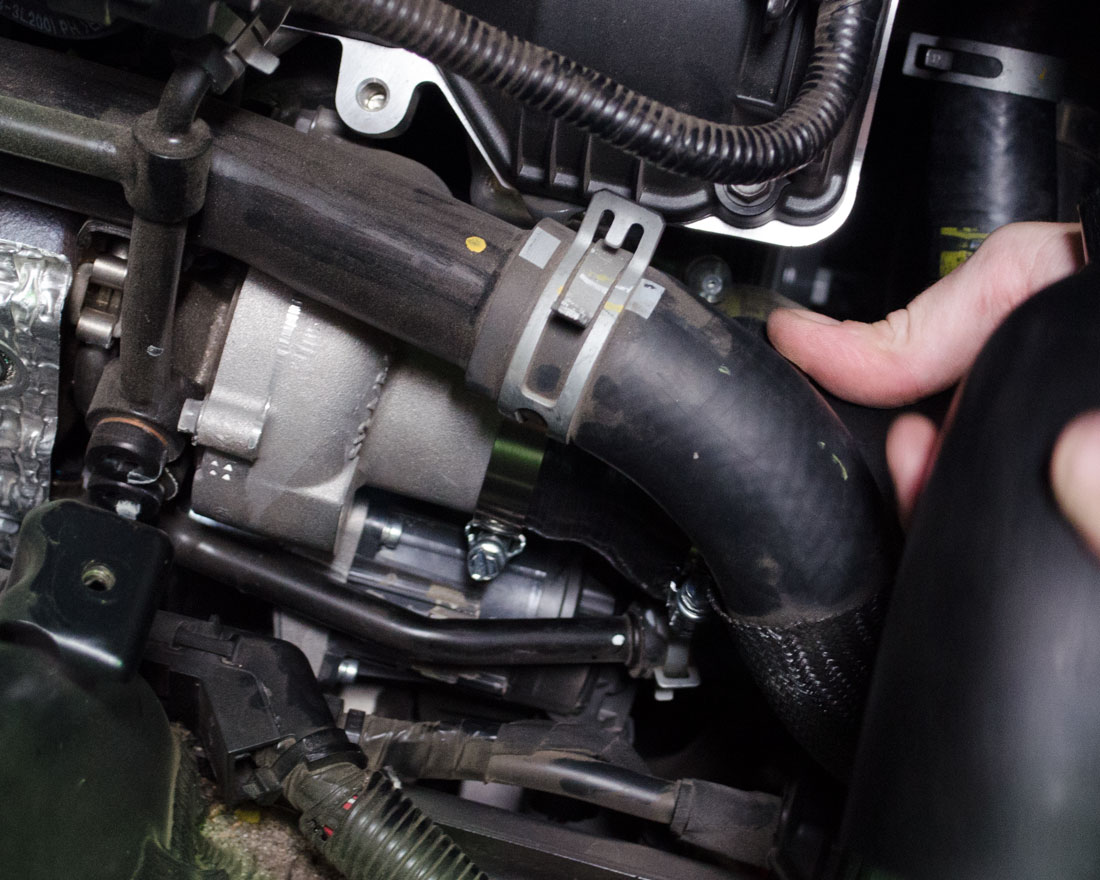
Step 3)
Removal of Driver Side Factory Intake Tube. Loosen clamp at end of intake tube holding tube onto the turbo.
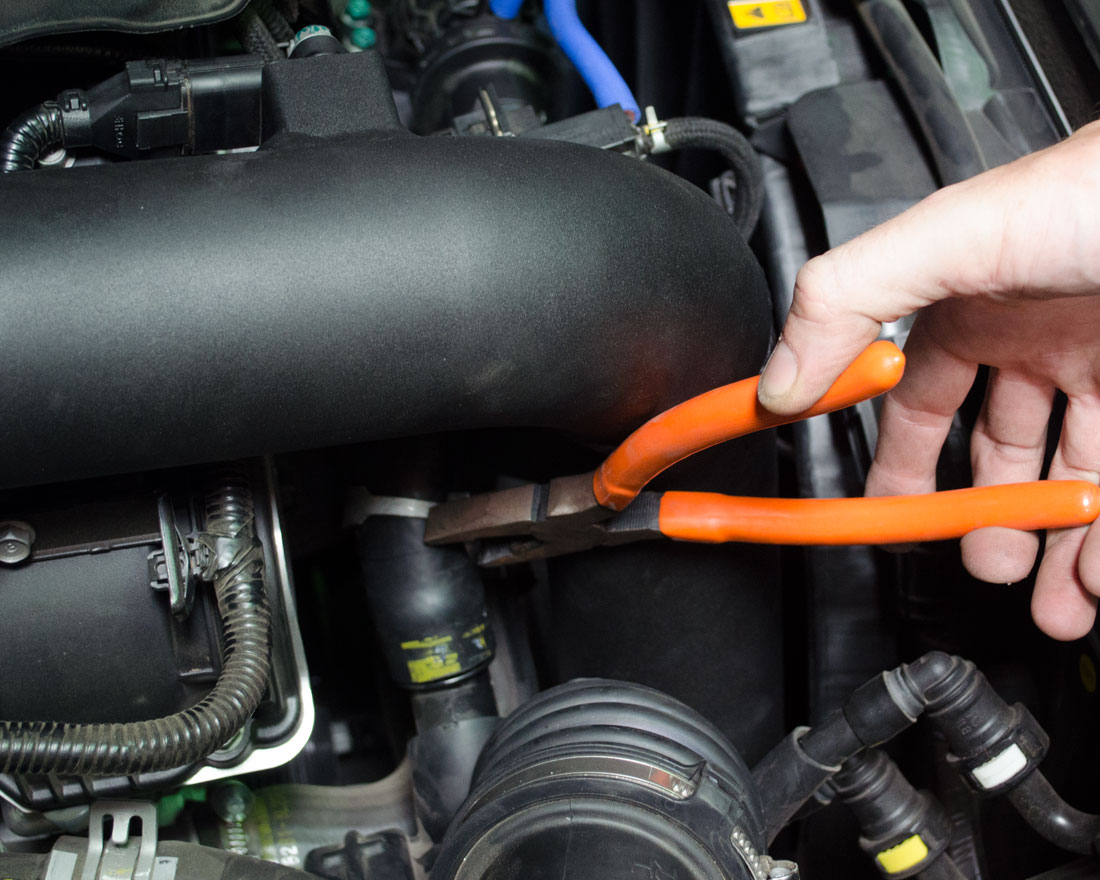
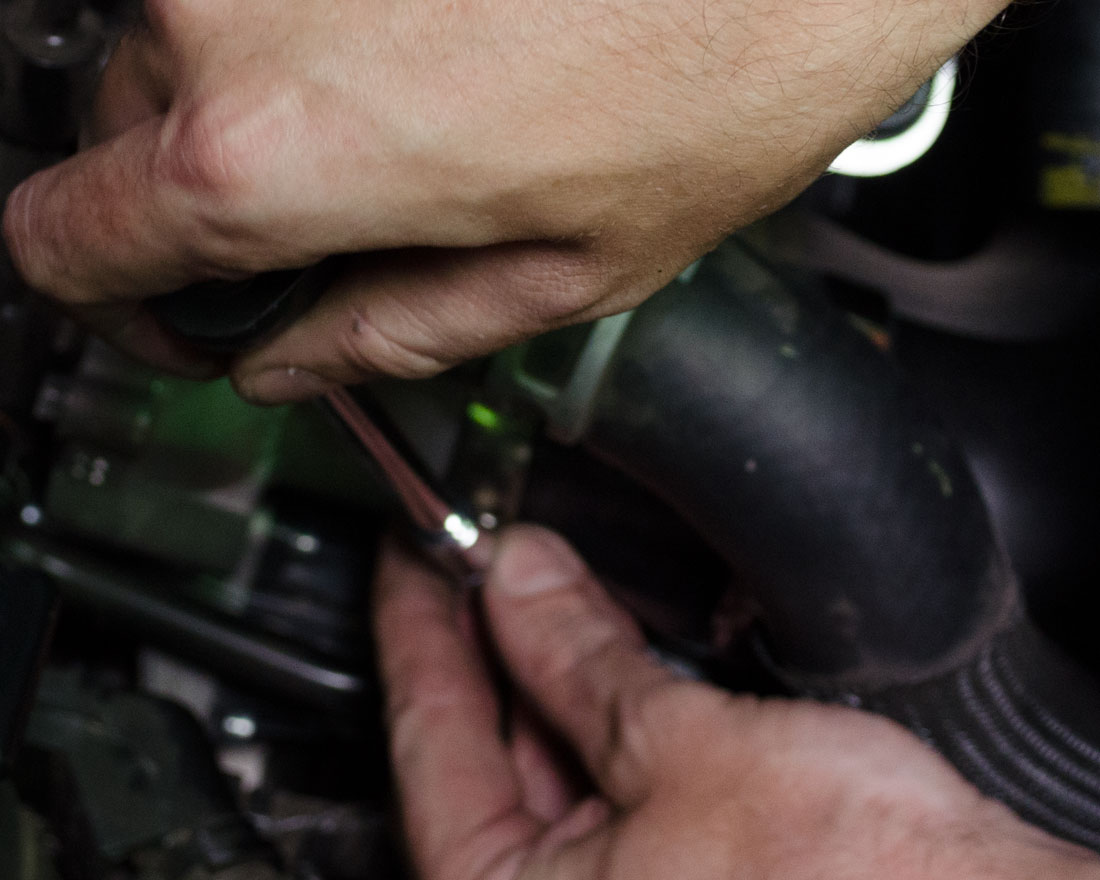
Step 4)
Loosen the clamp on the hose near the top of the tube towards the air box and slide off the hose.
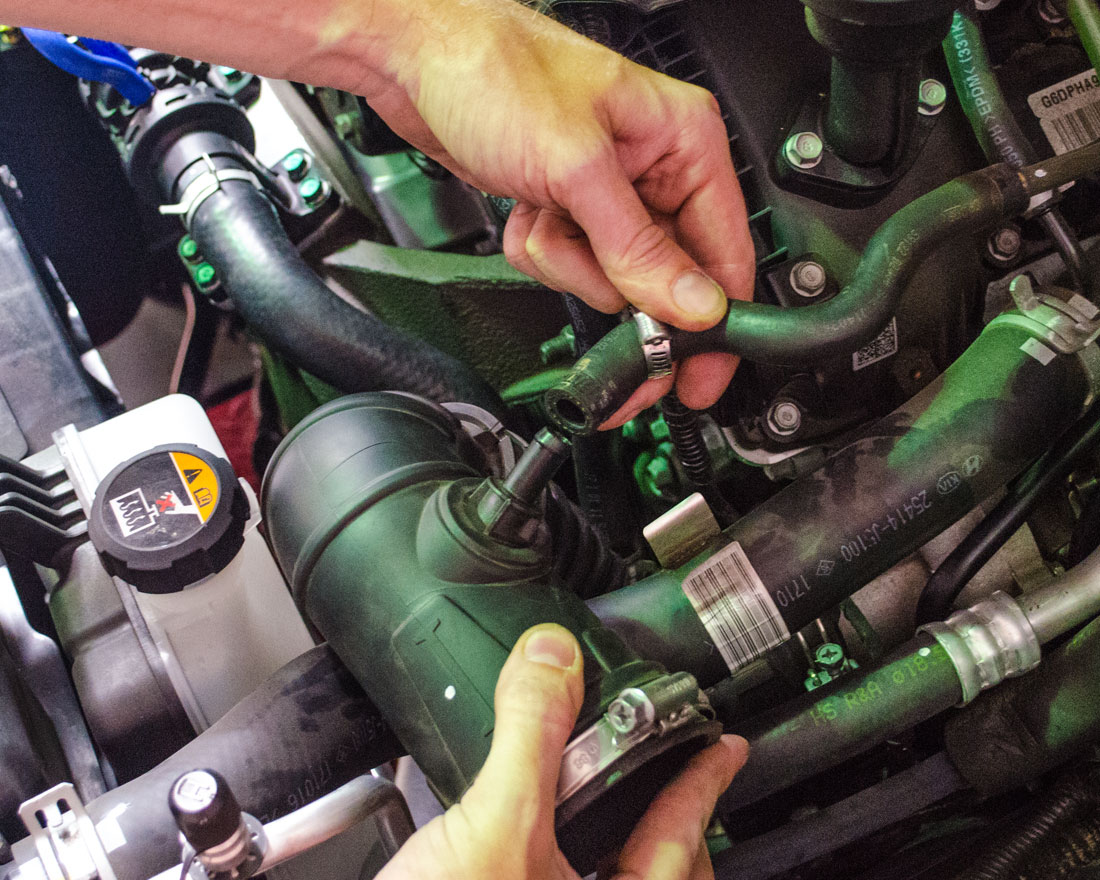
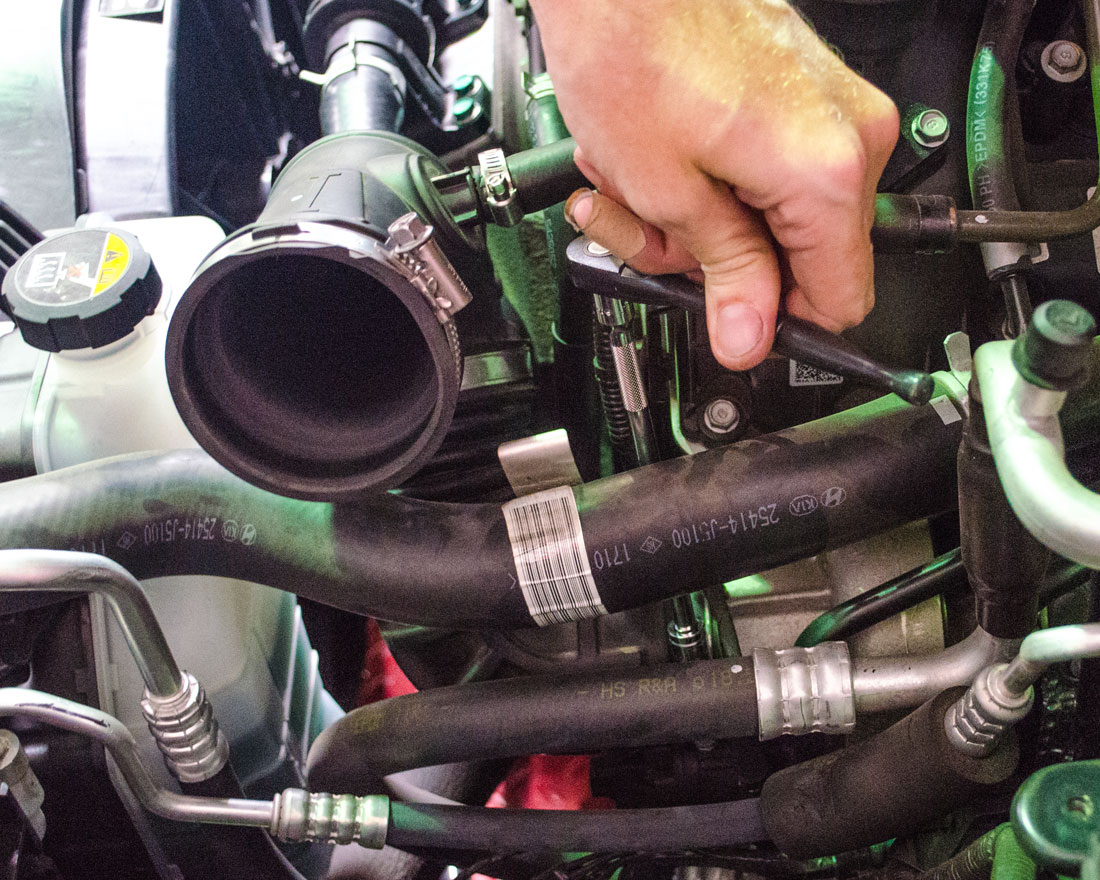
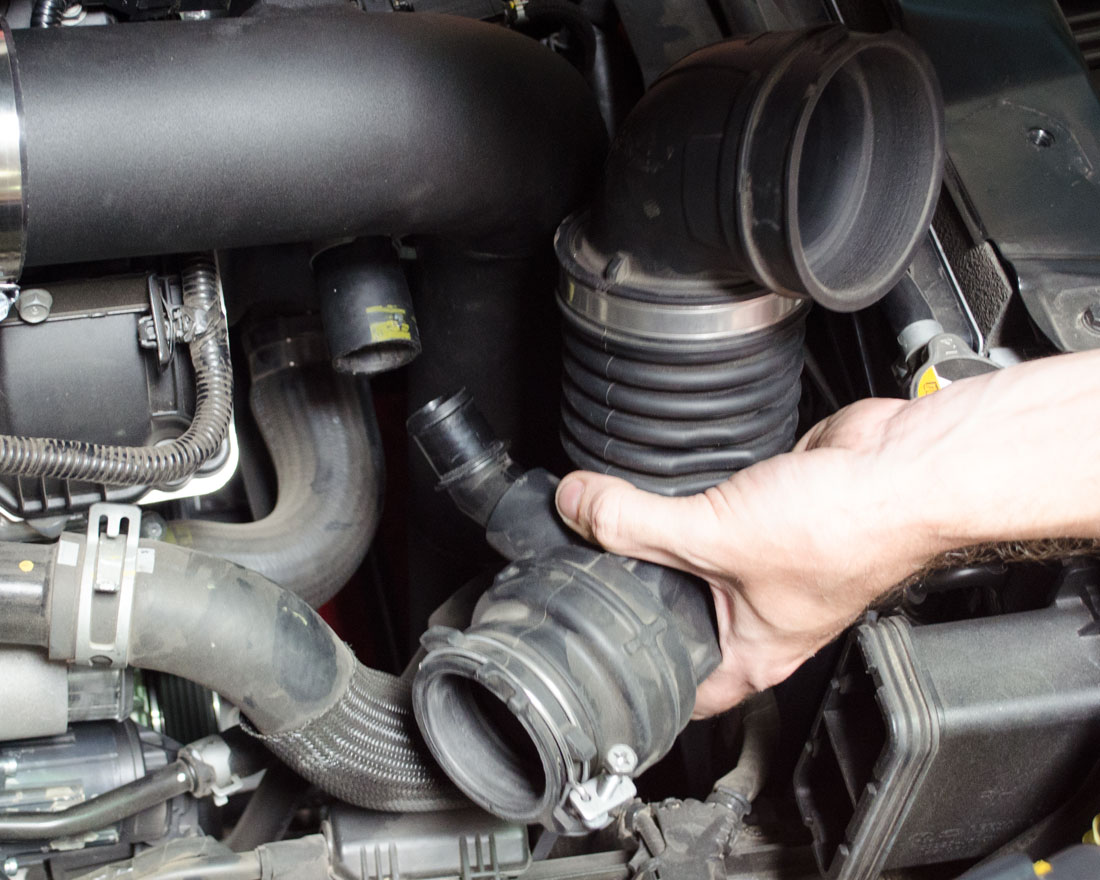
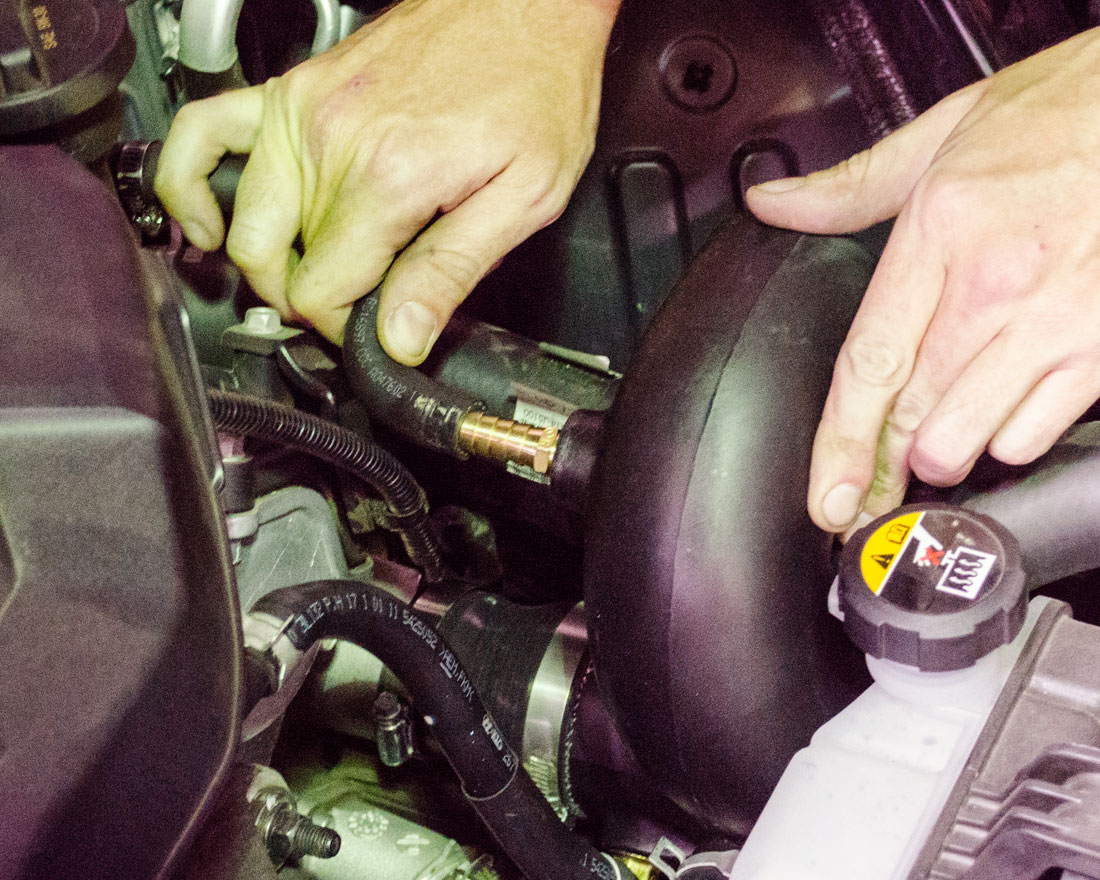
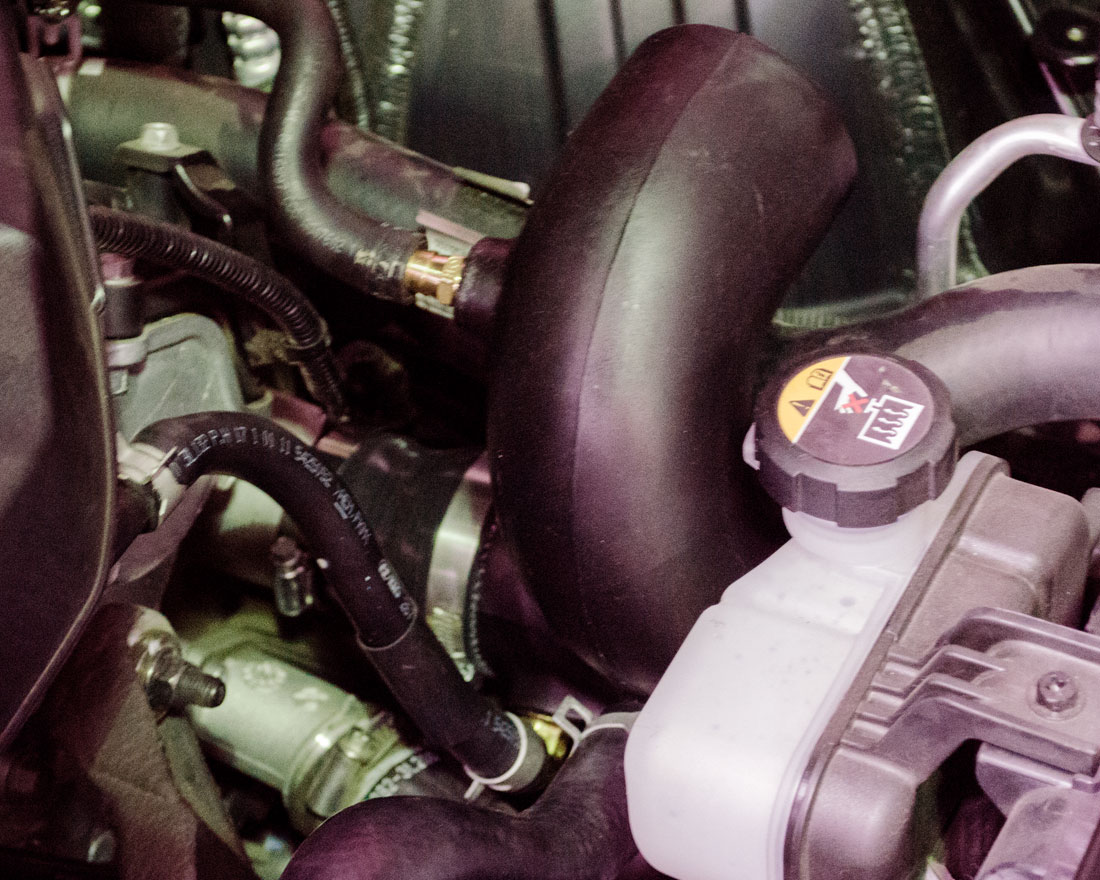
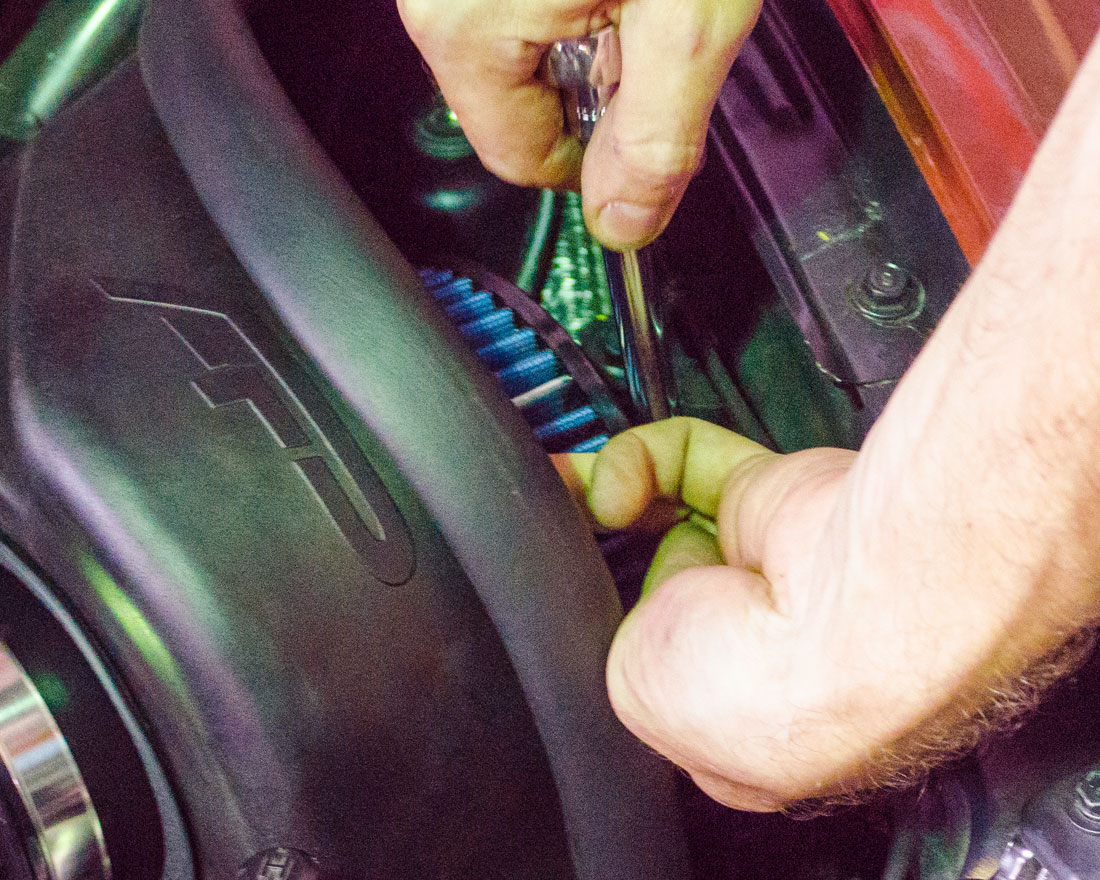
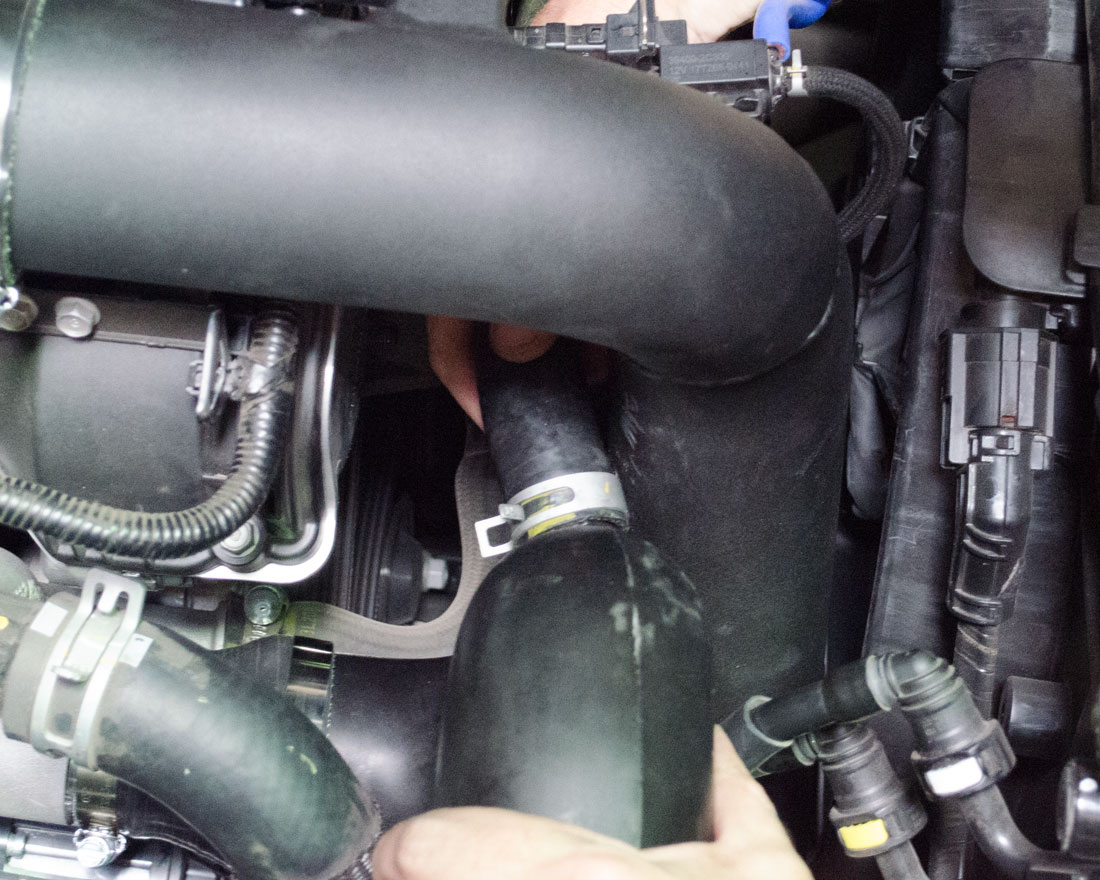
Step 5)
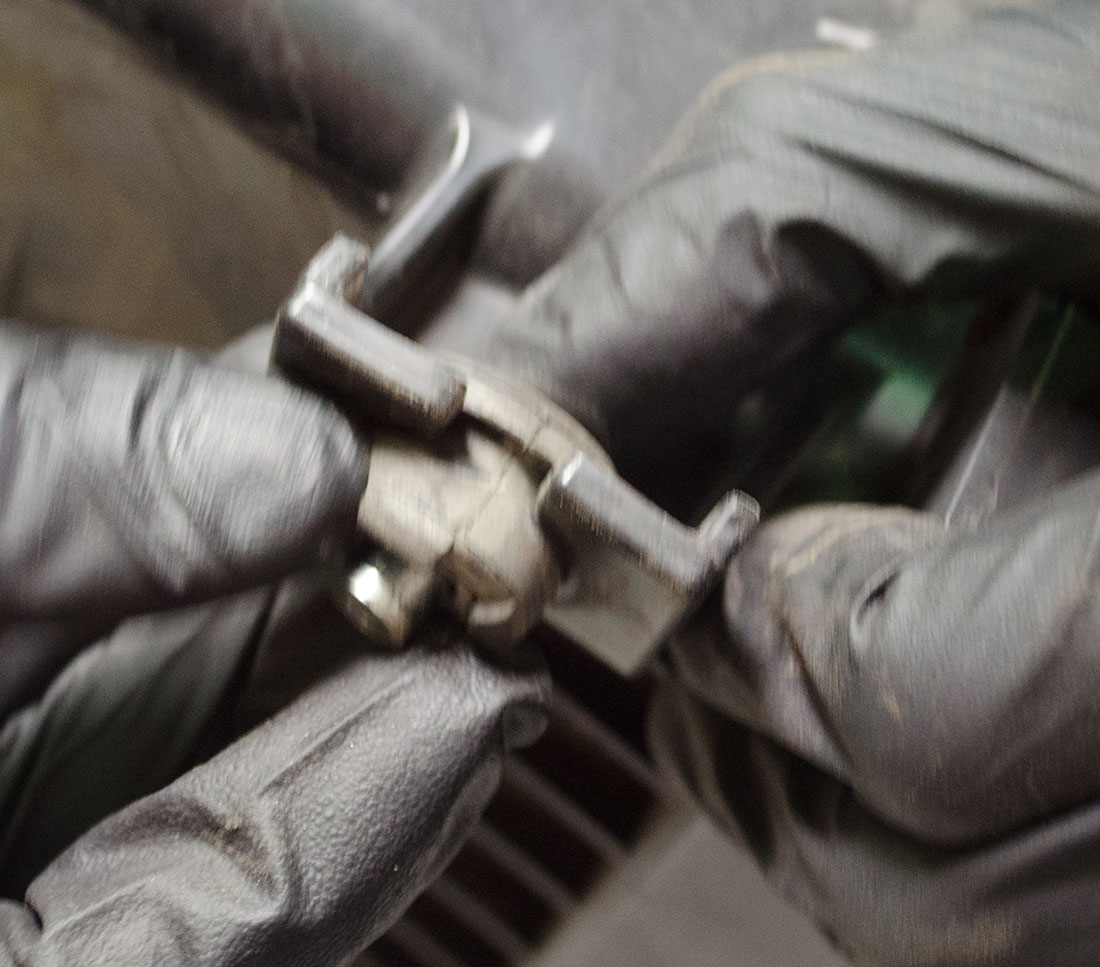
With the clamp loose and the hose removed, gently loosen the intake tube to allow better access to the re-circulation hose. Use pliers to open the clamp to allow for the hose to be taken off the intake tube. Then finish removing the intake tube.

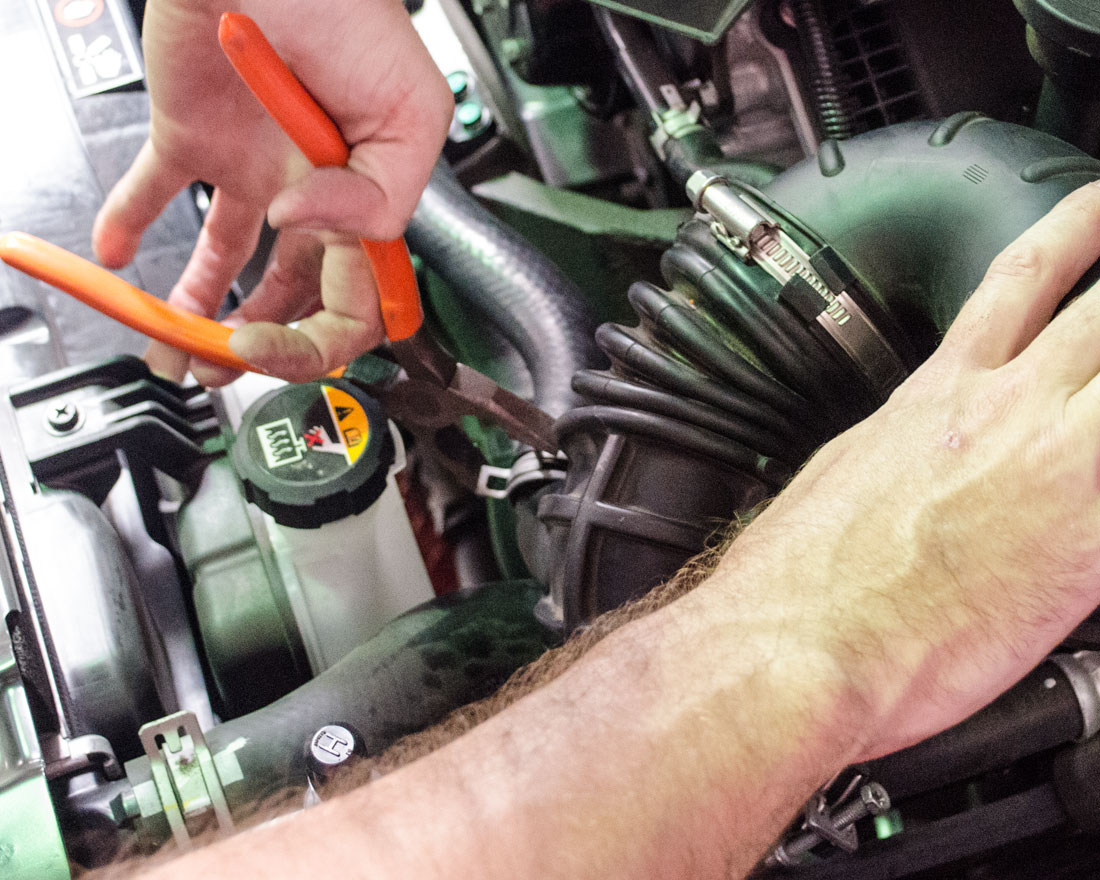
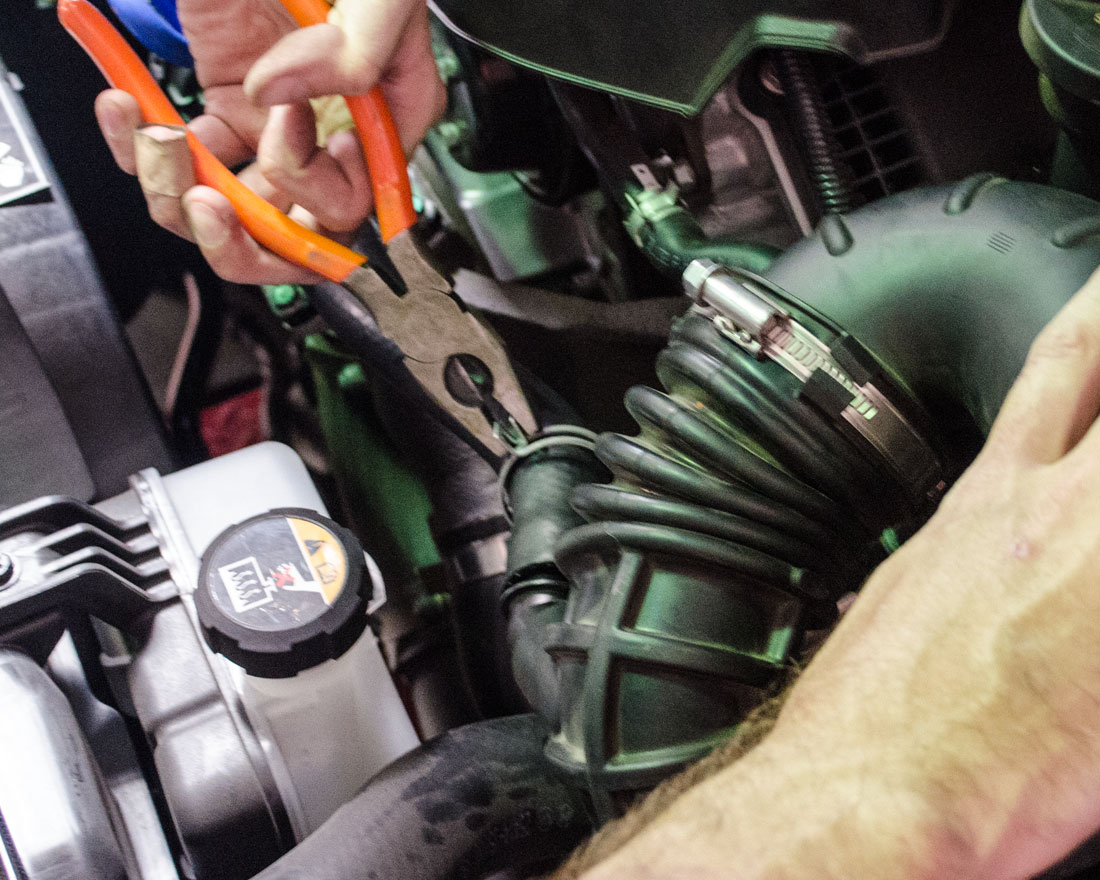
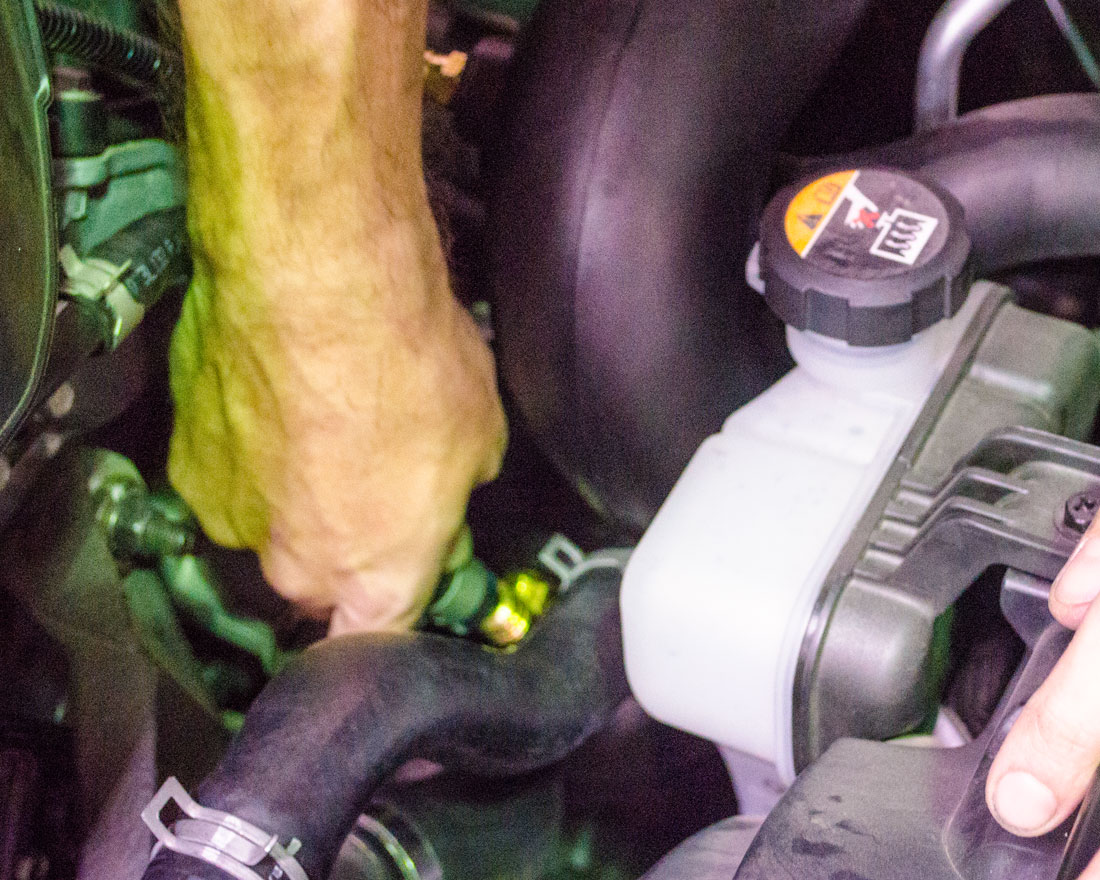
Step 6)
Removal Passenger Side Intake Tube. Loosen the clamp at the end of the tube that is attached to the turbo. With pliers squeeze open clamp to allow to pull off the re-circulation tube. Then remove the intake tube.
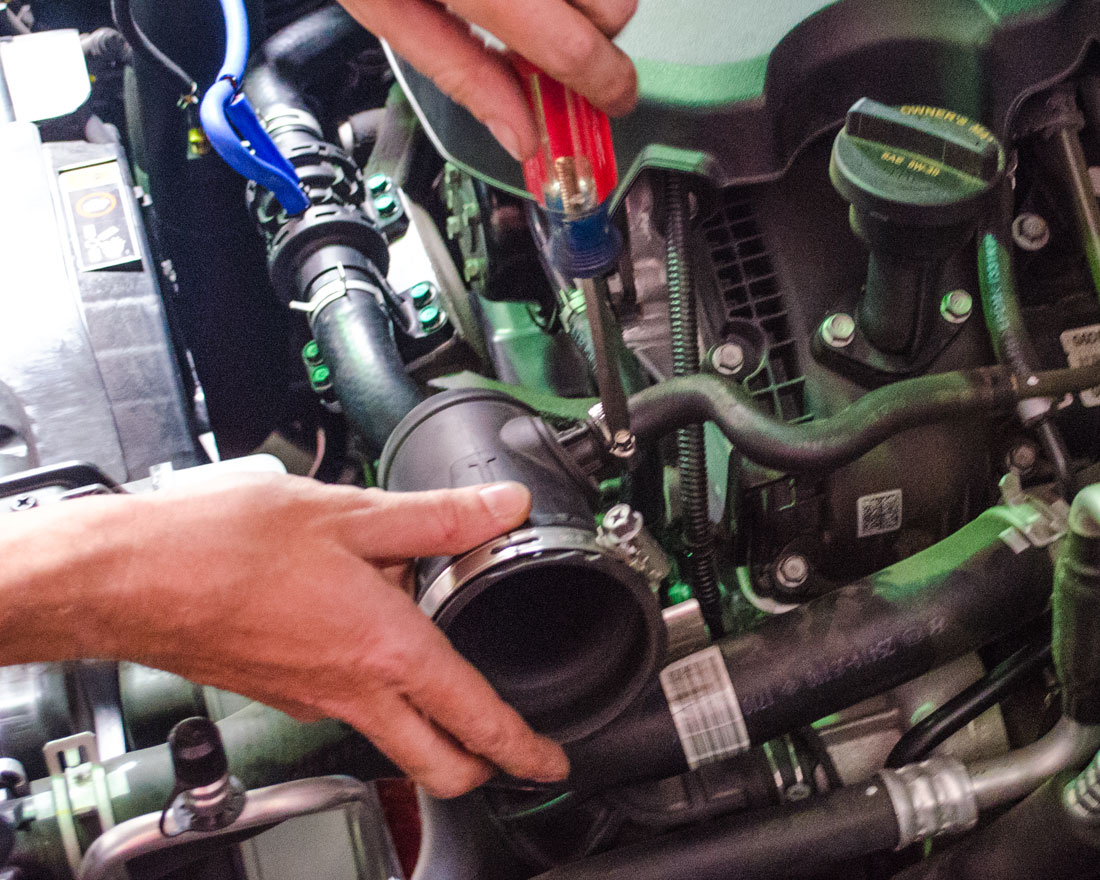
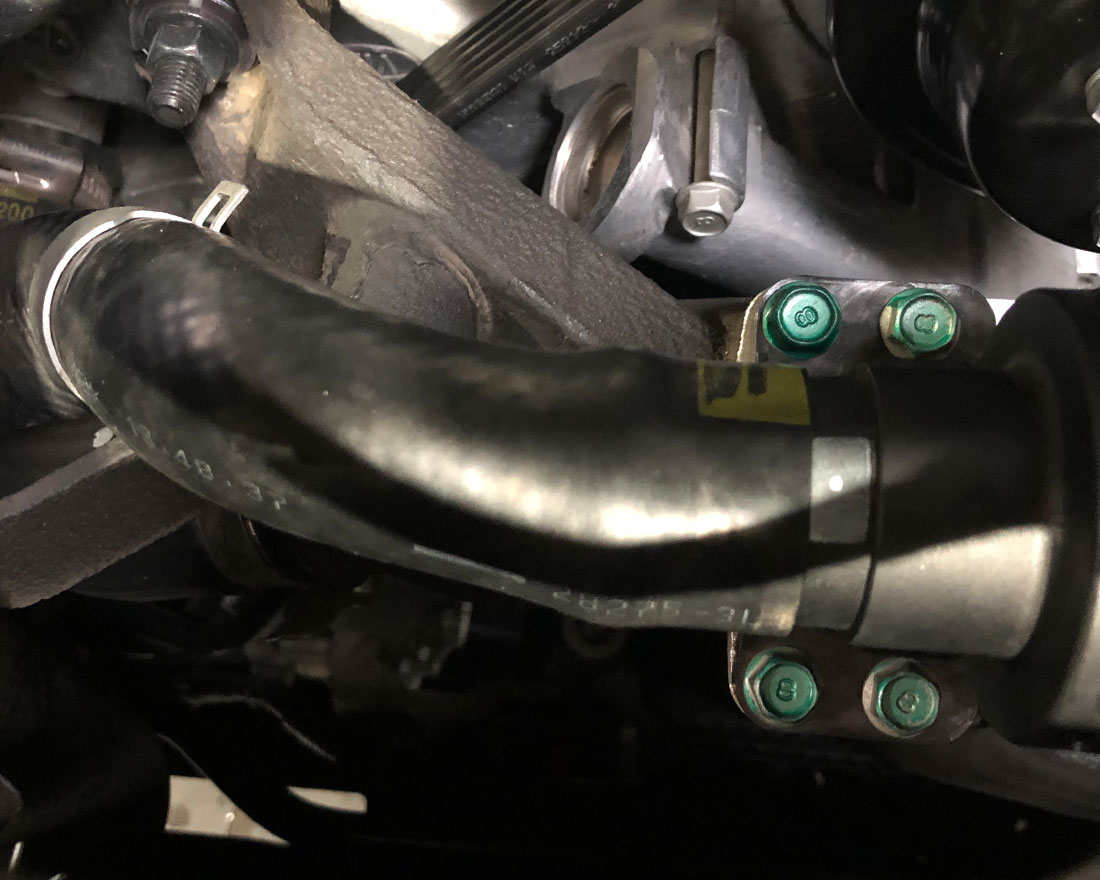
Step 7)
Installing Driver Side Intake Tube. Using the intake tube with 2 fittings and inlet. Install coupler onto intake tube then onto the turbo. Tighten but leave loose until the air box is secured into place.
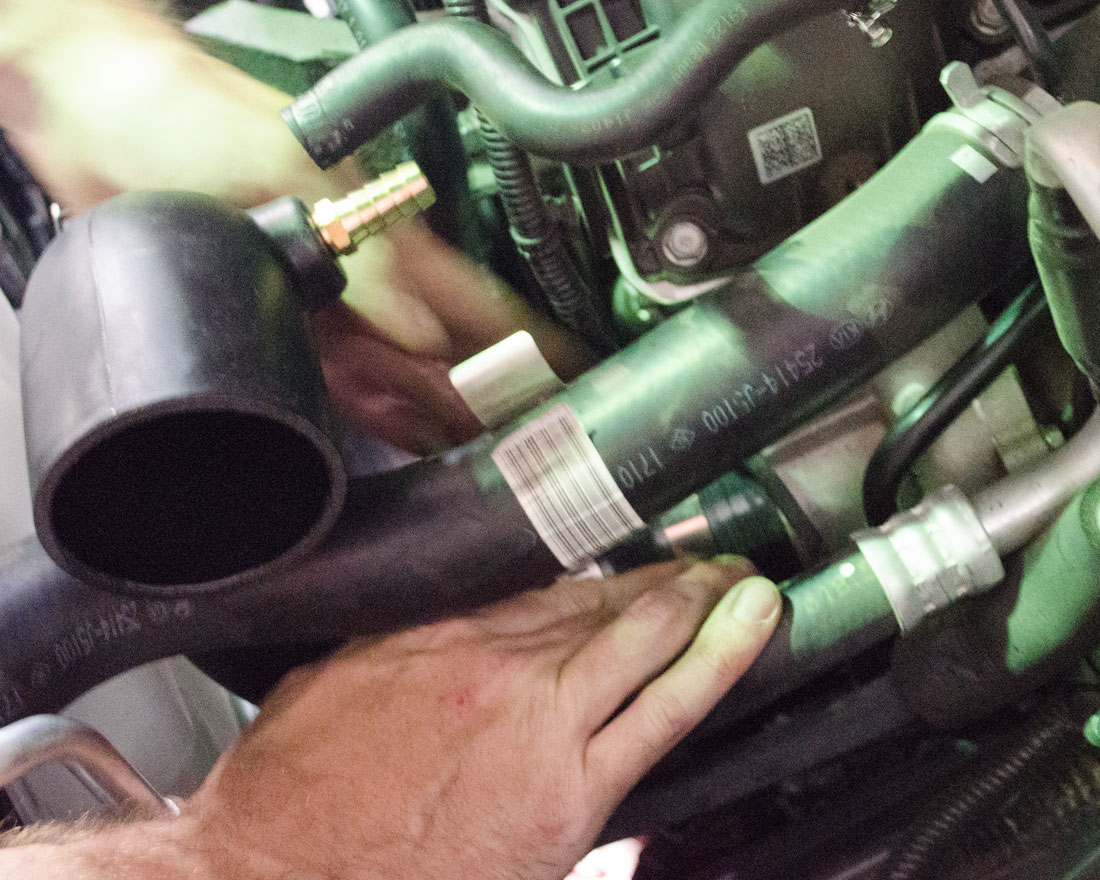
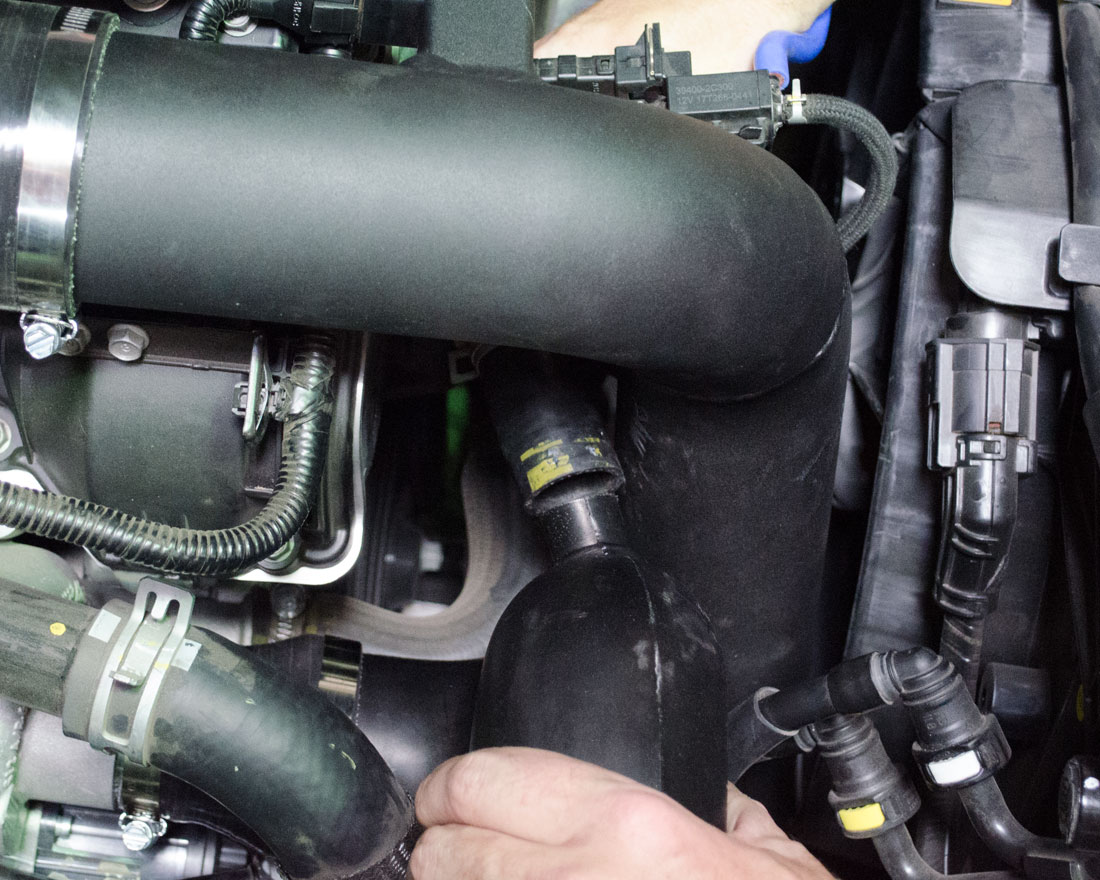
Step 8)
Install re-circulation hose and use pliers to place clamp into position. The clamp at the blow-off valve may need to be loosened and turned to prevent the factory hose from kinking.

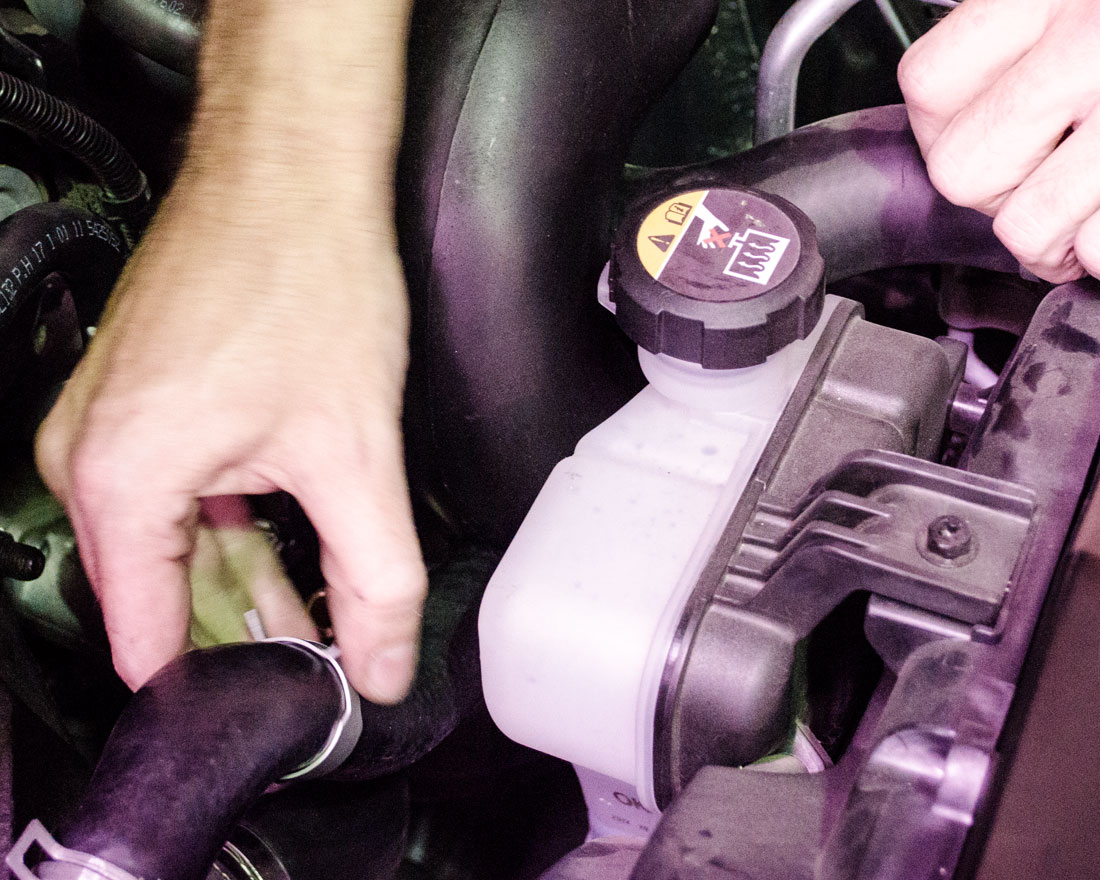

Step 9)
Place lower hose onto the fitting and clamp.
Step 10)
Place the upper hose onto the fitting and re-clamp.
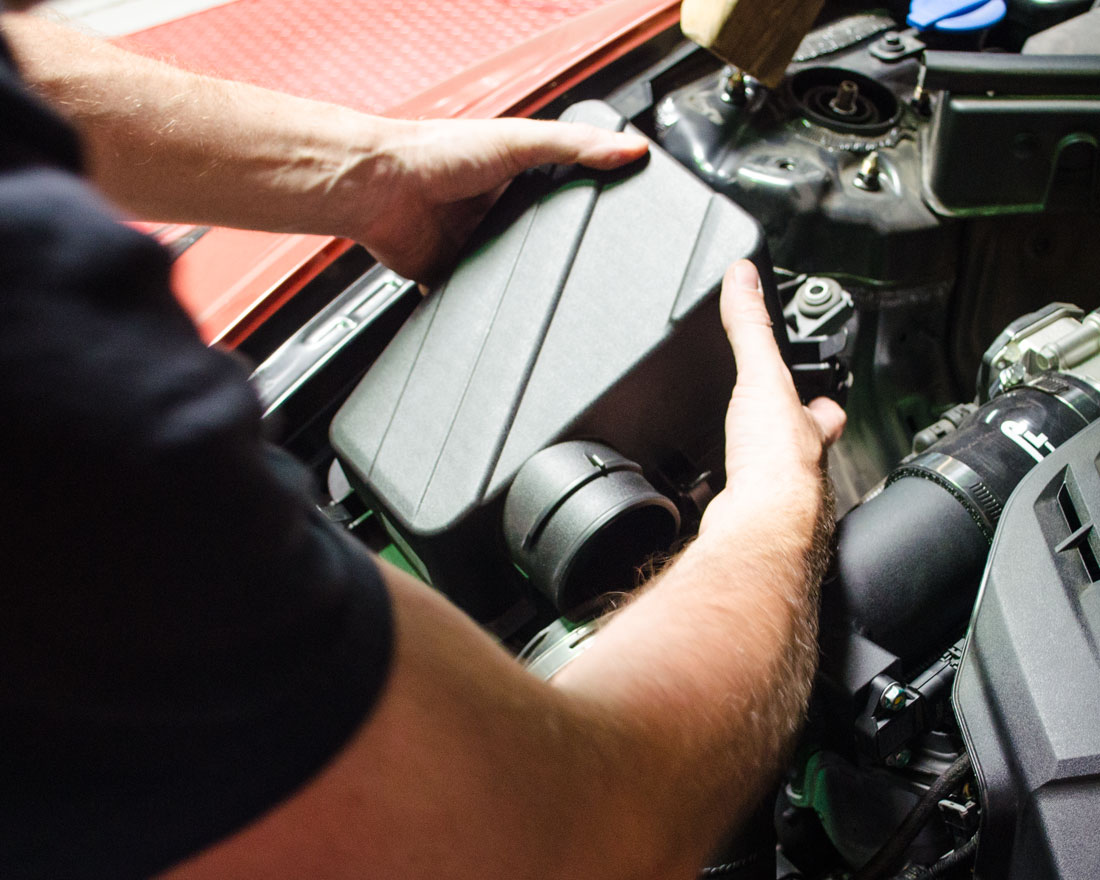
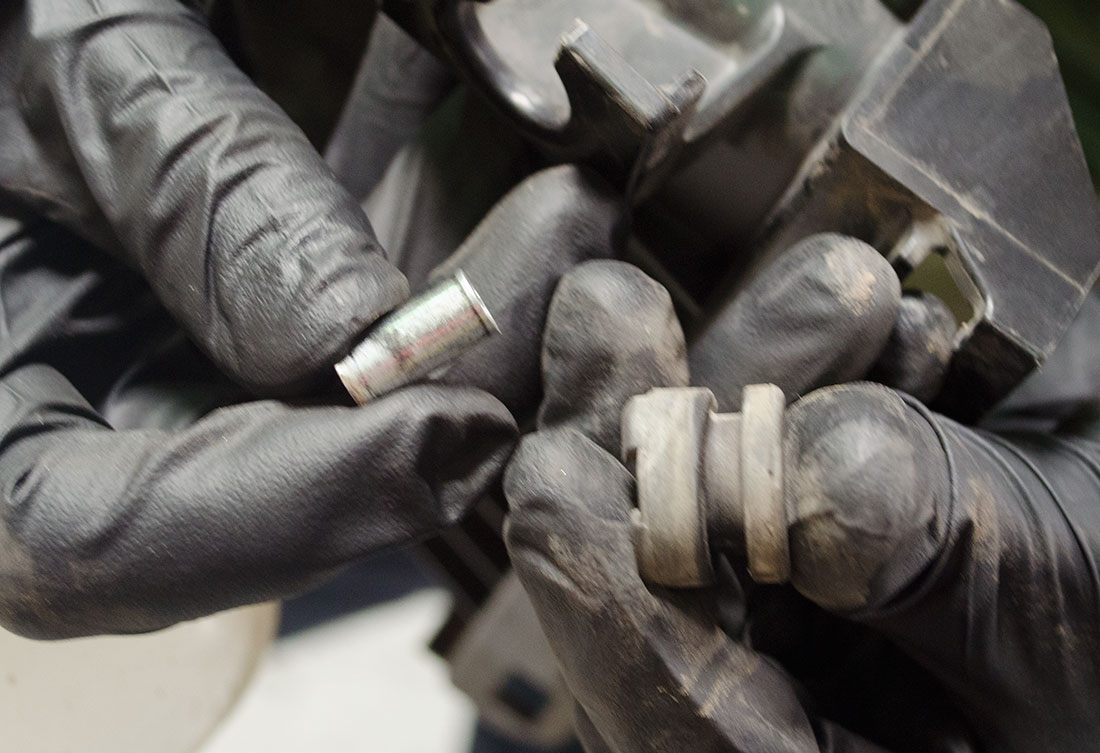
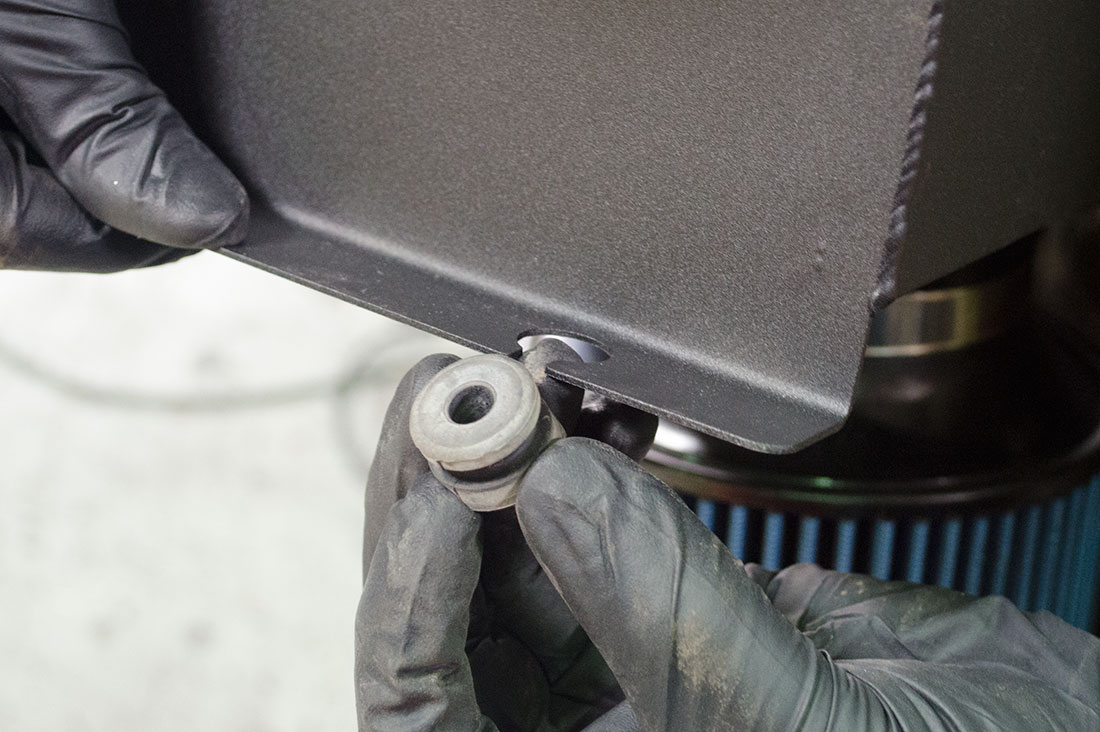
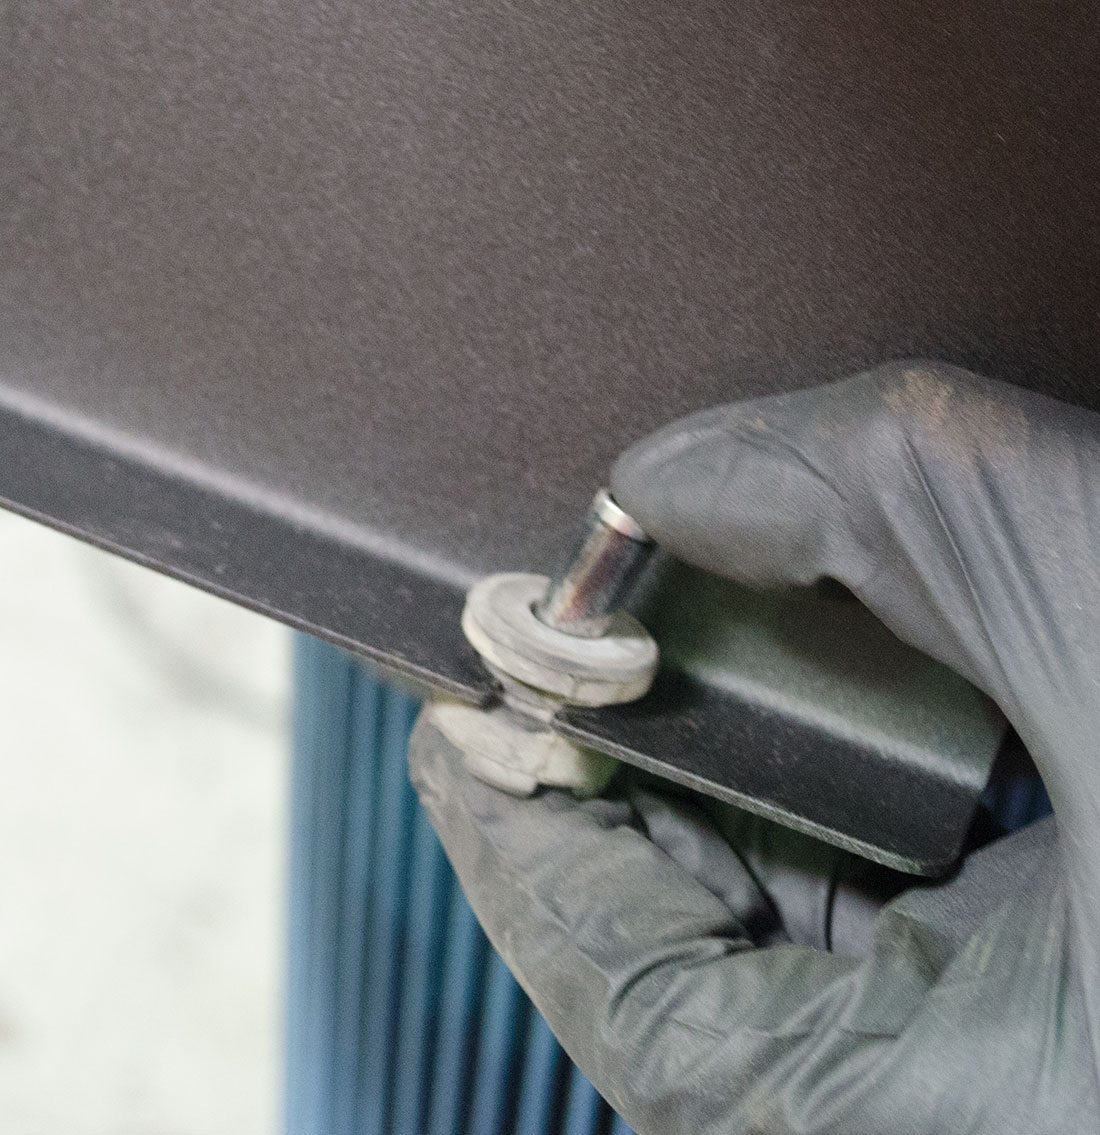
Step 11)
Air Box Installation. Remove the 2 rubber grommets from the factory air box. Push metal center out then grommet should be flexible enough to remove. Install into the new air box.
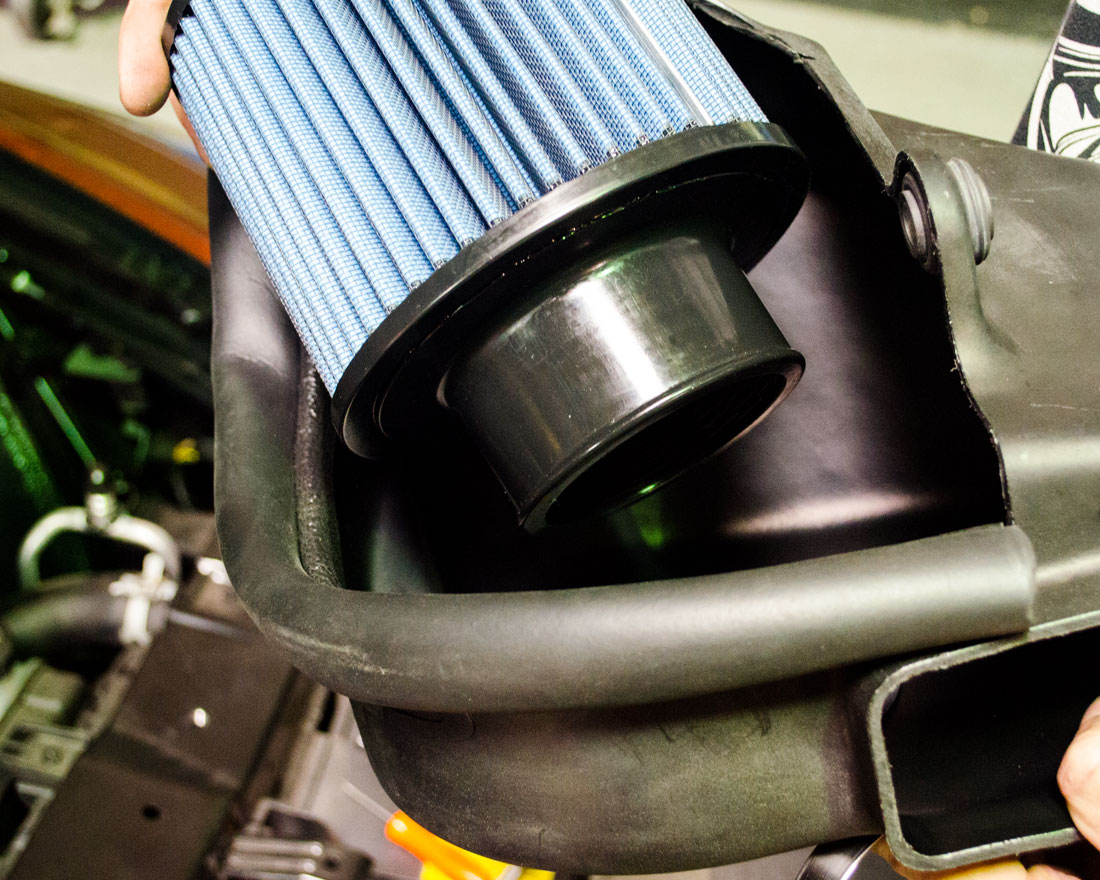
Step 12)
Remove clamp from filter and slide filter into the air box. Then place clamp back on the filter.

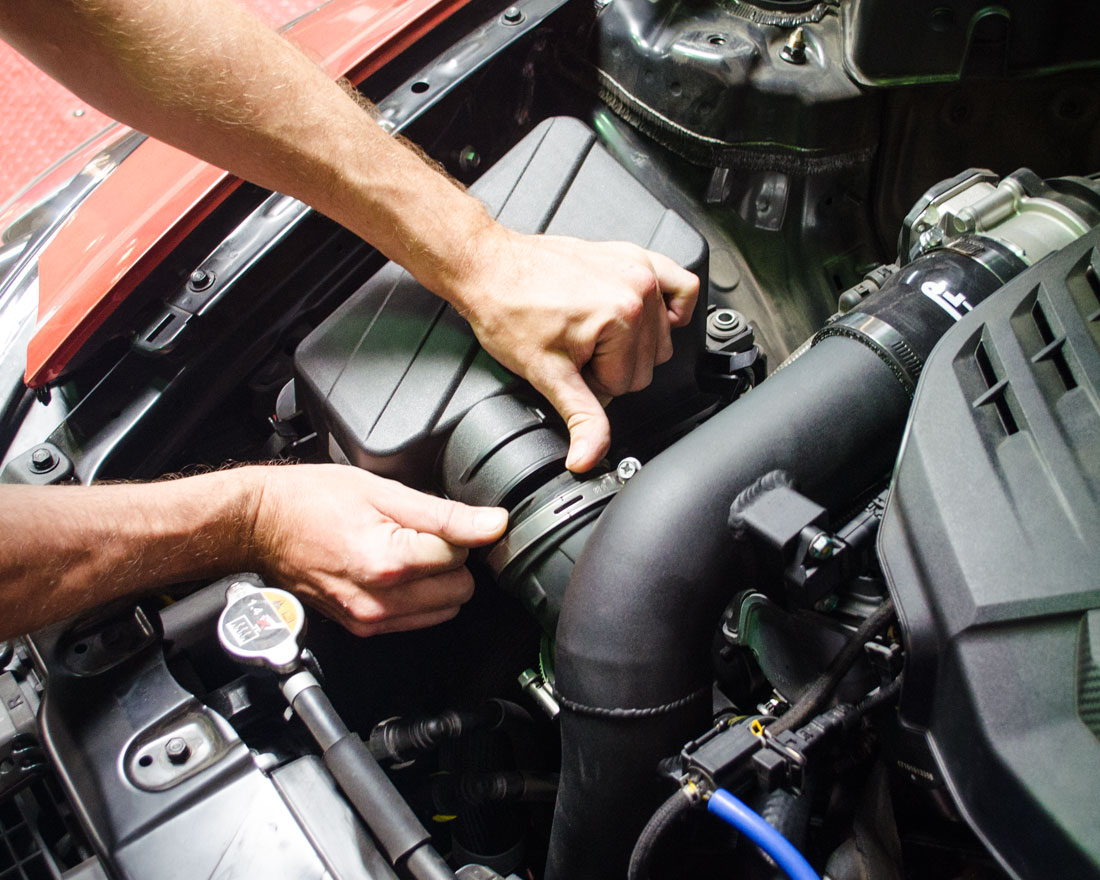
Step 13)
Find the 2 bolt holes in the fender that were removed during removal. Place air box holes over top. Sliding the air box rectangle cutouts into the factory scoops.
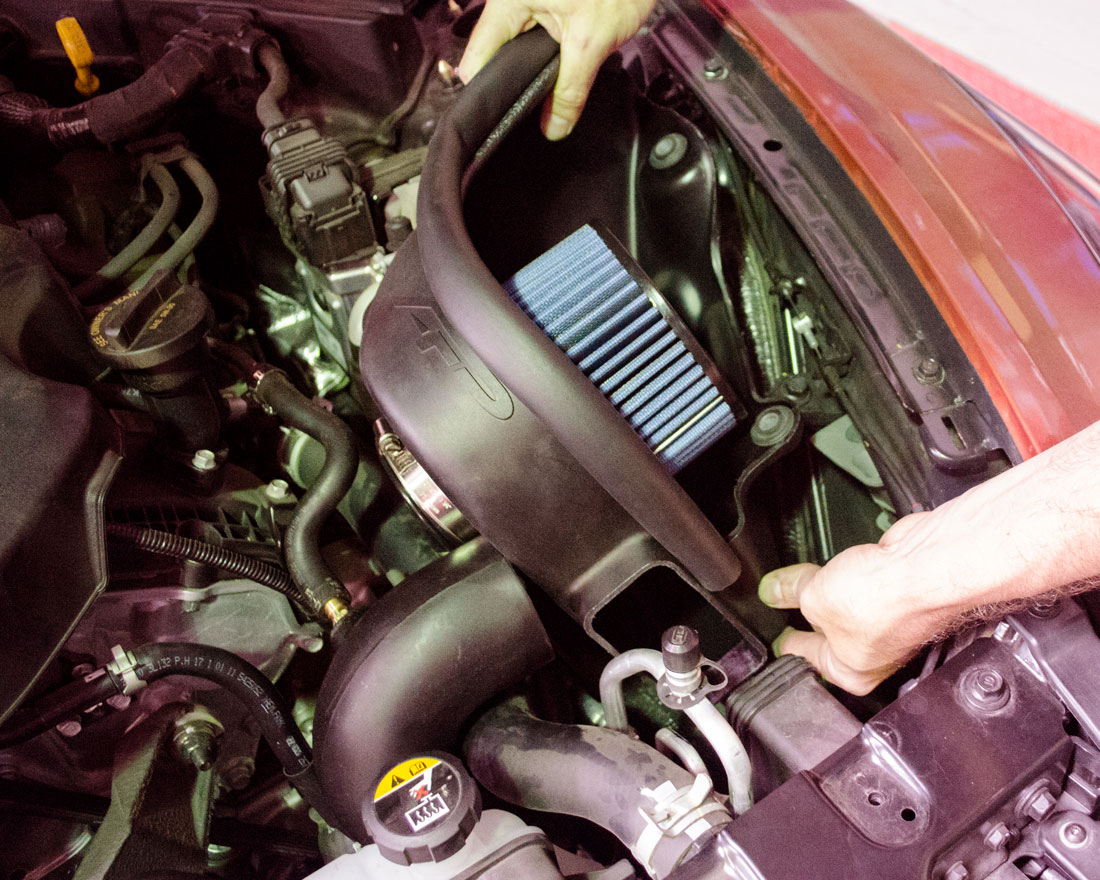

Step 14)
Once the air box is set in place. Put air filter onto intake tube and tighten clamp.
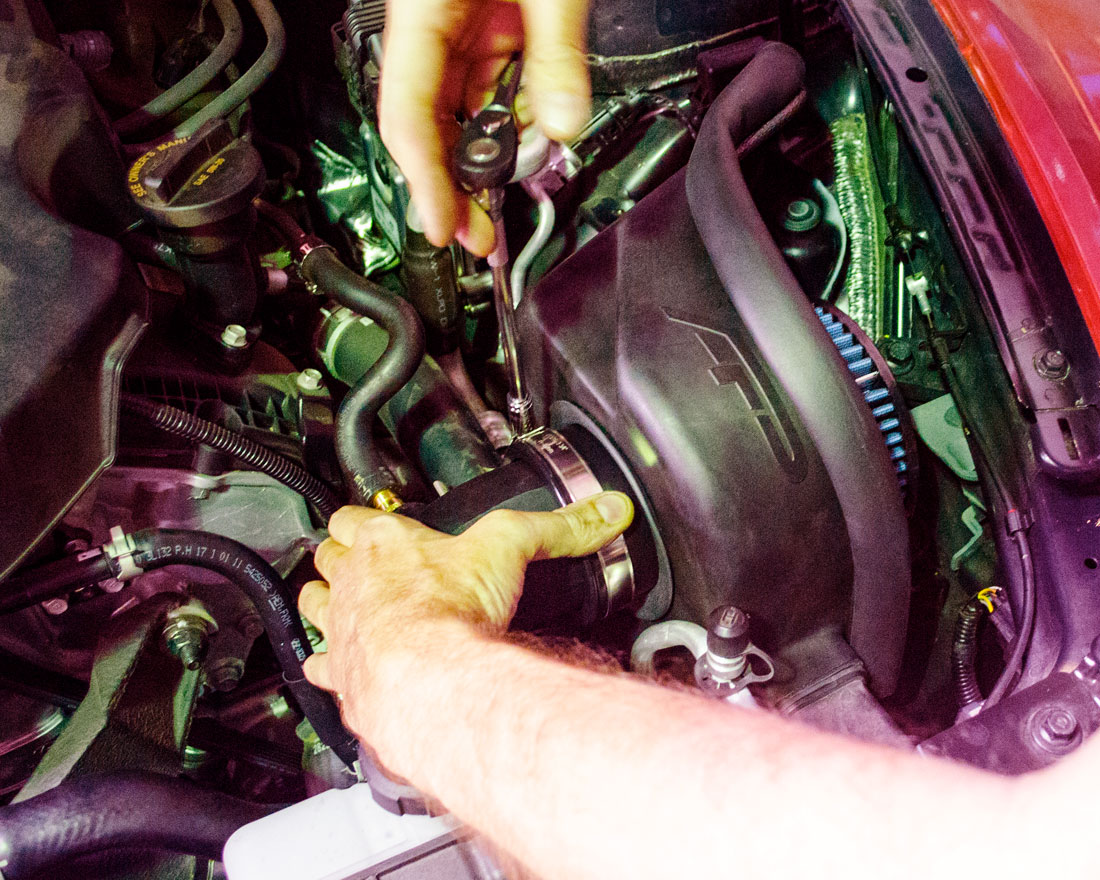
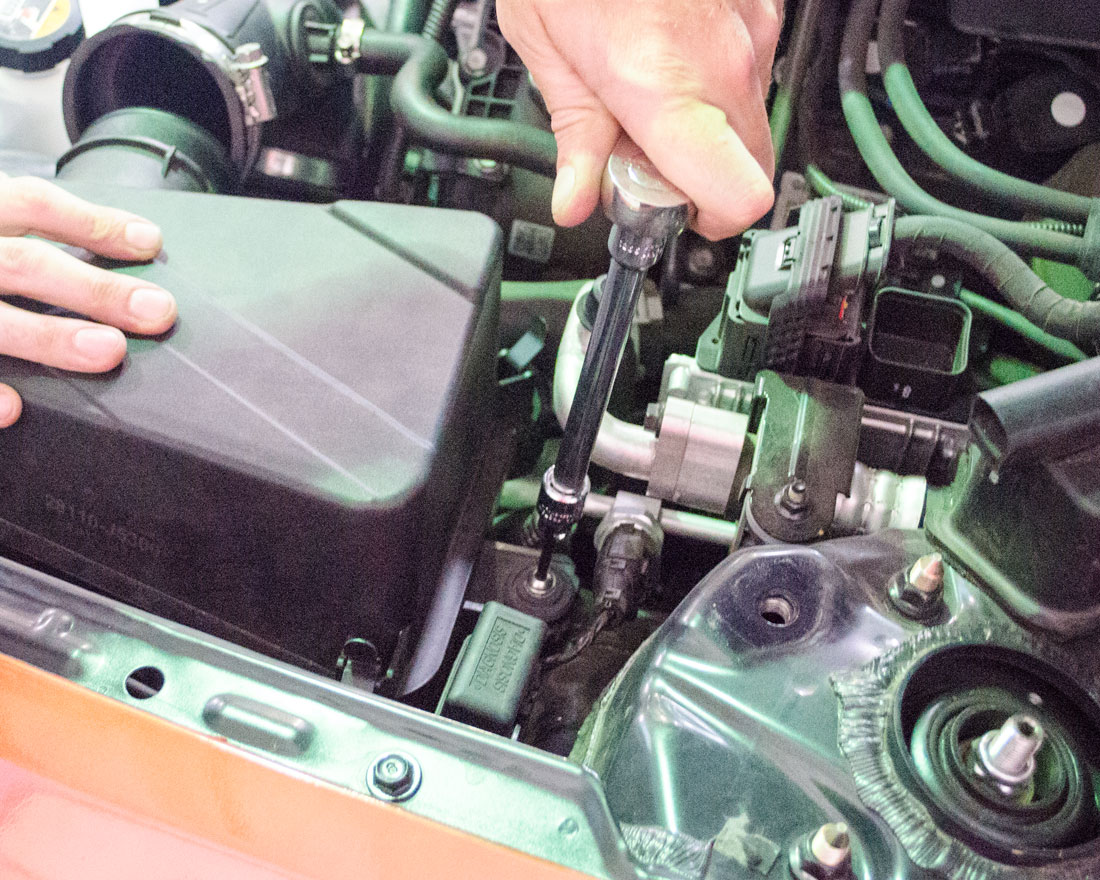
Step 15)
Re-install the 2 bolts into the airbox fender side. Then tighten all clamps.
Step 16)
Installing Passenger Side Intake Tube. Install coupler onto intake tube then onto the turbo. Tighten but leave loose until the air box is secured into place.
Step 17)
Install re-circulation hose and use pliers to place clamp into position. You may need to loosen the clamp at the blow-off valve to prevent the tube from kinking.
Step 18)
Air Box Installation. Remove 2 rubber grommets from the factory air box. Push metal center out then grommet should be flexible enough to remove. Install into the new air box.
Step 19)
Remove clamp from filter and slide filter into the airbox. Then place clamp back on the filter.
Step 20)
Find the 2 bolt holes in the fender that were removed during removal. Place airbox holes over top. Sliding the airbox rectangle cutouts into the factory scoops.
Step 21)
Once the air box is set in place. Put air filter onto intake tube and tighten clamp.
Step 22)
Then re-install the 2 bolts into the air box fender side. Then tighten all clamps.
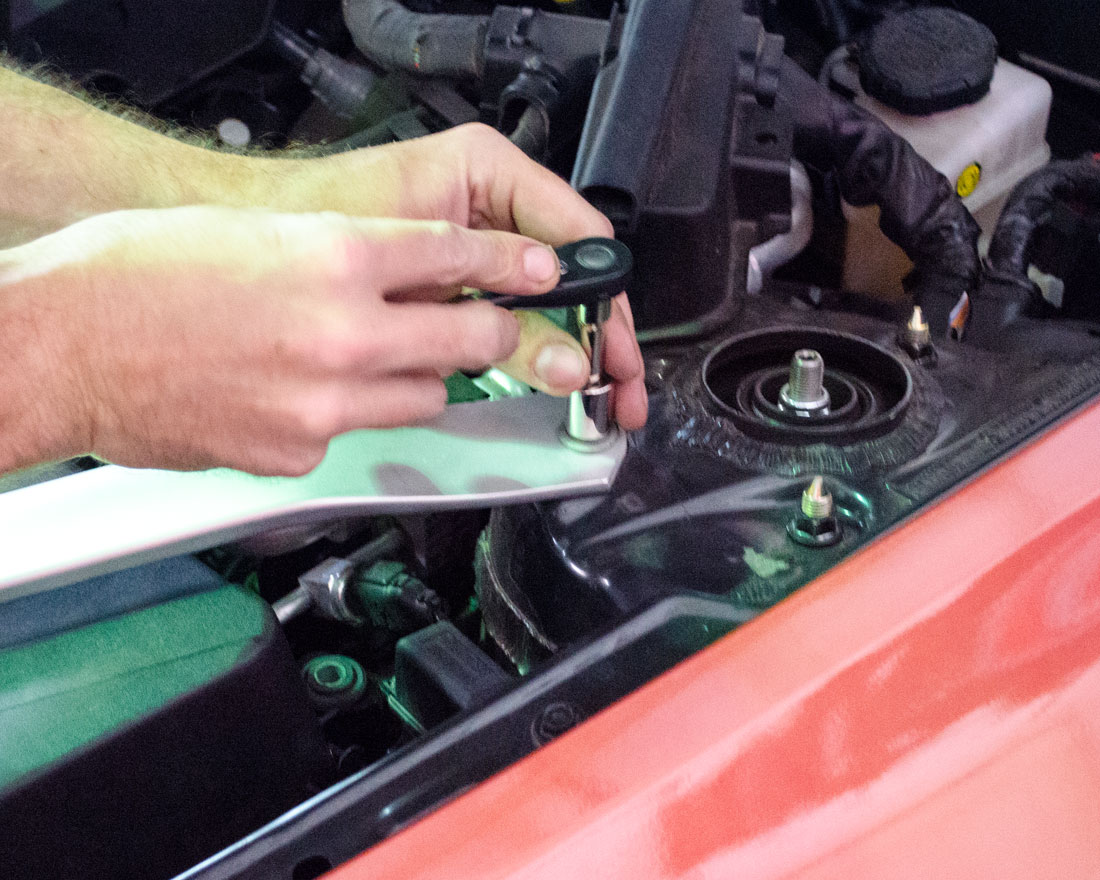
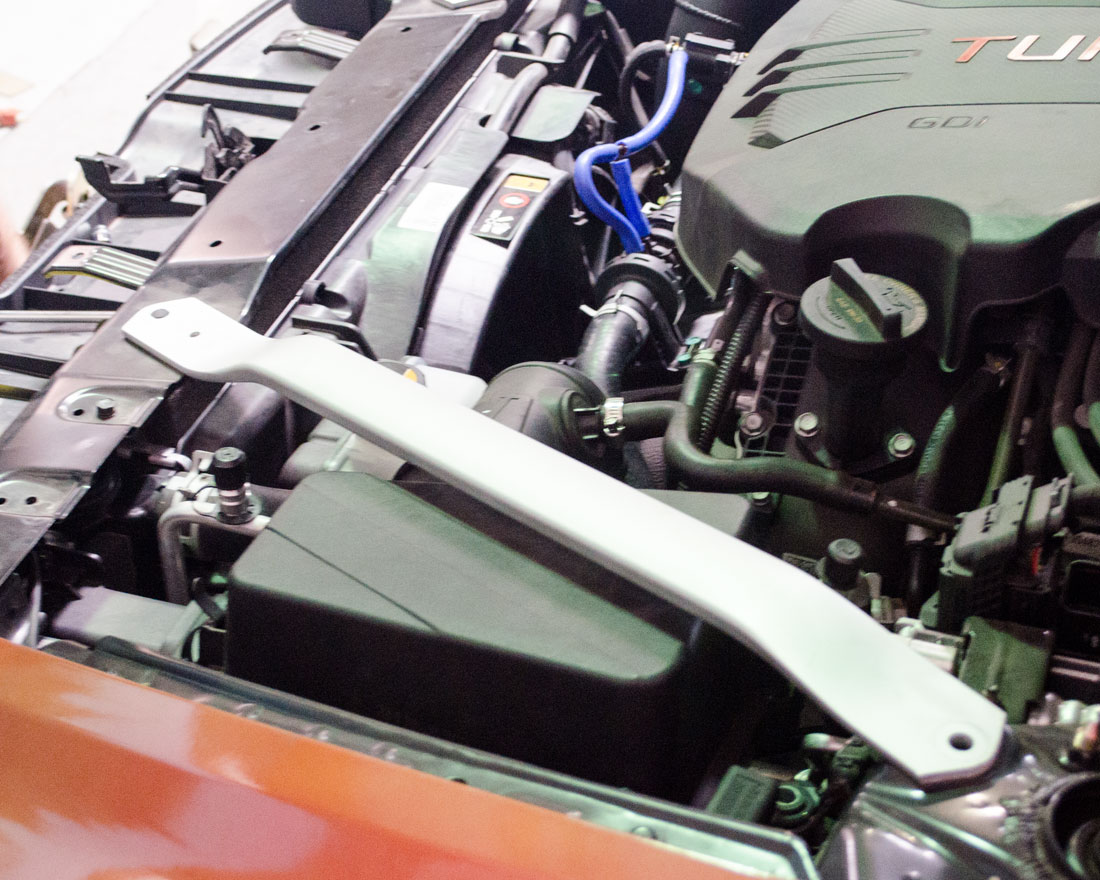
Step 23)
Re-Install the cross support bar using the factory bolts repeat on the passenger side.

Congratulations you have installed the VR Performance Cold Air Intake on the Kia Stinger GT