We have been wanting to get our VR825 kit out there on more vehicles since we proved its capabilities on our own Project 997TT. Having reached 206.2mph at the Texas Mile and laid down 760awhp on a Mustang dyno, we knew that with our Agency Power products and VRTuned tuning, we had a very quality kit on our hands. Taking a look back (and look forward), one of the biggest things we wanted to change was the injectors on the kit. Our 6speed still runs the stock injectors and with these GT3076rs turbos, handles the power fine. But to get to that next level, we need to step up the fueling game. This kit went through 2 phases when it was being built and has only been installed on a handful of cars globally. So to show again what this VR825 kit is capable of, we needed another subject vehicle. But instead of a 6speed, we wanted to show that the Tiptronic, when equipped, is a brutal force to be reckoned with.
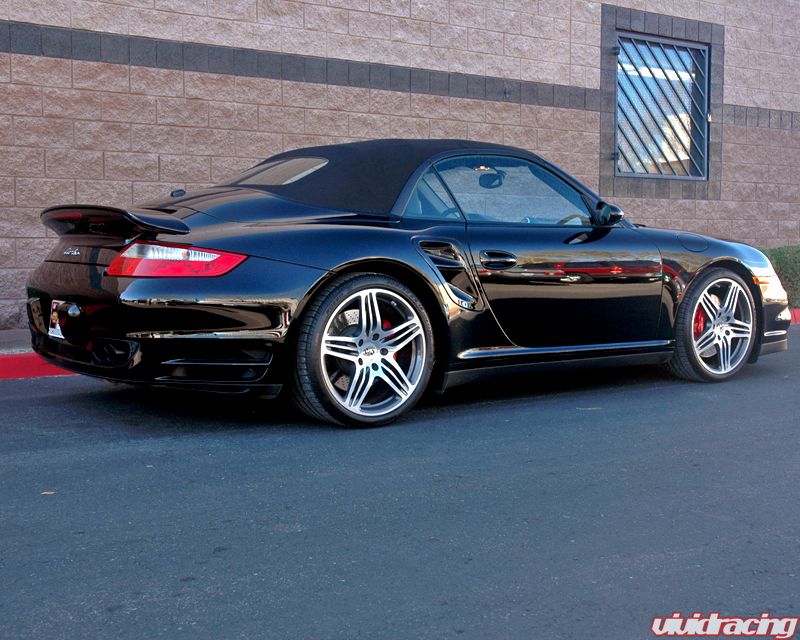
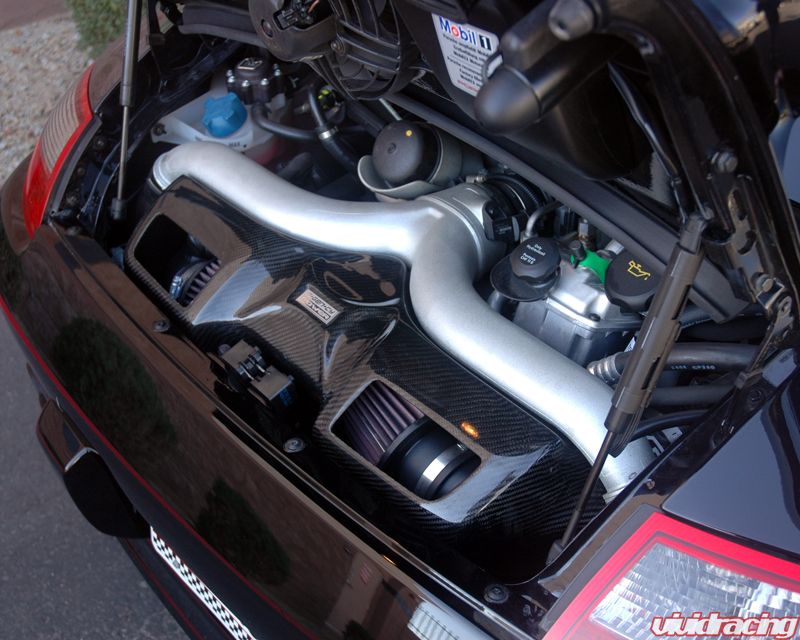
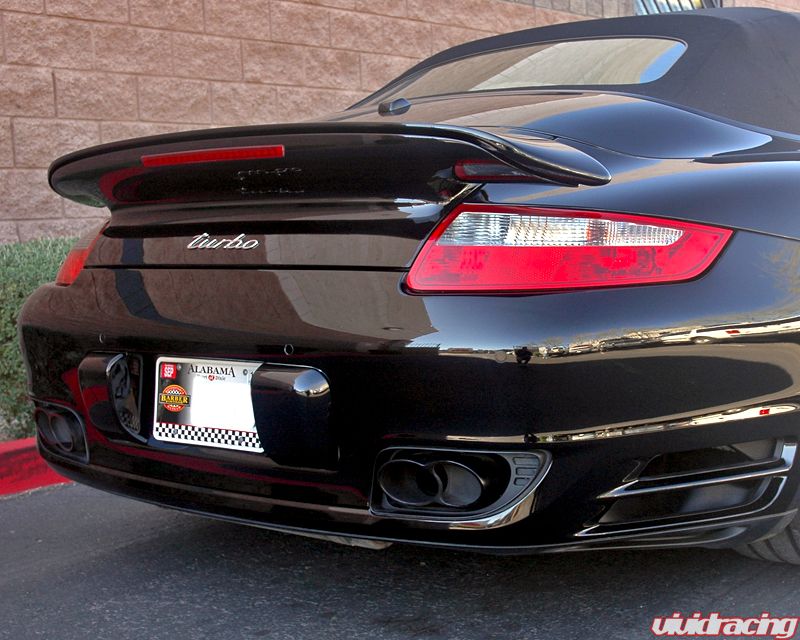
Our subject car is a 2009 997 Turbo Tiptronic with 13000 miles on it. Coming from Alabama, this 93oct car is already equipped with the Agency Power Exhaust, Headers, Cold Air Intake, and VRTuned ECU Flash. The cab is a black on black beauty and looking to achieve some stealth high horsepower while keeping it very reliable. Our VR825 kit has been functioning for almost 2 years with approximately 5-6000 miles on it. What I enjoy most about the car is its feeling of stock when you are just driving it to and from work on the city streets. However when you hit boost and the external wastegates open, the car is an absolute animal. Whether on pump or race gas, we are able to achieve functionality for everyday use.
The first question to be asked is, “what are you going to do about the Tiptronic transmission?” The Tip is the weak point in these higher HP cars. There is alot of talk of modification processes. We are going to take 2 different roads then normal to achieve a stout transmission to hold the nearly 800awhp. Something that is affordable and reproducible without compromising drive-ability. Details coming soon… As standard on our VR825 kit, this will include our external wastegate headers with dump tubes to bolt up to Garrett GT3076rs turbos. Instead of using Tial wastegates, we are going to be using the new Turbosmart Comp-40 wastegates. These wastegates feature a smaller head for better clearance while still providing quality flow and heat protection. Our kit also includes the Agency Power intercoolers, twin blow off valves, fender mount intakes, larger throttle body/plenum, new 3inch Y-Pipe, and a handful of other goodies. The adder to this project will be 76lb Siemens injectors. Controlling the high and low boost via a Greddy Electronic Boost Controller, these injectors will allow us to further the power we will be able to obtain.
This project will not be all go and no show… To give it a better stance, we will be lowering the car with H&R springs. The biggest upgrade will be the addition of a Vorsteiner VRT aero kit. Their new front bumper with carbon lip spoiler, rear bumper with carbon diffuser, and a Cab first, we will fit their VRT rear wing to the car. We plan on doing alot of updates on our Project Not Ours blog as well as adding images to the gallery. We want to show the quality in our parts and manufacturing process, so expect videos on our YouTube Channel too. So stay tuned there!
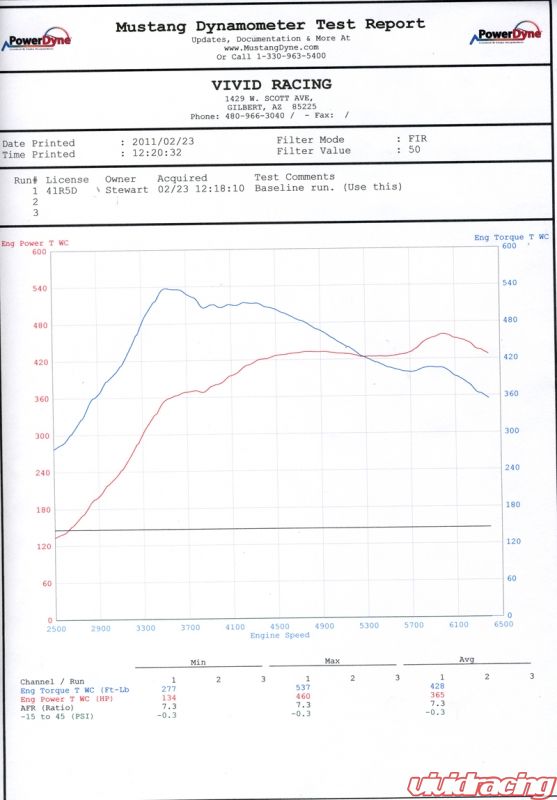
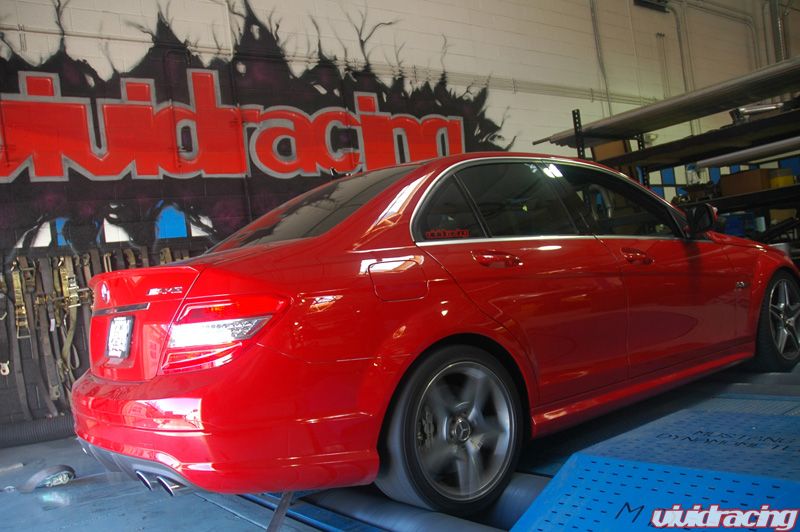
So what is the first step? Baseline the car… On a Mustang AWD Dyno in standard mode, the car made 460awhp and 537ft/lbs of torque. As seen on other tiptronics and even the PDK, these are torque monsters. But this car is lacking a little. From the curve, you can see how it breaks up at around 4000 rpms. This is usually from plugs. When you do a flash and add the additional bolt ons, the horsepower and boost increase can affect the stock heat range plugs causing a failure earlier then the recommended time to change them. Don’t worry, this is in the build 🙂
So it begins!



Pulled the tranny out last night. What a pain says my tech compared to a 6speed! The Torque Converter is being removed and then being sent out for the mod. The tranny is being opened up so expect to see some step by steps of the process!
Got the whole rear off the car and started to hang our new Agency Power GT3076 headers.
So if your wondering what a Tiptronic transmission looks like all disassembled, here it is! The main purpose of rebuilding a Tiptronic is to increase the fluid pressure/circulation and the disk material. You can see how many clutch packs are in here. So stay tuned 🙂
We have some really cool news about the tranny, but in the meantime, been doing some of the basics. Right now we have added the 76lb injectors and our Agency Power TB/Plenum kit which features the CTT throttlebody. Next in will be our intake tray with 3inch ypipe and the intercoolers. Once the intercoolers are fitted, the turbos will go in place. More stuff coming soon!
So one of our main goals was to produce an upgrade for the Tiptronic transmission that was an actual upgrade of designed products and not something put together from other parts. We decided to work with our partner to produce the new disks needed. Once each pack disk was removed, they were then CAD drawn to be cut out of steel to the necessary thickness to increase the disk quantity we wanted to use. After each disk is being cut, we will be bonding to the disk through a process a Kevlar type material. In addition to the disk upgrade, we will have no spacers to compensate for the thickness changes. The only OEM part that will be ugpraded will be the solenoid from Mercedes as well as a larger line to move fluid. Here are some sneaks underway 🙂
Got some new updates here!
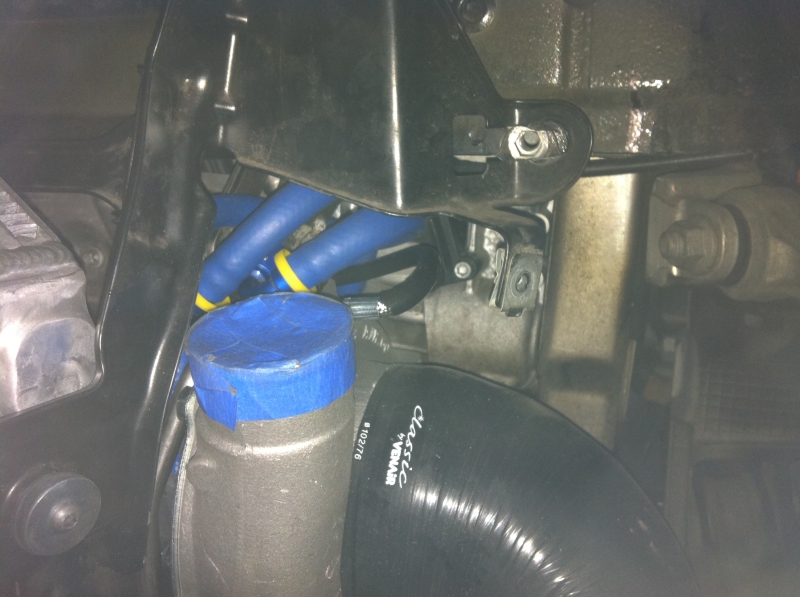
We fitted the high flow 3inch Ypipe. This is all aluminum and maintains the 3inch diameter from the plenum, through the throttle body, and into the intercoolers. The pipe has been powdercoated gloss black and as you can see from the dual ports on the front, our Agency Power blow off valves will be attached soon as well. Because of the larger diameter and design of this YPipe, the factory spoiler hydraulic lifters hit, however this car is getting a new spoiler.
What makes this kit special is the customization to keep the most efficient airflow design at this amount of horsepower. We take our intercoolers and add a 3inch pipe off the outlet. These intercoolers still maintain the factory framing an will have the top and bottom ducts as well.
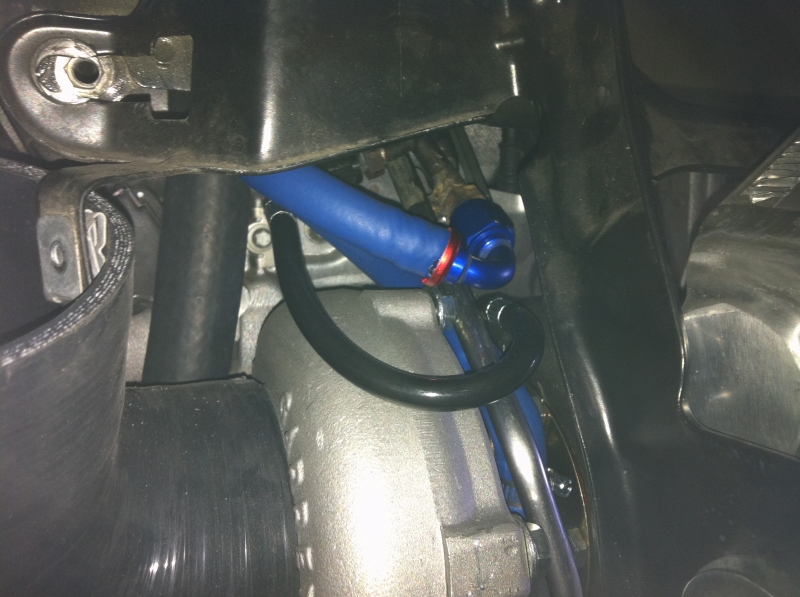
You can see here the GT3076 turbos are mounted with the factory oil sumps. Today we are changing the water and oil line fittings and the rear end should be almost complete.
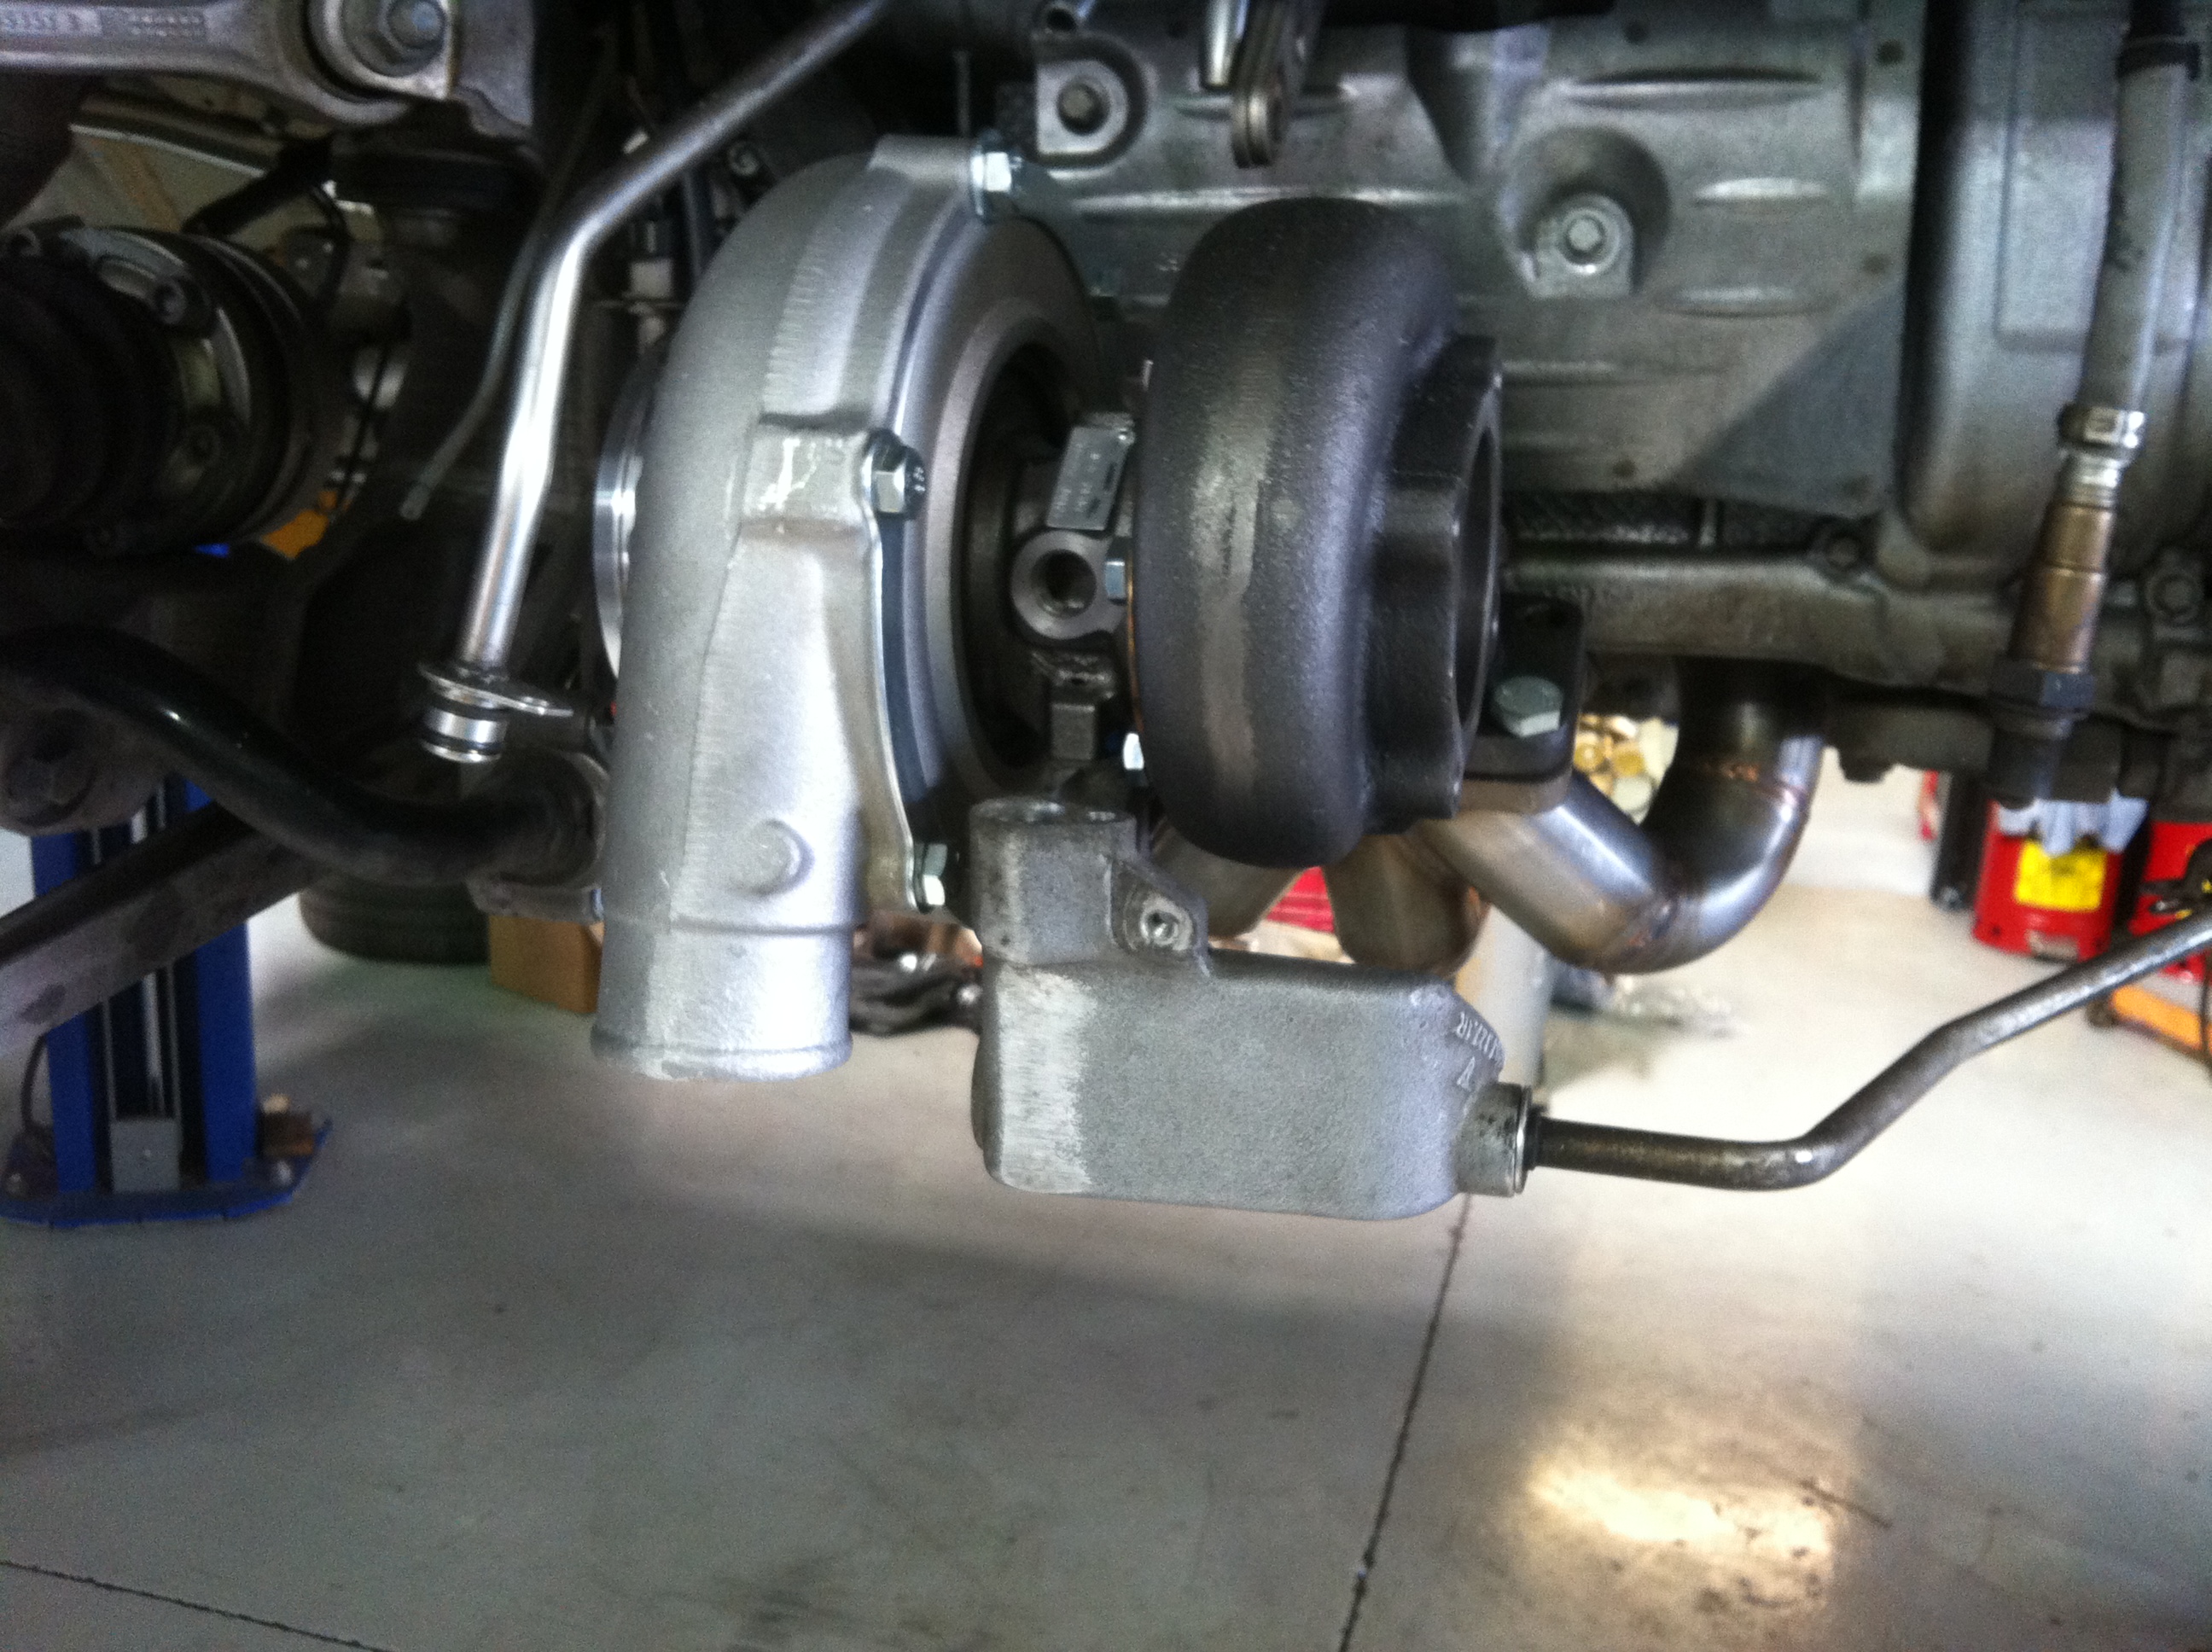
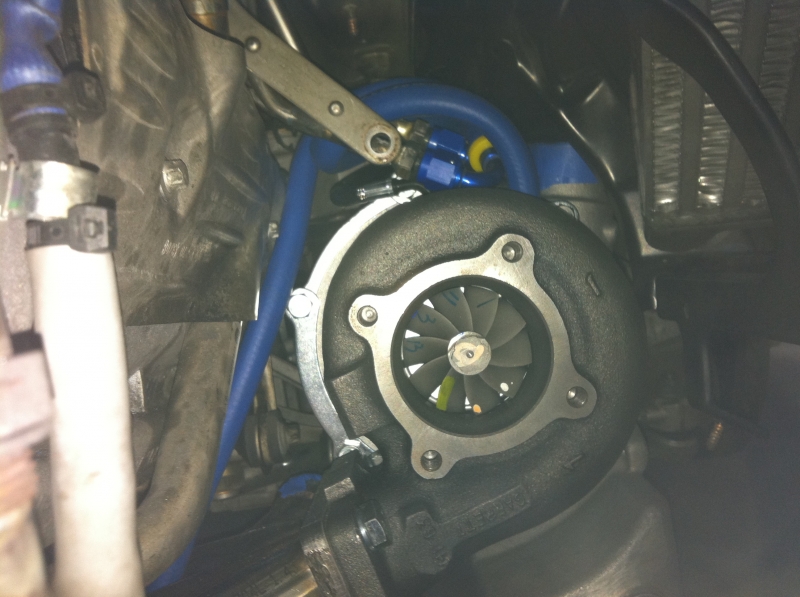
The transmission parts are still underway, but we got our new custom torque converter back (specs coming soon!). So we are finishing the main stuff now 🙂 Intercoolers are in with the frames. Now just need to attach the Vorsteiner carbon ducts. Turbos and headers are complete with change to fittings. These headers will be attached to the Turbosmart wastegates. We took a picture of the collector so you could see the inside quality of the merge.
While we finish buttoning up the power parts, our Vorsteiner new Front Bumper and Rear Wing showed up! This will be the first VRT Cab that we know of. Some modifications may need to be made to the rear wing for the convertible to work. We are anxious to check it out. More coming soon 🙂
Here is a couple pics of the fittings installed to convert the stock to Garrett for the oil and water.
FYI, this will be the first ever full Vorsteiner VRT Cab! We had to modify the wing to work with the Cab retractable cover.
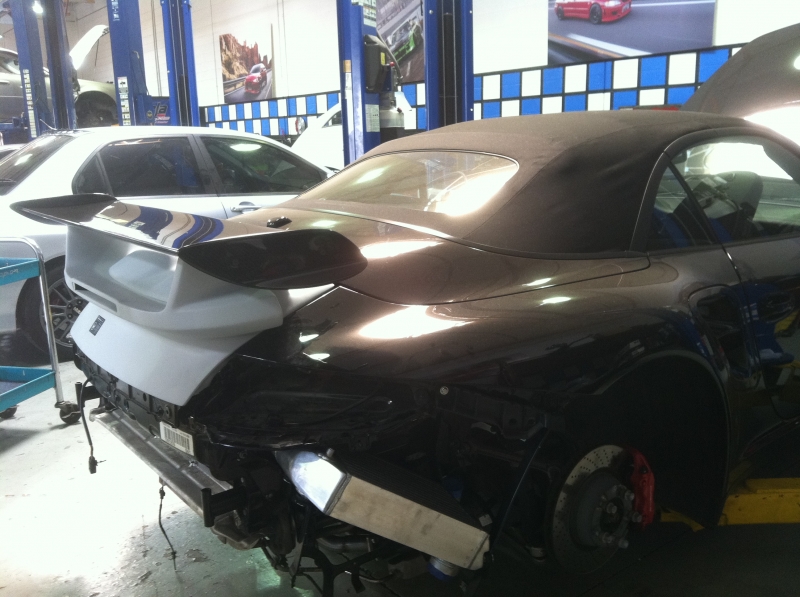
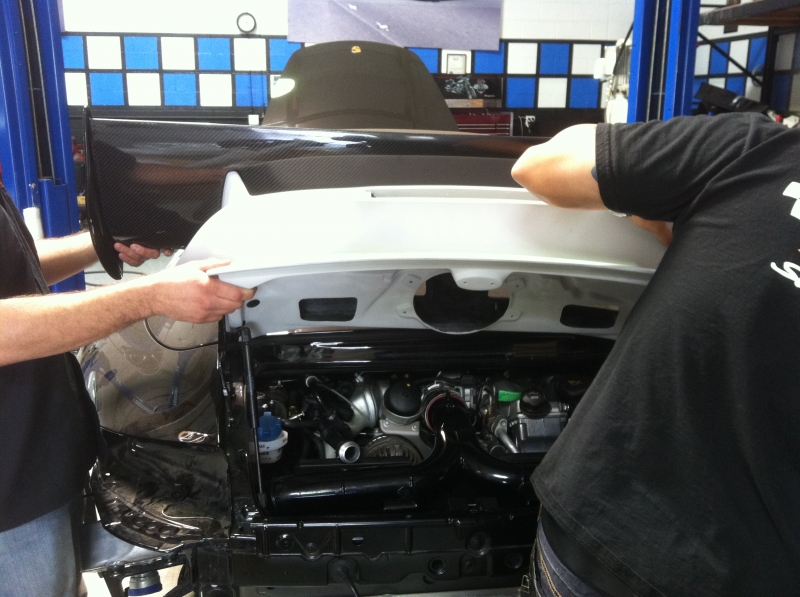
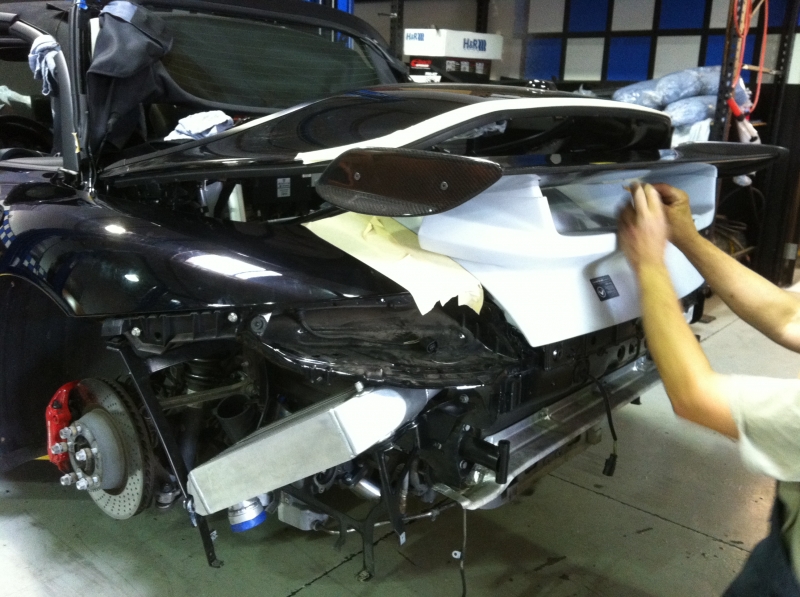
TADA!
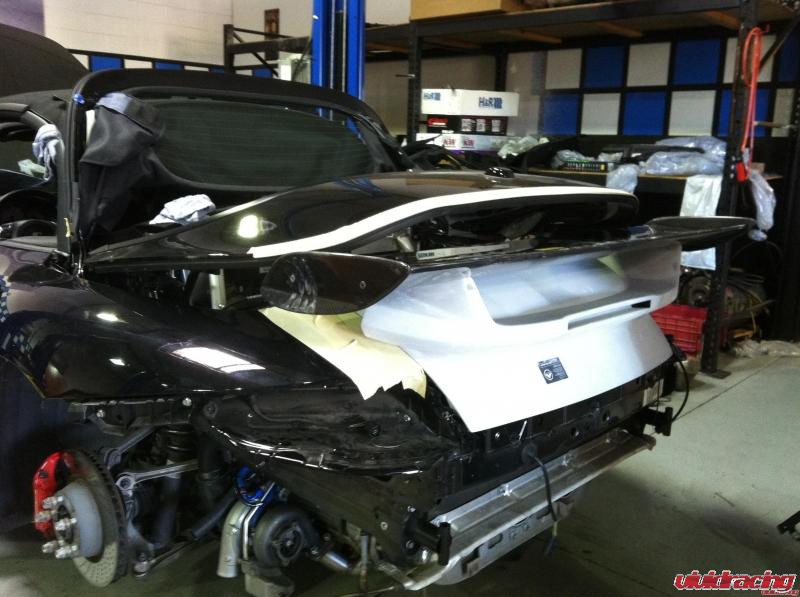
Now just got the full kit installed. Waiting on the tranny parts!
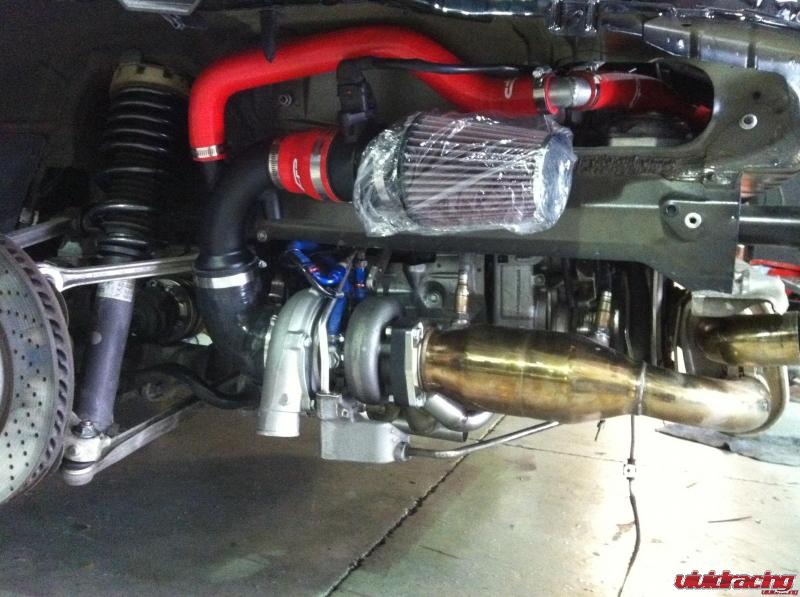
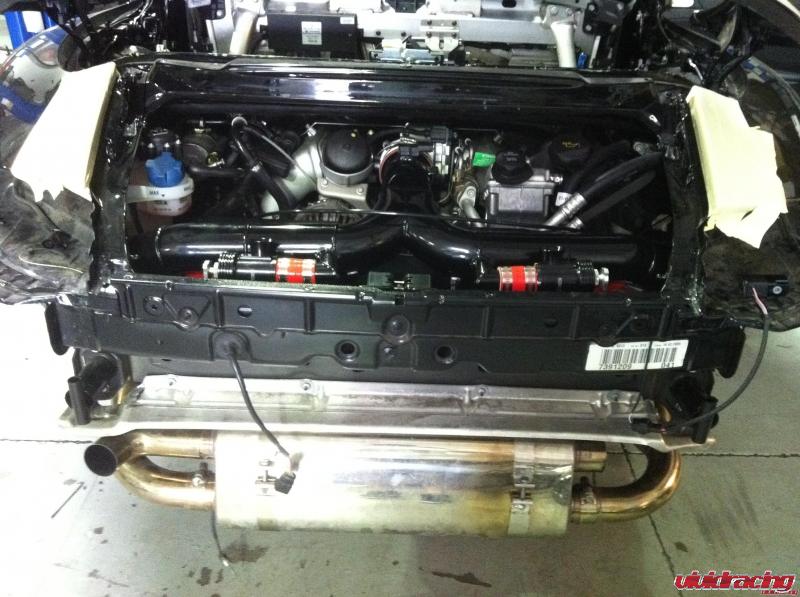
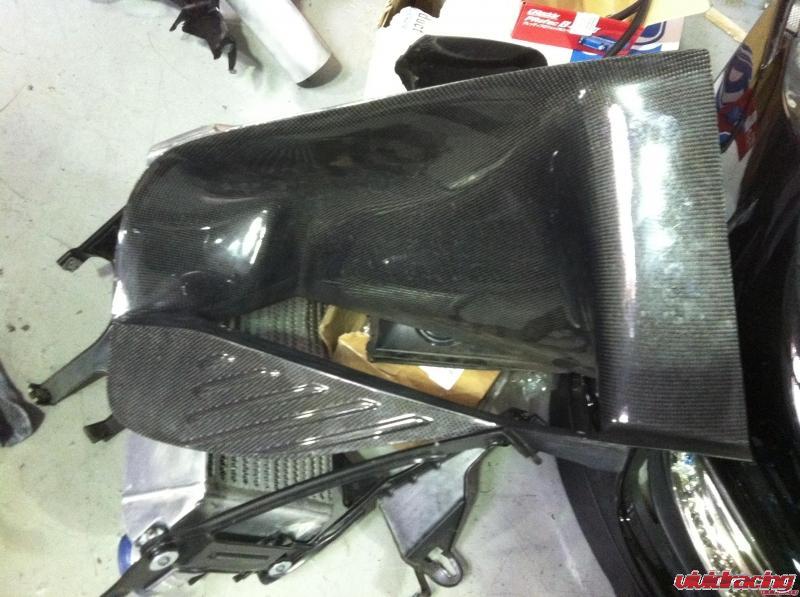
Little sneak peak of the new Vorsteiner bumper installed and the Greddy unit in place. Things wrapping up so stay tuned!
Ok here is a good tranny update. The tranny is going back in the car now, but here is how we got to wear we are. Our partner with the tranny is someone that has done some pretty high horsepower DSG type cars and builds these disks. Each disk is drawn up using CAD software and then cut from high strength/temp steel. We then coat each side with kevlar material. From their experience, they put enough spacing between the disks to make sure there is easy engagement.
Now to be candid… There is alot of price gouging going on with these Tip rebuilds. Either we will win or mud in our face. But the basics are you need to increase pressure of the fluid, change shift points, and have better disks. Our take is to not only add additional disks where necessary, but use a material, design, and thickness that will hold the pressure.
Here is the initial tear down.

Break out of K1 clutch pack.

Tear down and inspection of K3 Clutch Pack. The K2 clutch pack is one of the primary clutch packs that need upgrading. The friction plates in the K3 unit will be upgraded. There will be more friction plates added to increase the overall surface are of the K3 pack.
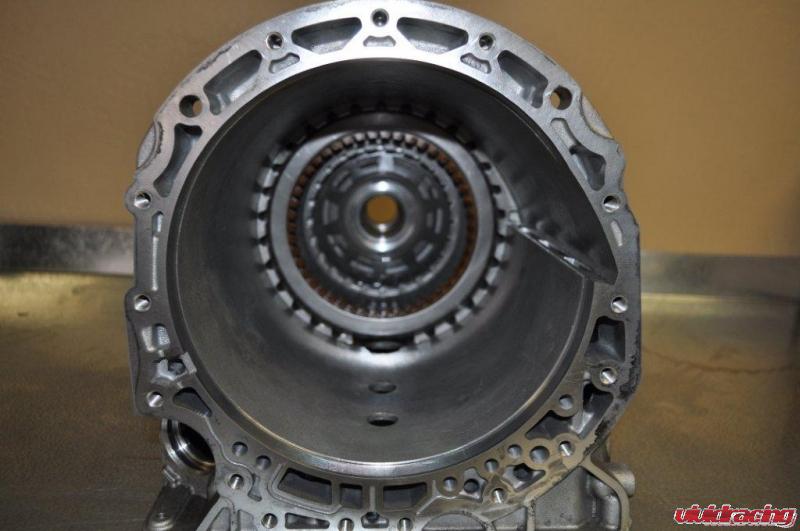
Tear down of K2 Clutch Pack
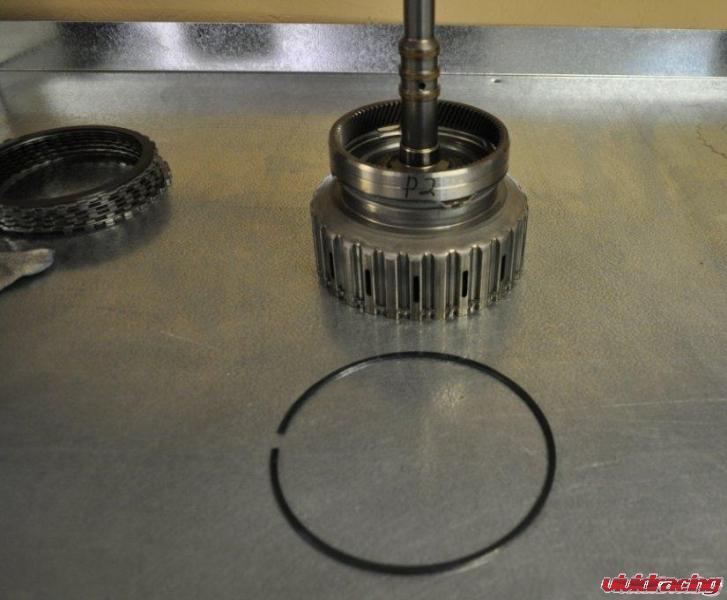
Inspection of K3 Clutch Pack. K3 will be upgraded with more friction plates.

Upgraded K3 Kevlar friction discs and high tensile steel plates. Overall we are adding 1 more friction plate that will create more frictional surface area. We are using a 100% Kevlar friction plate. The plates are designed to endure the most severe torque loads. Composition: 100% long KEVLAR® fibers and proprietary polymer binders feature higher temperature resistance.
Upgraded K2 Kevlar clutch pack.

Everything together and did test drive. Shifts really precise, no lag. Gonna put about 30 miles on it before we dyno on Tuesday. Here is what we did to the transmission…..
We went with a dual sided disk to keep friction temps down. This way you increase the surface area and run the disks cooler since they are seperated now. First we modify the K2 basket. The factory allowed for 6 friction double sided disks and 5 steel plates which seperated them. The stock is double sided but made out of a weak paper material which burns up easily. The paper material is similar to a 700 grit sandpaper if you will. This is great for operational driving, but not for long term high horsepower cars. The factory disks have only 10thousands of material. To upgrade the disks, we had to program each disk into our computer to be cut from high tensil strength steel. Once the disks were cut, we then bonded 100% kevlar material to each side. The new disks now have 25thousandth of material on each side. This is 2.5 times the material of stock with the addition of 1 more friction plate. So now the K2 basket has 7 total double sided plates and 7 steel plates. 1 being a pusher plate for extra strength. The extra plate is to decrease the distance the disks have to travel to make shifting faster by decreasing the piston travel. As a note, more disks does not equal better strength. The TCU tuning and clamping pressure as well as line pressure is very important.
Next we tackled the K3 basket – The factory allowed 10 single sided friction plates and no steel plates. So basically the OEM is steel plates on one side, and friction on the other. If you can imagine, this is just a sandwhich of plates. Each OEM disk has 10thousandths of material on the 1 side. We upgraded these disks to double sided kevlar increasing the material thickness to 28thousandths. So now we have 4 double sided friction plates and 1 single sided friction plate. There are now 4 steel plate spacer disks in between them. This dropped 1 friction plate but increased material material.
Got the car all back together and about to do some testing now. The Vorsteiner VRT kit came out awesome. The modified rear wing to work with the cab looks like it was made for the car. I love the black and carbon accents. We did lower the car with H&R springs and added 18mm rear spacers. Enjoy the glam shots. Tests results coming soon!
Alright… Update time!
We took on this project knowing what our kit could already do based on my 6spd car. But the underlying factor here was the tranny. The tranny needed to support the horsepower or the power would be worthless. After all our research online, we were going to go with the way all others do simply with using additional MB discs. But everyone is so secretive about what is done (keep reading, not that much of a secret). But instead we took on an opportunity with a company who makes DSG discs for other cars like the GTR. The concept as we talked about above was to add more discs and more material. Our problem with this really ended up with R&D and experience since we were here in AZ and the builder was not. Not afraid to be honest, we burnt up 2 sets just driving normally. This was because of spacing, not material we believe. So to not hold up the project anymore, we dove back into our research. What is in these tranny’s from MB? Call Porsche, they dont know. Call Mercedes, “you got a VIN?”. Making connections with the right people, we learned alot to build a successful strong Tiptronic tranny.
You really only need 5 things to have a successful Tiptronic: New Discs and Spacers, Solenoid Valves, TCU to increase line pressure, upgraded Torque Converter, and larger diameter line. Upgrading the K2 and K3 clutch baskets you have to order parts from a SL55 AMG. This includes new discs and new spacers which is key. You need 2 kits for 1 car and then it is all about measuring. If the spacers are to tall, then you have disks that will not engage and if they are to close, disks bind up and burn. The goal as we already discussed was to increase pressure and that is done with the upgraded Solenoids and a TCU flash while improving flow with a larger steel braided line. The TCU is really there to improve the shift points. With the pressure up’d, the clamping force allows for the increased discs to hold together under peak torque. We did not upgrade the valvebody. Will post pics of the upgraded parts later. We are going to re-investigate the Kevlar disc upgrade though, no eta right now.
So the results…
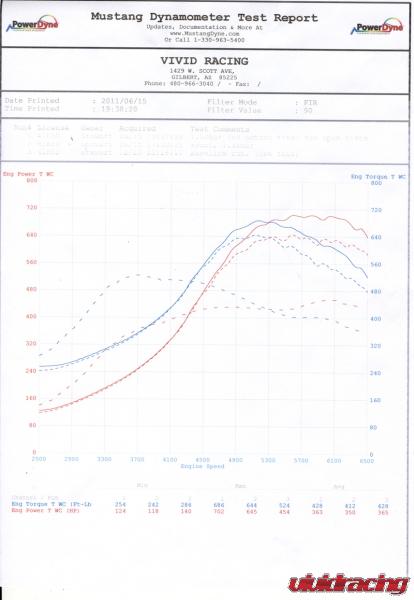
We strapped the convertible down to our Mustang AWD dyno and with the existing 93octane the car had, we begin to do some runs. Granted it is 100F in the room, we were expecting some ok numbers. First we wanted to run wastegate pressure only. This was about .9bar. Once we confirmed the car was running ok, our set goal for “pump” gas was 1.35bar We did 2 runs back to back and yielded about 650awhp. The Mustang Dyno in AWD mode is called the Heart Breaker or Dream Killer because it usually shows a 20-25% drivetrain loss. That right there is about 800 crank. We did a couple more runs at that boost level to make sure the tranny was still holding up. Our next goal was to set a race boost level. This was going to be 1.6bar on 109octane. So we slightly dialed in the boost and made run after run as we crept up. Letting the car cool for an hour, we came back to do the glory run.
With traction control on, we let it rip in 3rd gear. At 5200rpm with traction control on, we were still breaking loose the tires. With peak boost only hitting 1.52bar, the dyno correction factor had it putting won 788awhp and 762ft/lbs of torque!!!! We were not able to get the tires to stick anymore. In cooler temps and 1.6-1.7bar, this car is making 850awhp easily In comparison, my 6spd car made 760awhp and 690ft/lbs of torque on 109 at 1.7bar. The difference is the 72lb injectors, 4inch compressor inlet on the GT3076 turbos, and the Tiptronic. The car came to us with a VRTuned flash, AP Exhaust, AP Headers, and AP intake. It gained over 250awhp! So yes on the dyno, the car felt good, but how would it feel on the street? Next Post coming up….
Reference for Greddy Boost Settings:
Low Boost – Dial 60%, Gain 18%, Set Gain 23%
High Boost – Dial 80%, Gain 18%, Set Gain 23%
Dyno showing Baseline, Low Boost, High Boost
Here are some new pics with the HRE P40S Wheels installed. 19×8.5 and 19×11 gloss black! love it 🙂