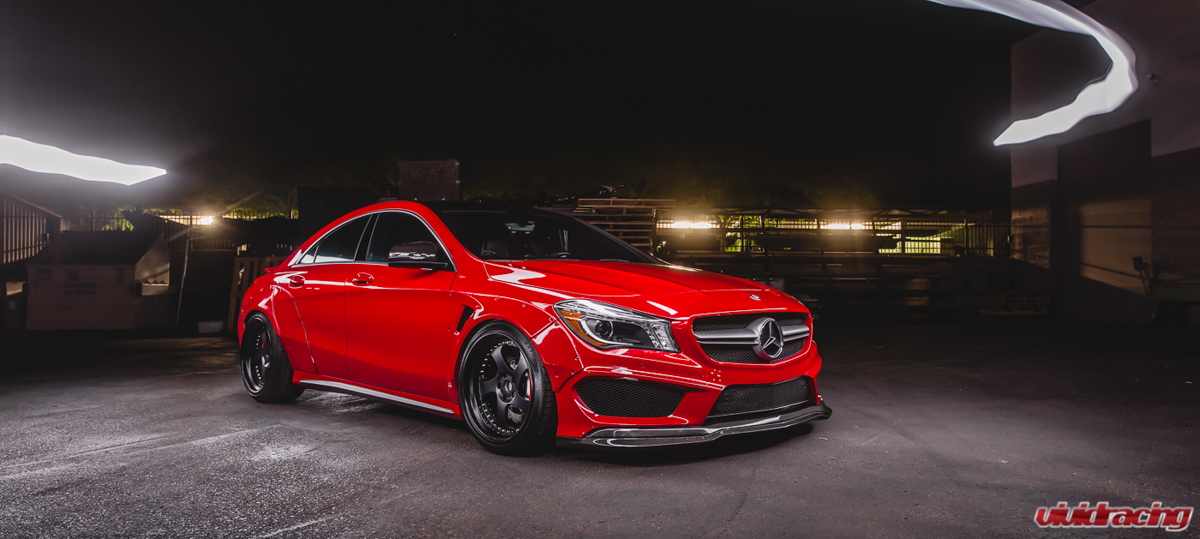
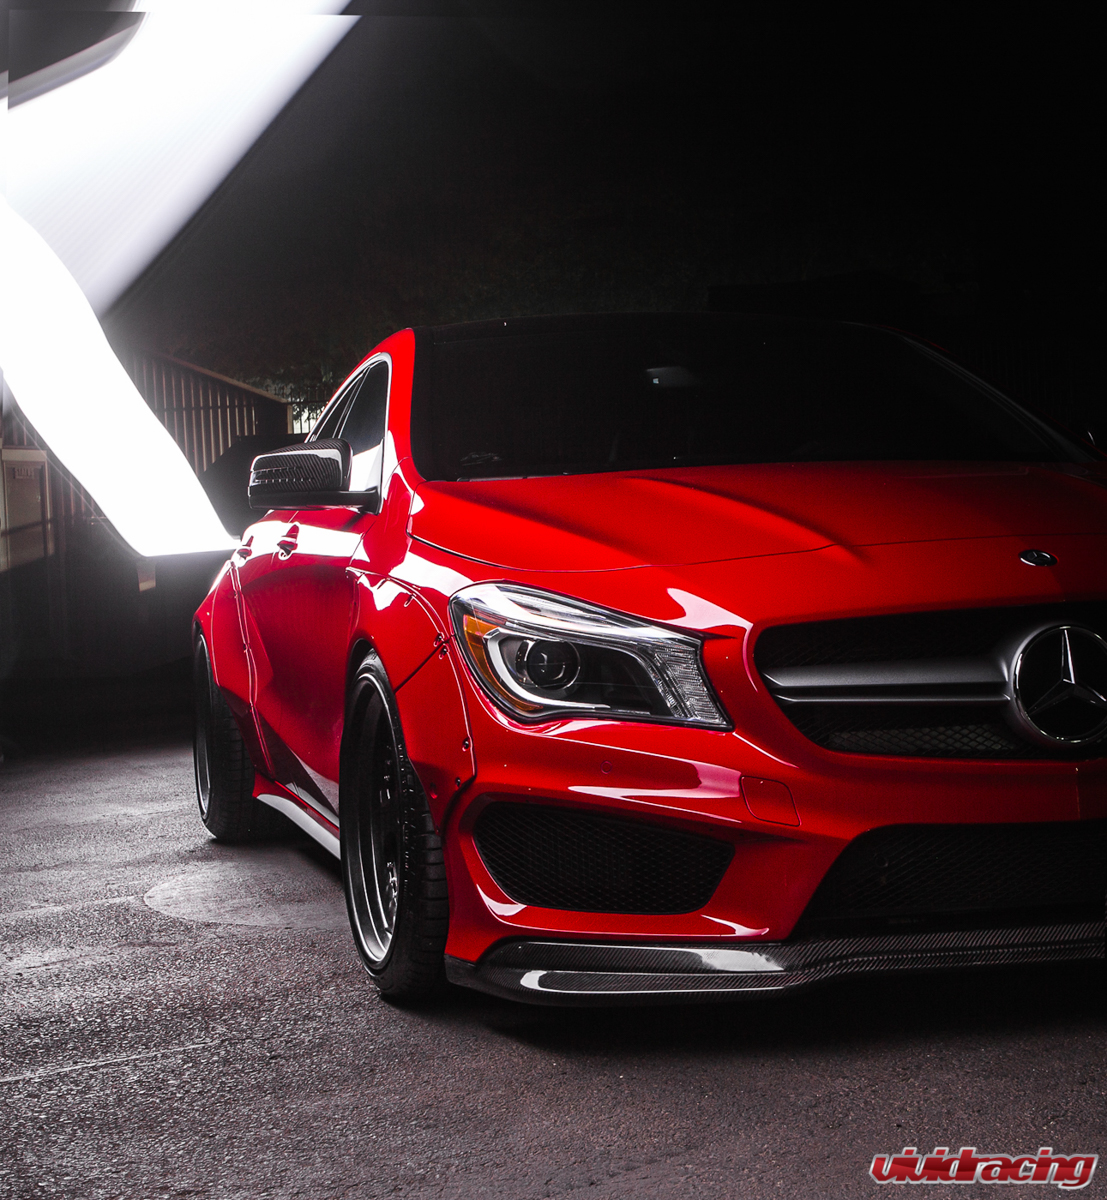
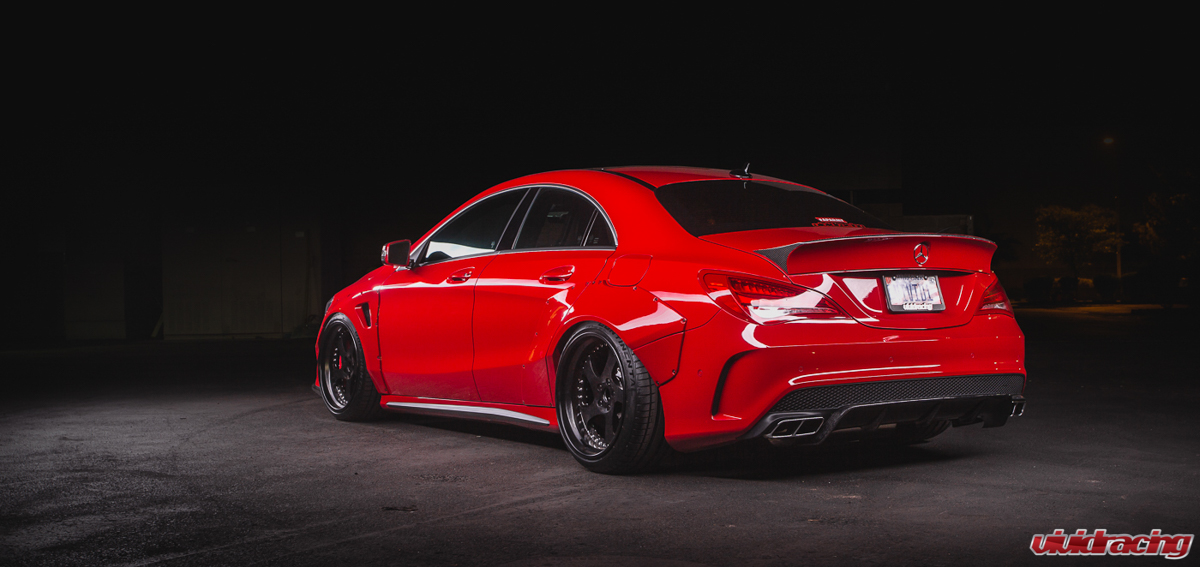
When we got the CLA45 in September 2014, we were pretty pumped on this new little sedan. It quickly became one of the sexiest CLA45’s out there with the full RevoZport kit and Niche wheels. The car sounded amazing with the Armytrix exhaust and hauled a$$ with the VRTuned flash. Overall, it was the perfect daily driver. In the summer of 2015 we had Matt Farah and his TheSmokingTire YouTube show review it with one of his one take videos. To say the least, he was impressed. Matt mentioned this was the perfect replacement or competitor to the Subaru STI and Mitsubishi EVO. Having always said that if the new STI was available in paddle shifter, I would buy it. So now after almost a year of owning the CLA45, I finally “get it”, as the owner of both those cars.
As days continued on, the enjoyment of this “Project Car” became flat lined and I wanted to get something bigger, faster, and easier to haul the family around. Something like our old Panamera Turbo or BMW M5 V10. Would the new C63 make sense with the massive 4.0L bi-turbo? The only thing I could do is put the CLA45 up for sale, and that I did. Previous to this decision I had gotten the full Fairy Design widebody kit sent to me and it sat in a box here at Vivid Racing. I thought, “maybe I will install this kit.” But its so much work and who knows of the outcome will be worth it. Days went by, then weeks, and finally months. If there was any interest in the car, it was low ballers and dreamers that wanted to pay wholesale for a car well modded and only had 5000 miles. So finally in February 2016, I said “F&%k It! Let make this ultimate fan boy machine!” To do the Fairy Design kit on the car, I had only one requirement, NO RUBBING. Since I use this car as a daily and want to haul the family around, I can’t be scraping tire over every bump. The sub requirement of this was I want it to look right. No self tapping screws, crappy paint, weird wheel setups, or costly investments.
So this is our journey to go wide.
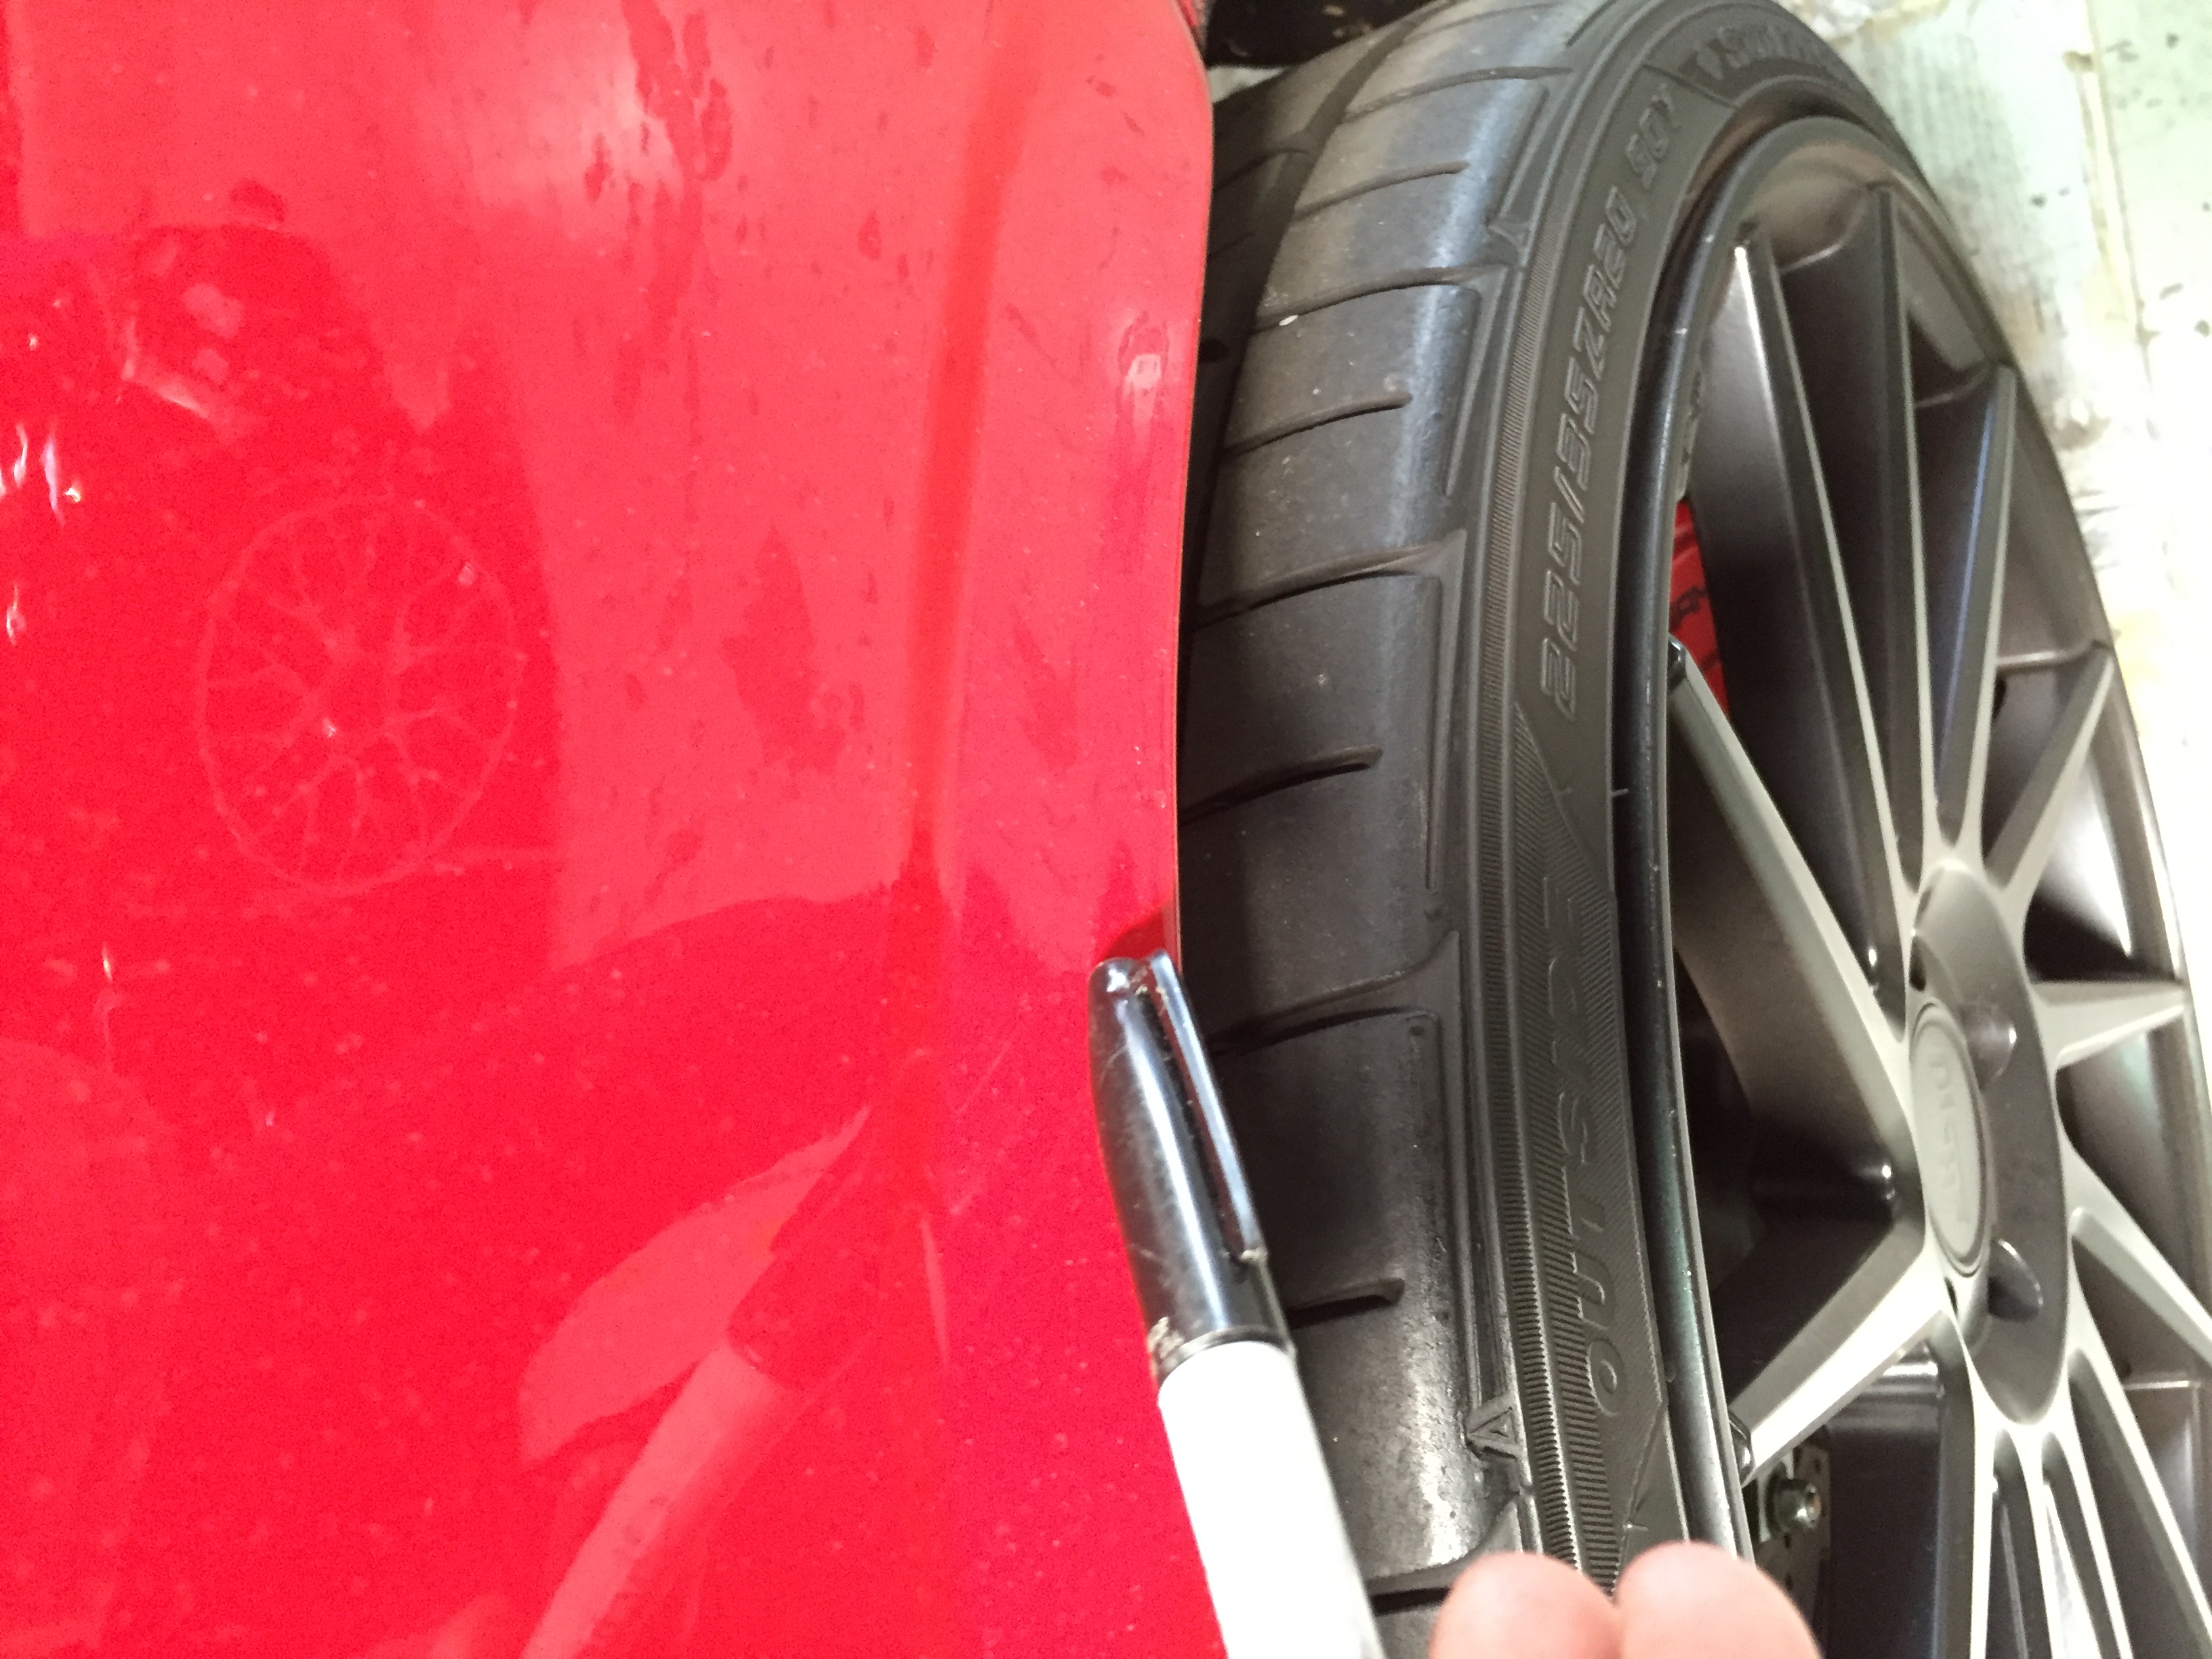
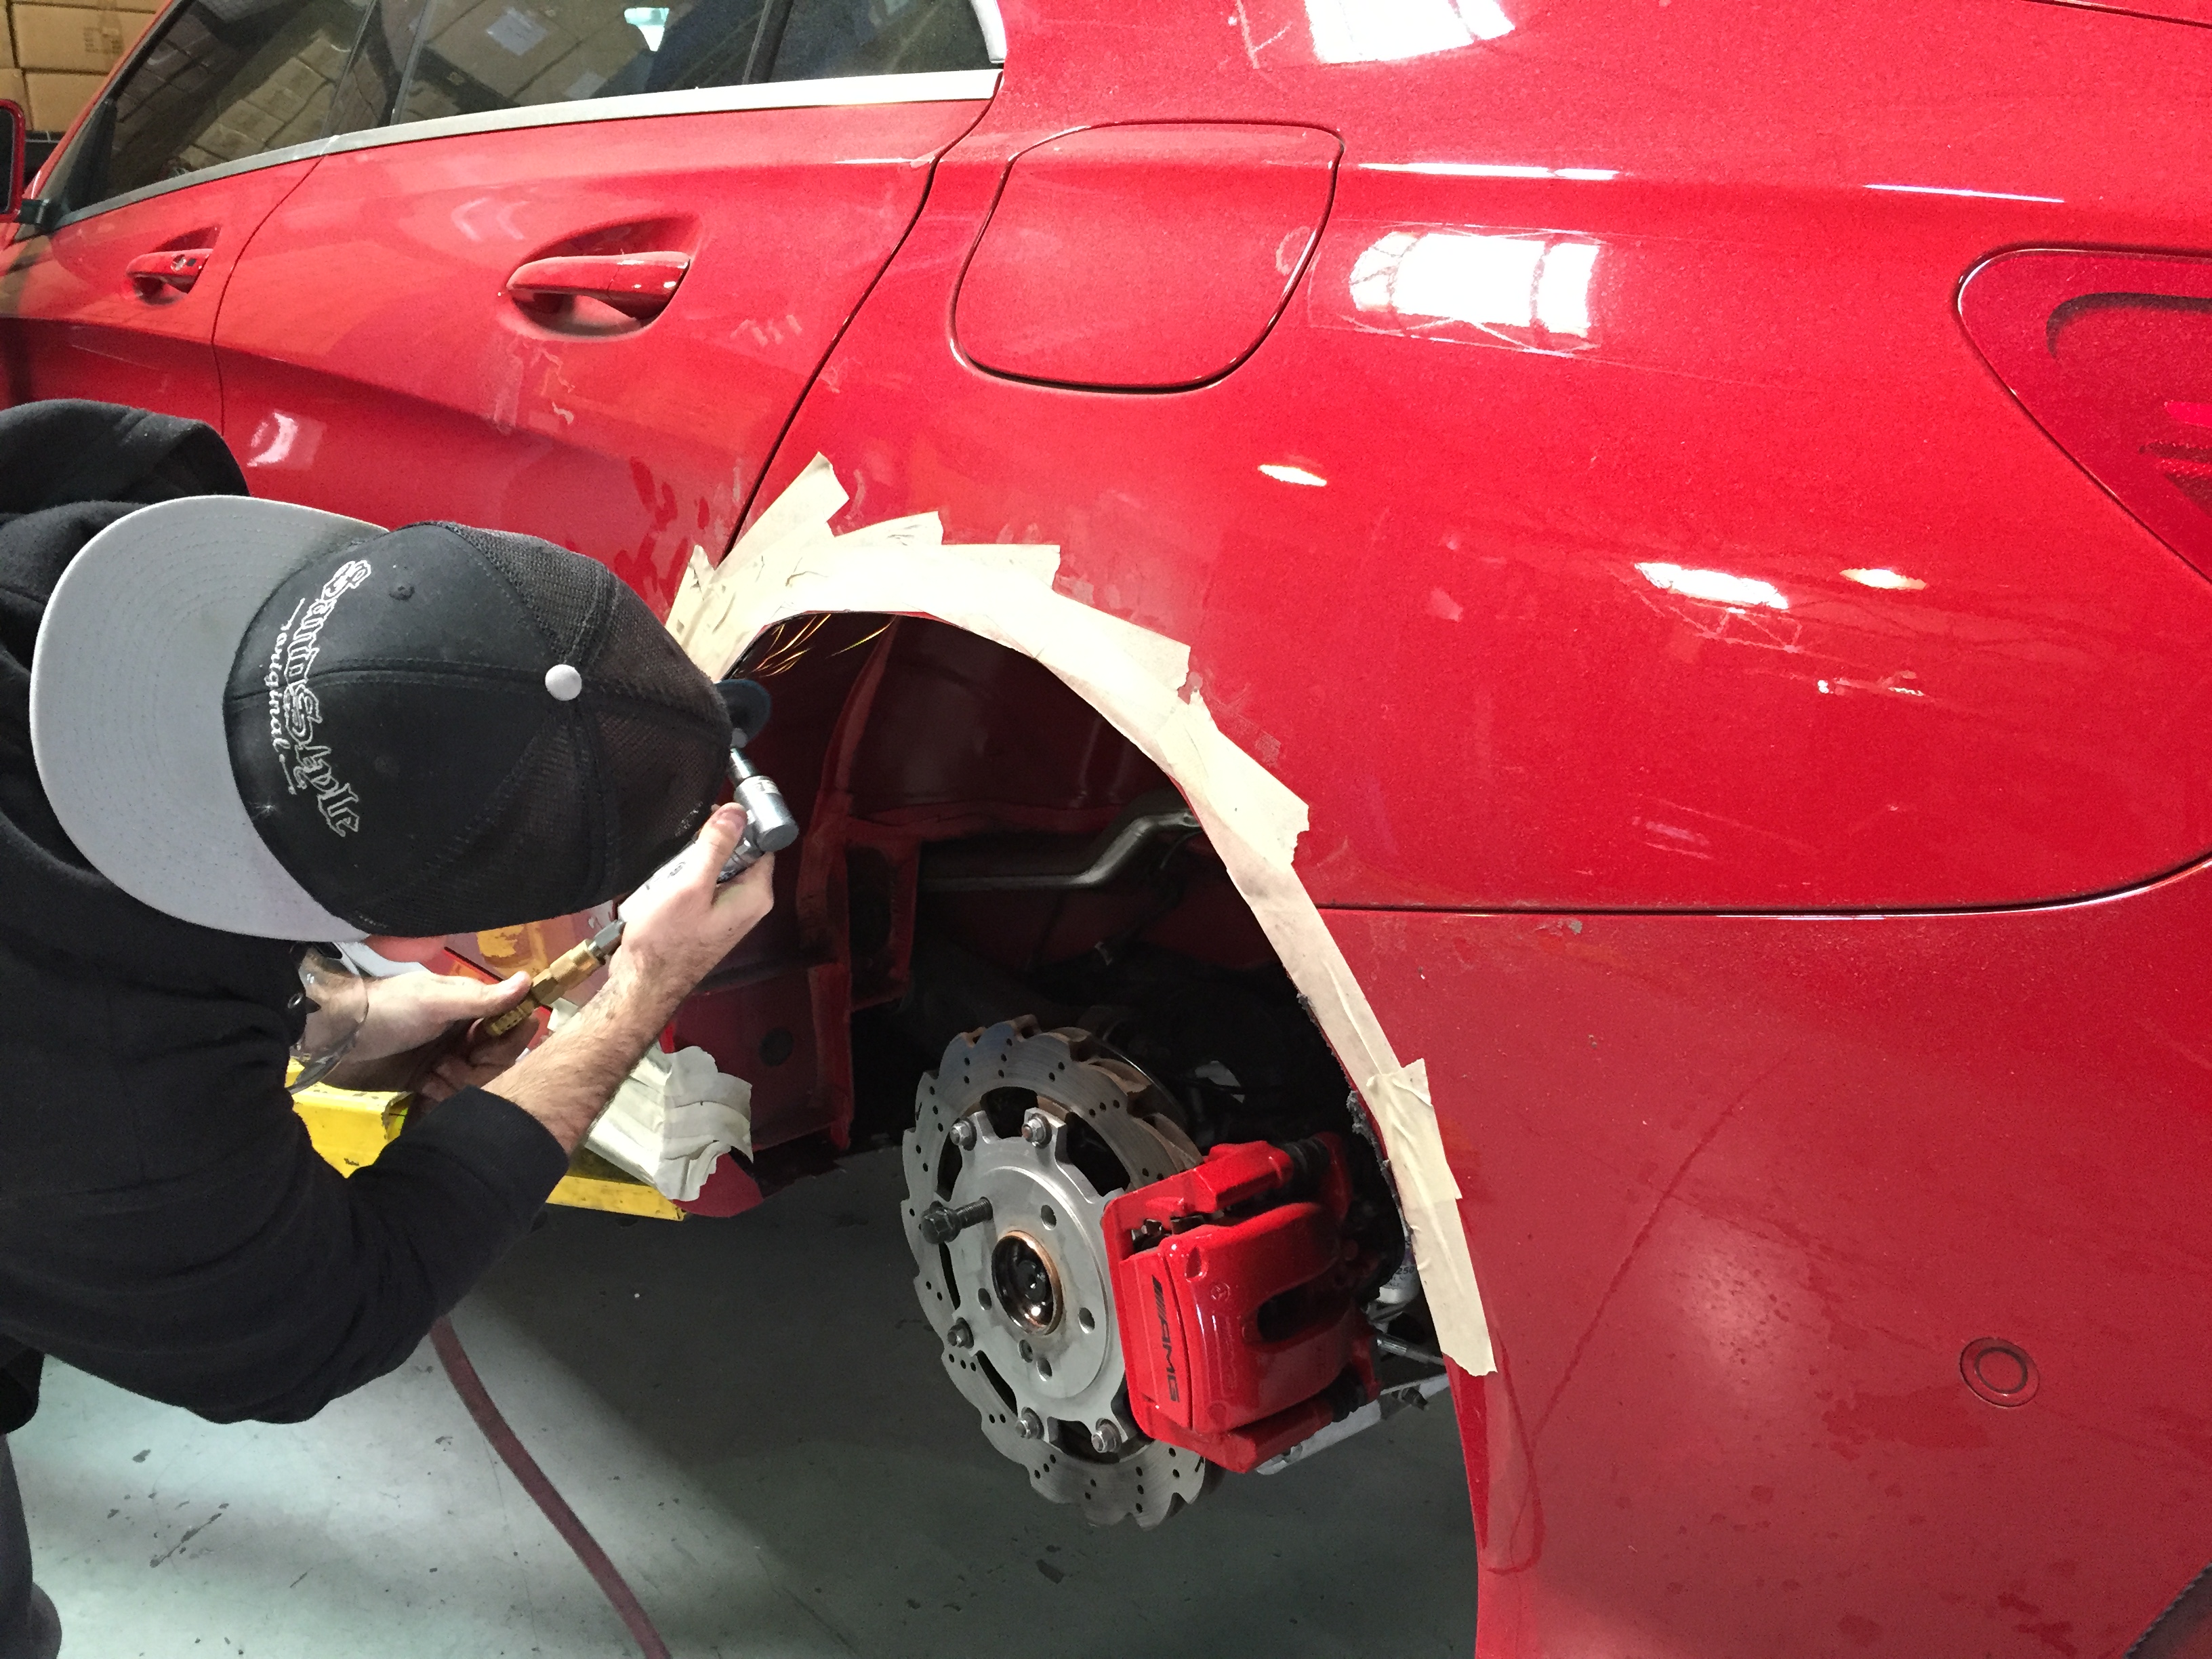
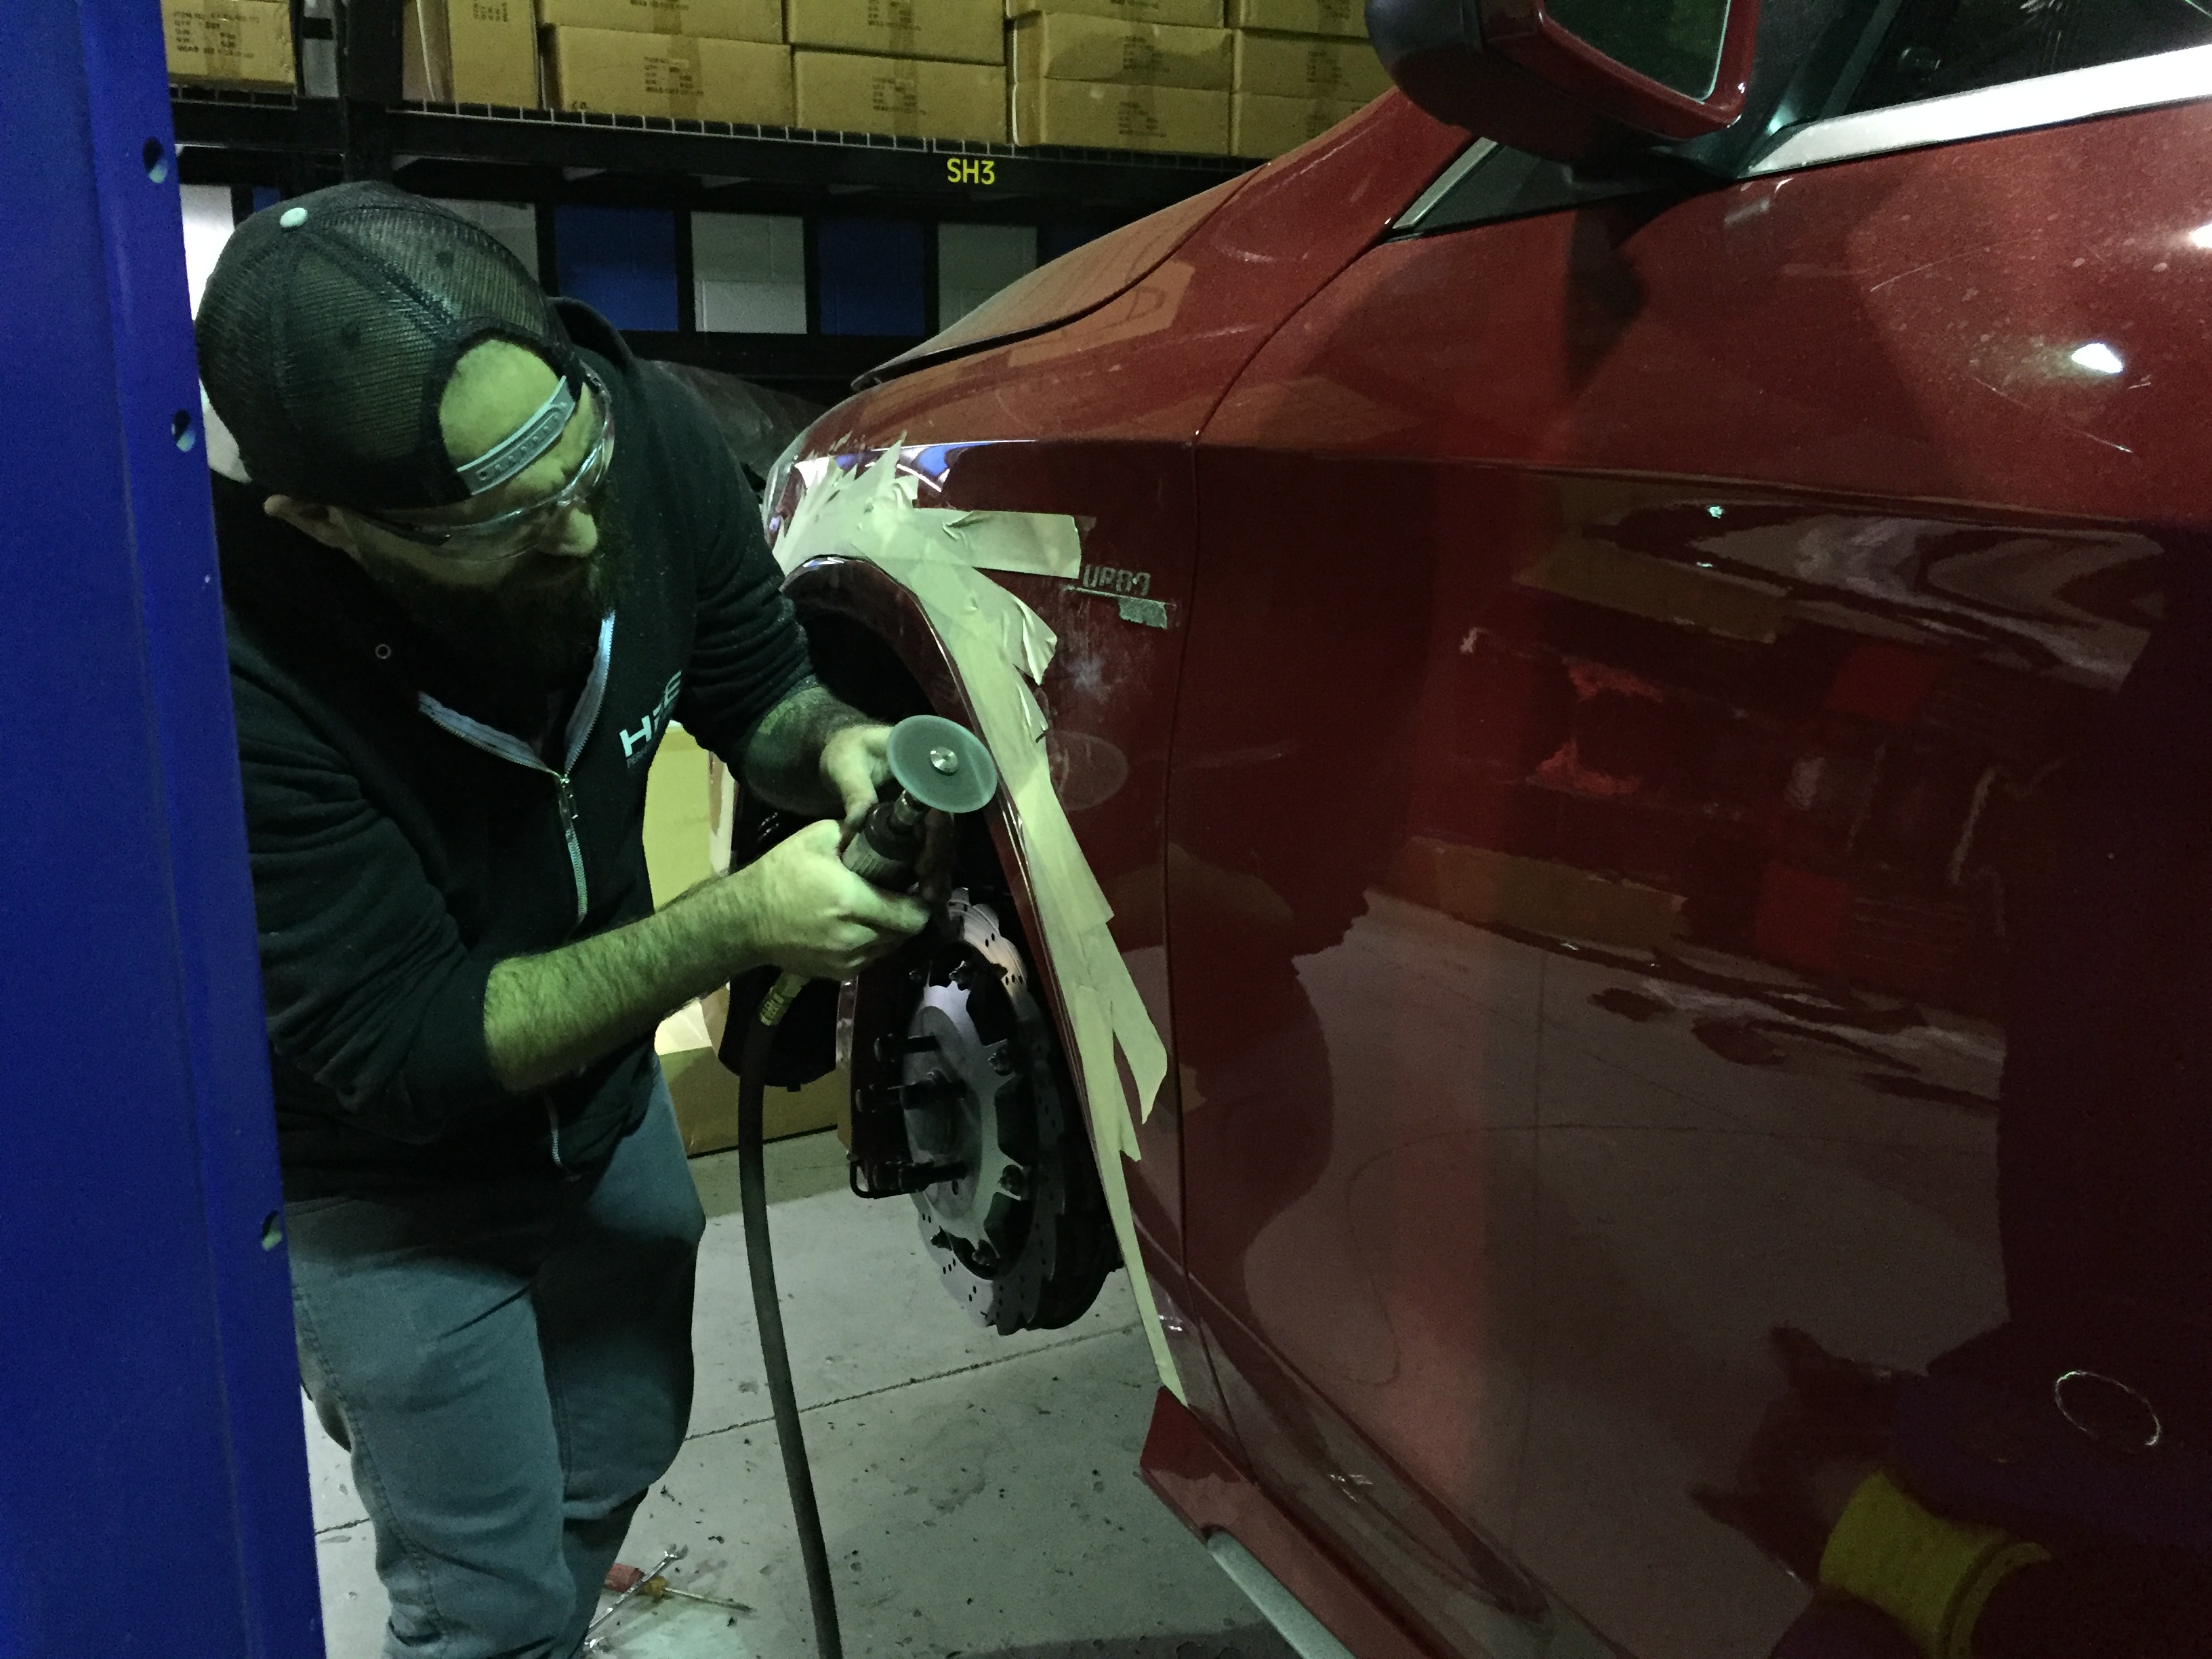
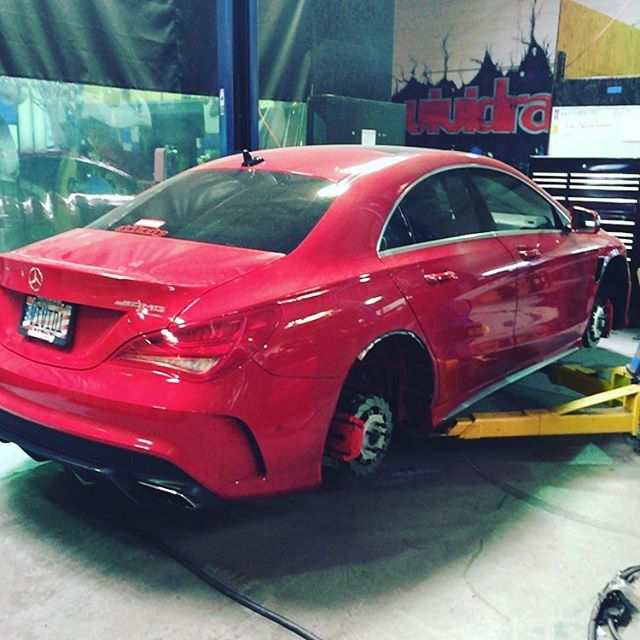
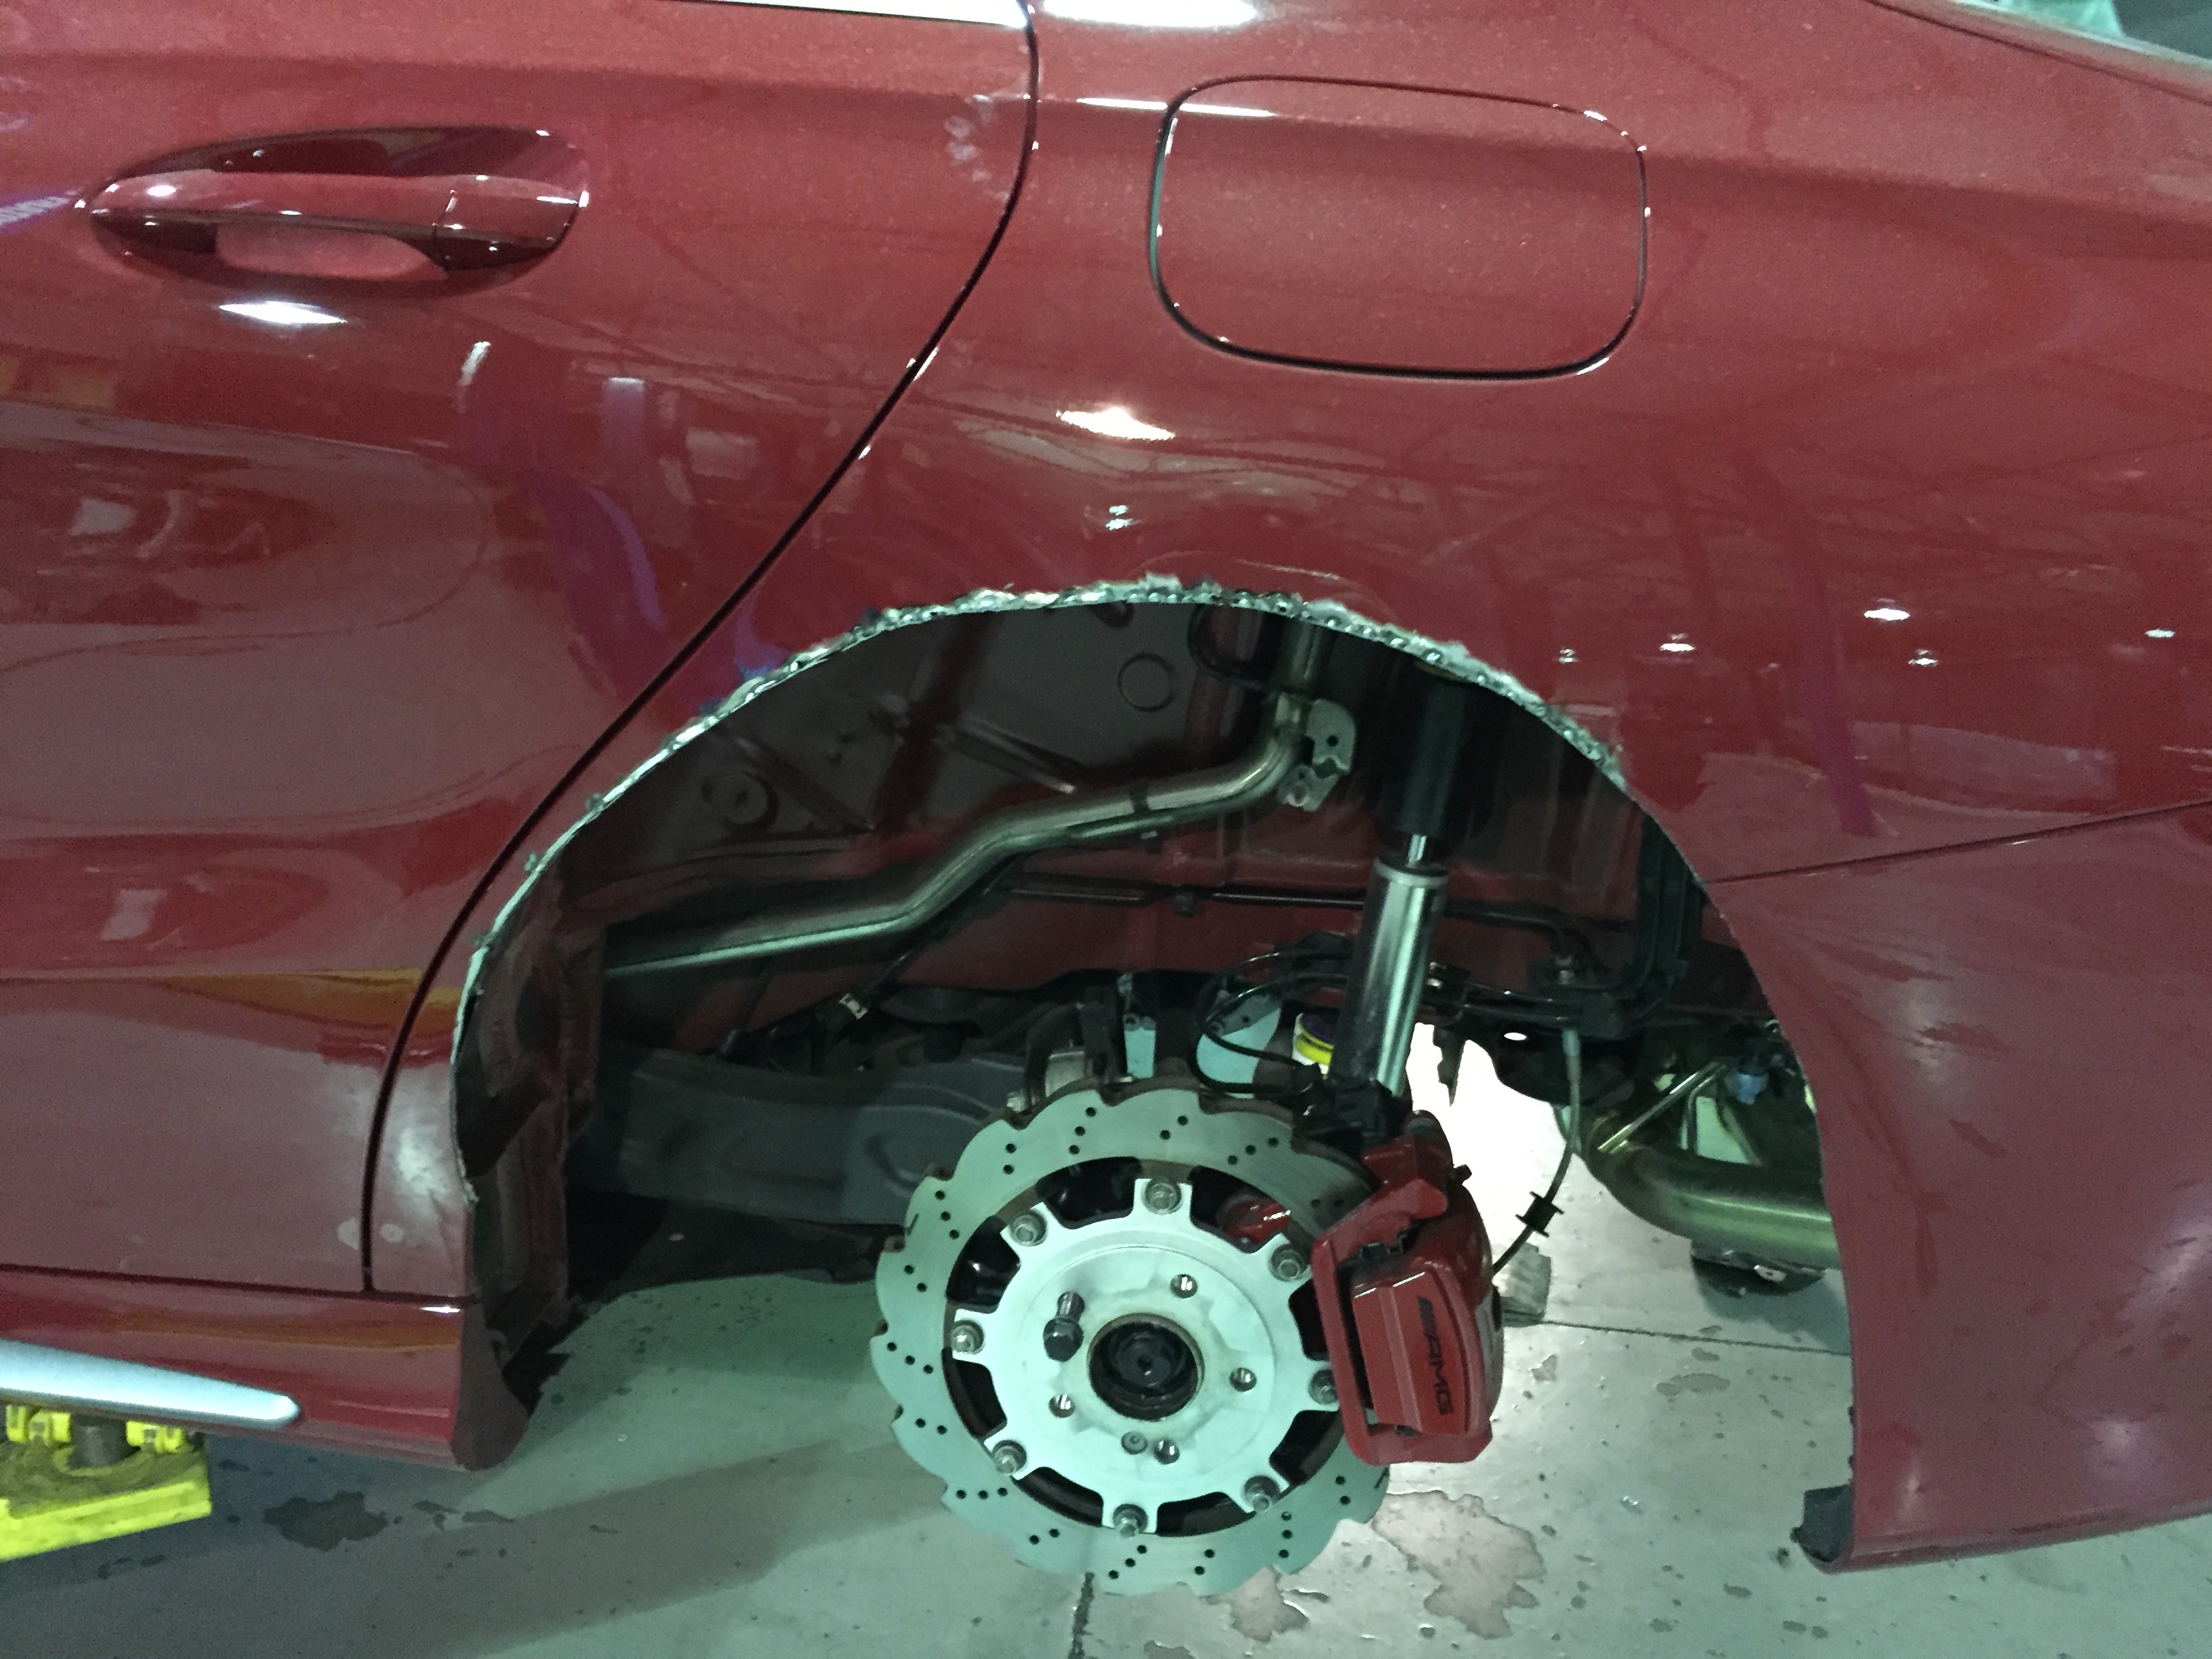
Part of the car modification process is the experience. Sure I could have just had a tech here do all the work, but I wanted to enjoy the fruits of my labor. For those that know me, my labor is typing, so I needed a sidekick. Our Media Man, Cody, here at Vivid Racing/Agency Power has done his fair share of slammed trucks, body conversions, and has a crazy sense of detail. Since Nakai-San was busy doing Rauh Welt cars, we called him our Cody-San. There is no price that can be put on his work or time spent as well as what we put into the detail of this build. It took about a month to do working a couple hours here and there after hours. What started off of laughing as we cut into the body, became memories of working till midnight test fitting fenders and drilling holes. Cutting into the body of the car was comical. Once you put that cut off wheel into the panel, there is no turning back. So we trimmed and trimmed. First the rear, then the front. We test fitted the fenders, then trimmed some more. We then finished one side. Challenges came up such as what to do with the parking sensor, the fender liner, the side grills. We took a week to finish this initial process.
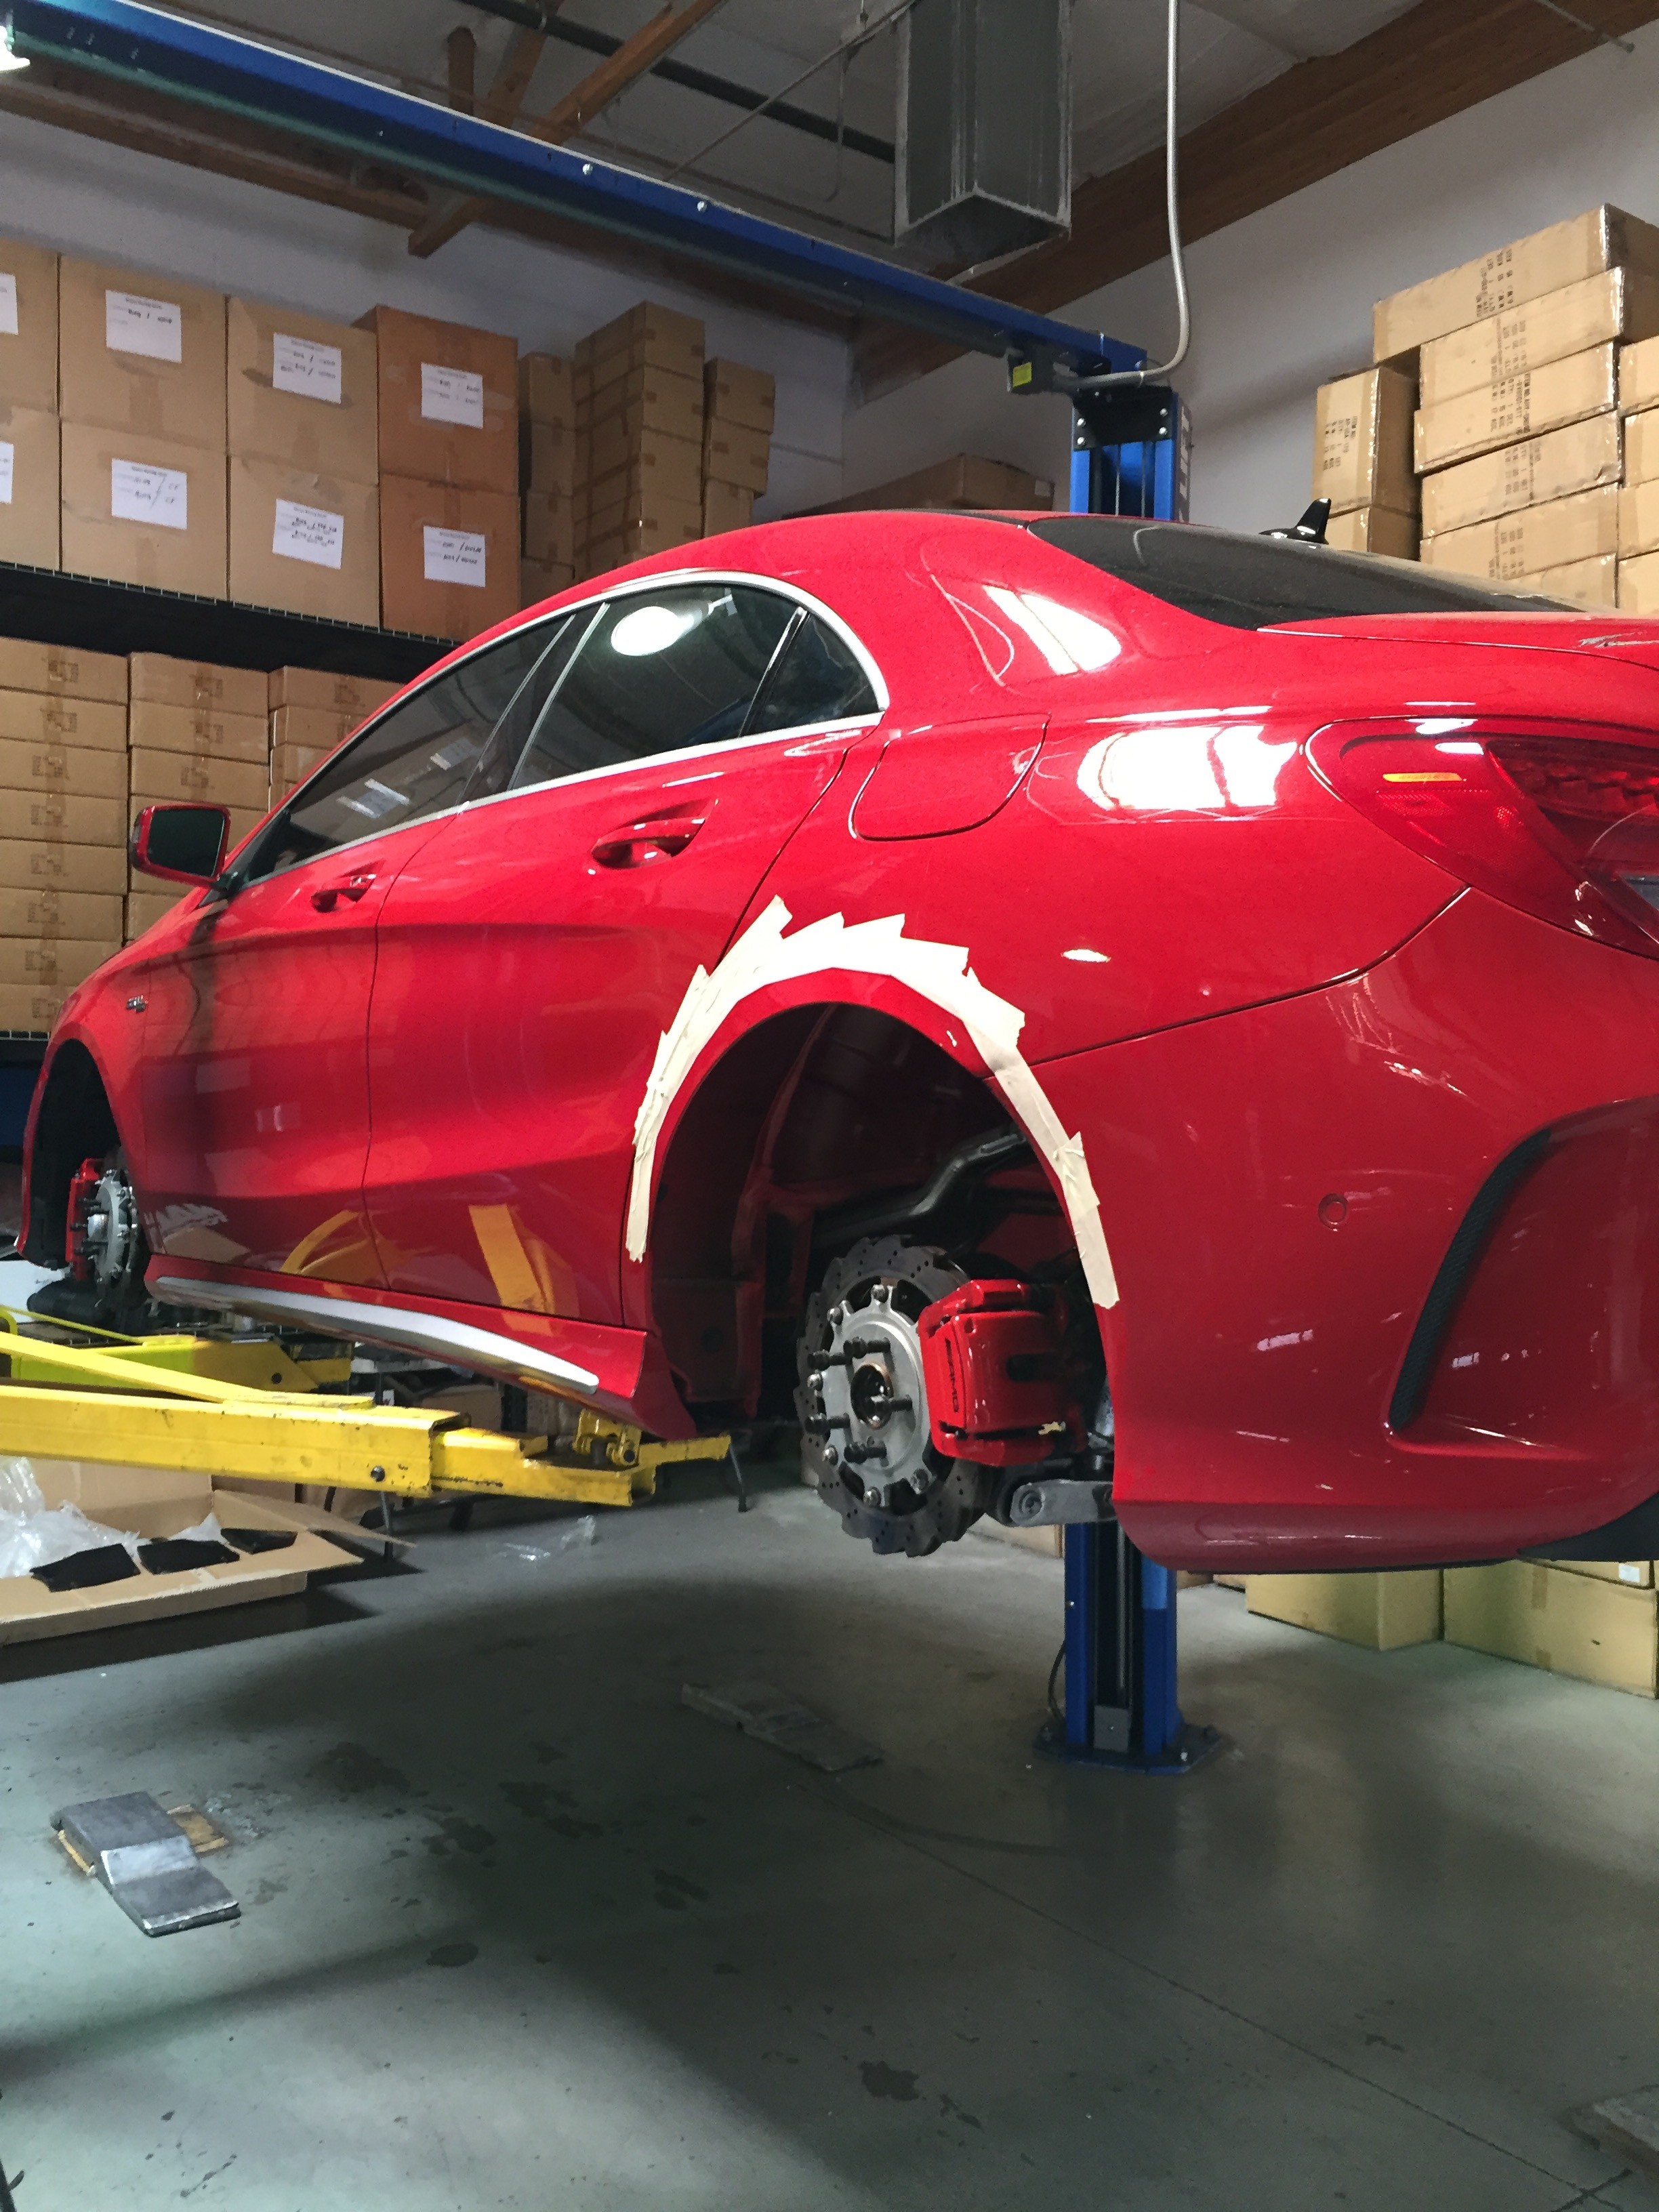
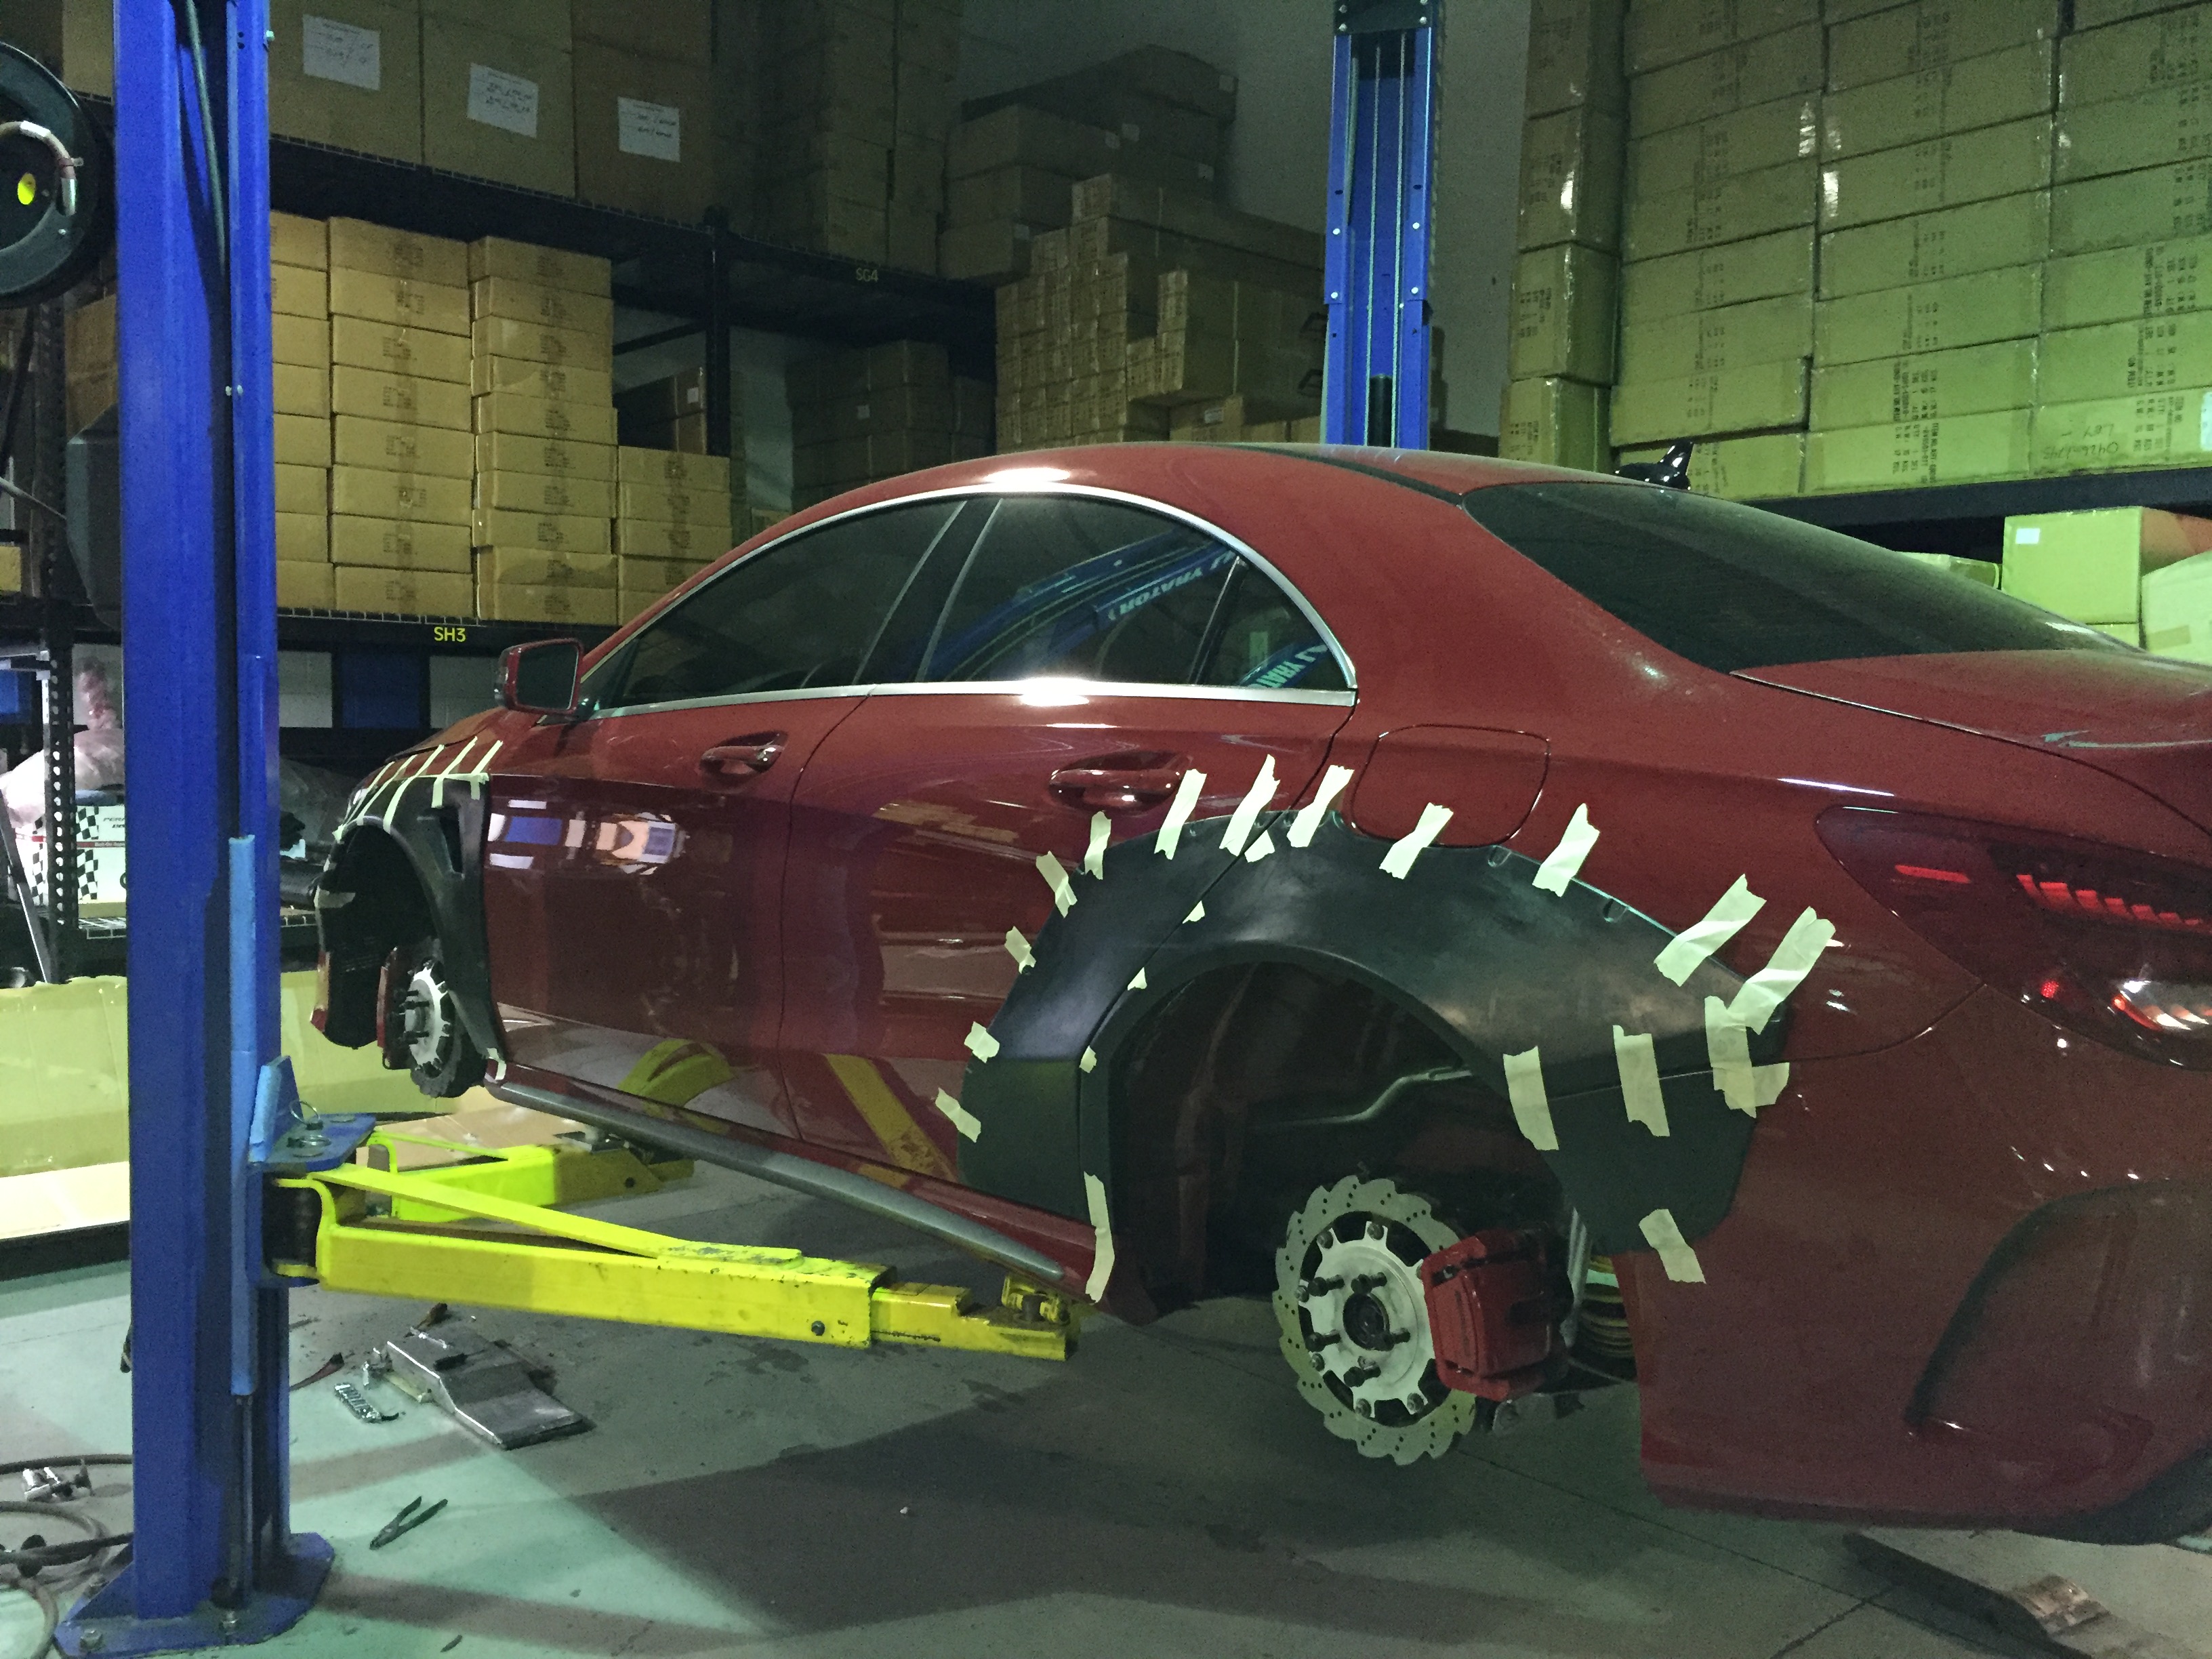
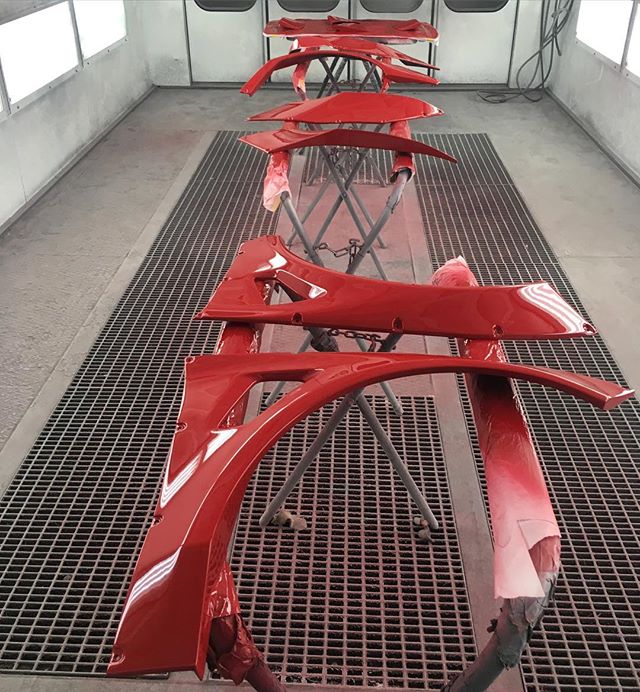
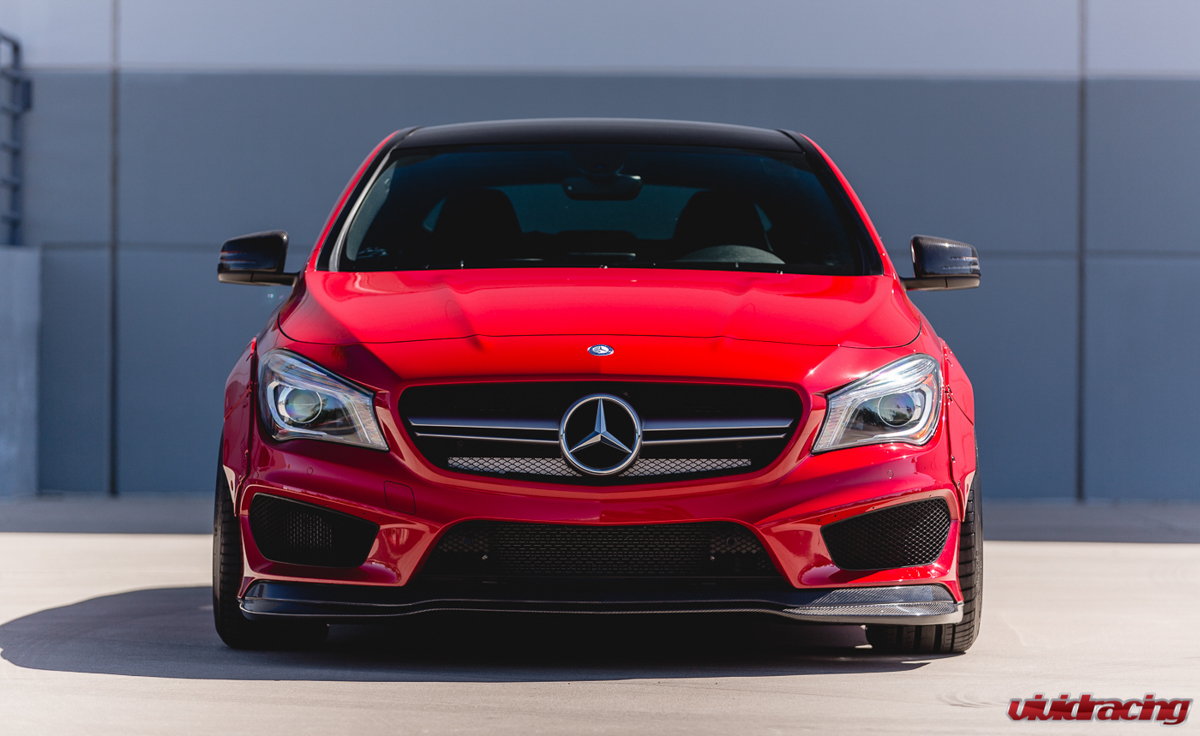
Once the trimming was done and the test fits were perfect, it was time to go to paint. We considered wrapping the car, but ultimately love the bright red paint with carbon access and black wheels. While the parts went to paint, we worked on some of the smaller details such as the rear fenders. We sliced the now split panel to connect the pieces and tac weld them together. With the rears done properly, we then filled them with body filler to prevent any moister, dirt, or grime from getting into the panel. With the car in limbo waiting for the pieces, our next hurdle was the wheels. Obviously we can’t use our 20×8.5 wheels so we needed something wide. For the past year or more we have had a set of Rotiform TMB wheels instock that were a cancelled order for a Audi S5/A5. They were 5×112 but a slightly difference center bore. Done in a 19×10 +25mm and 19×11 +35mm, would they be to big or spot on? The other question was would they clear our WP Pro big 6piston brakes? We tested fitted the wheels and they were damn near close. To work with the front brakes, we had to pull the carbon fiber brake duct off and run a 15mm spacer. The rear required a 20mm spacer. We had the wheels machined so the centerbore was to Mercedes spec and order the new H&R spacers.
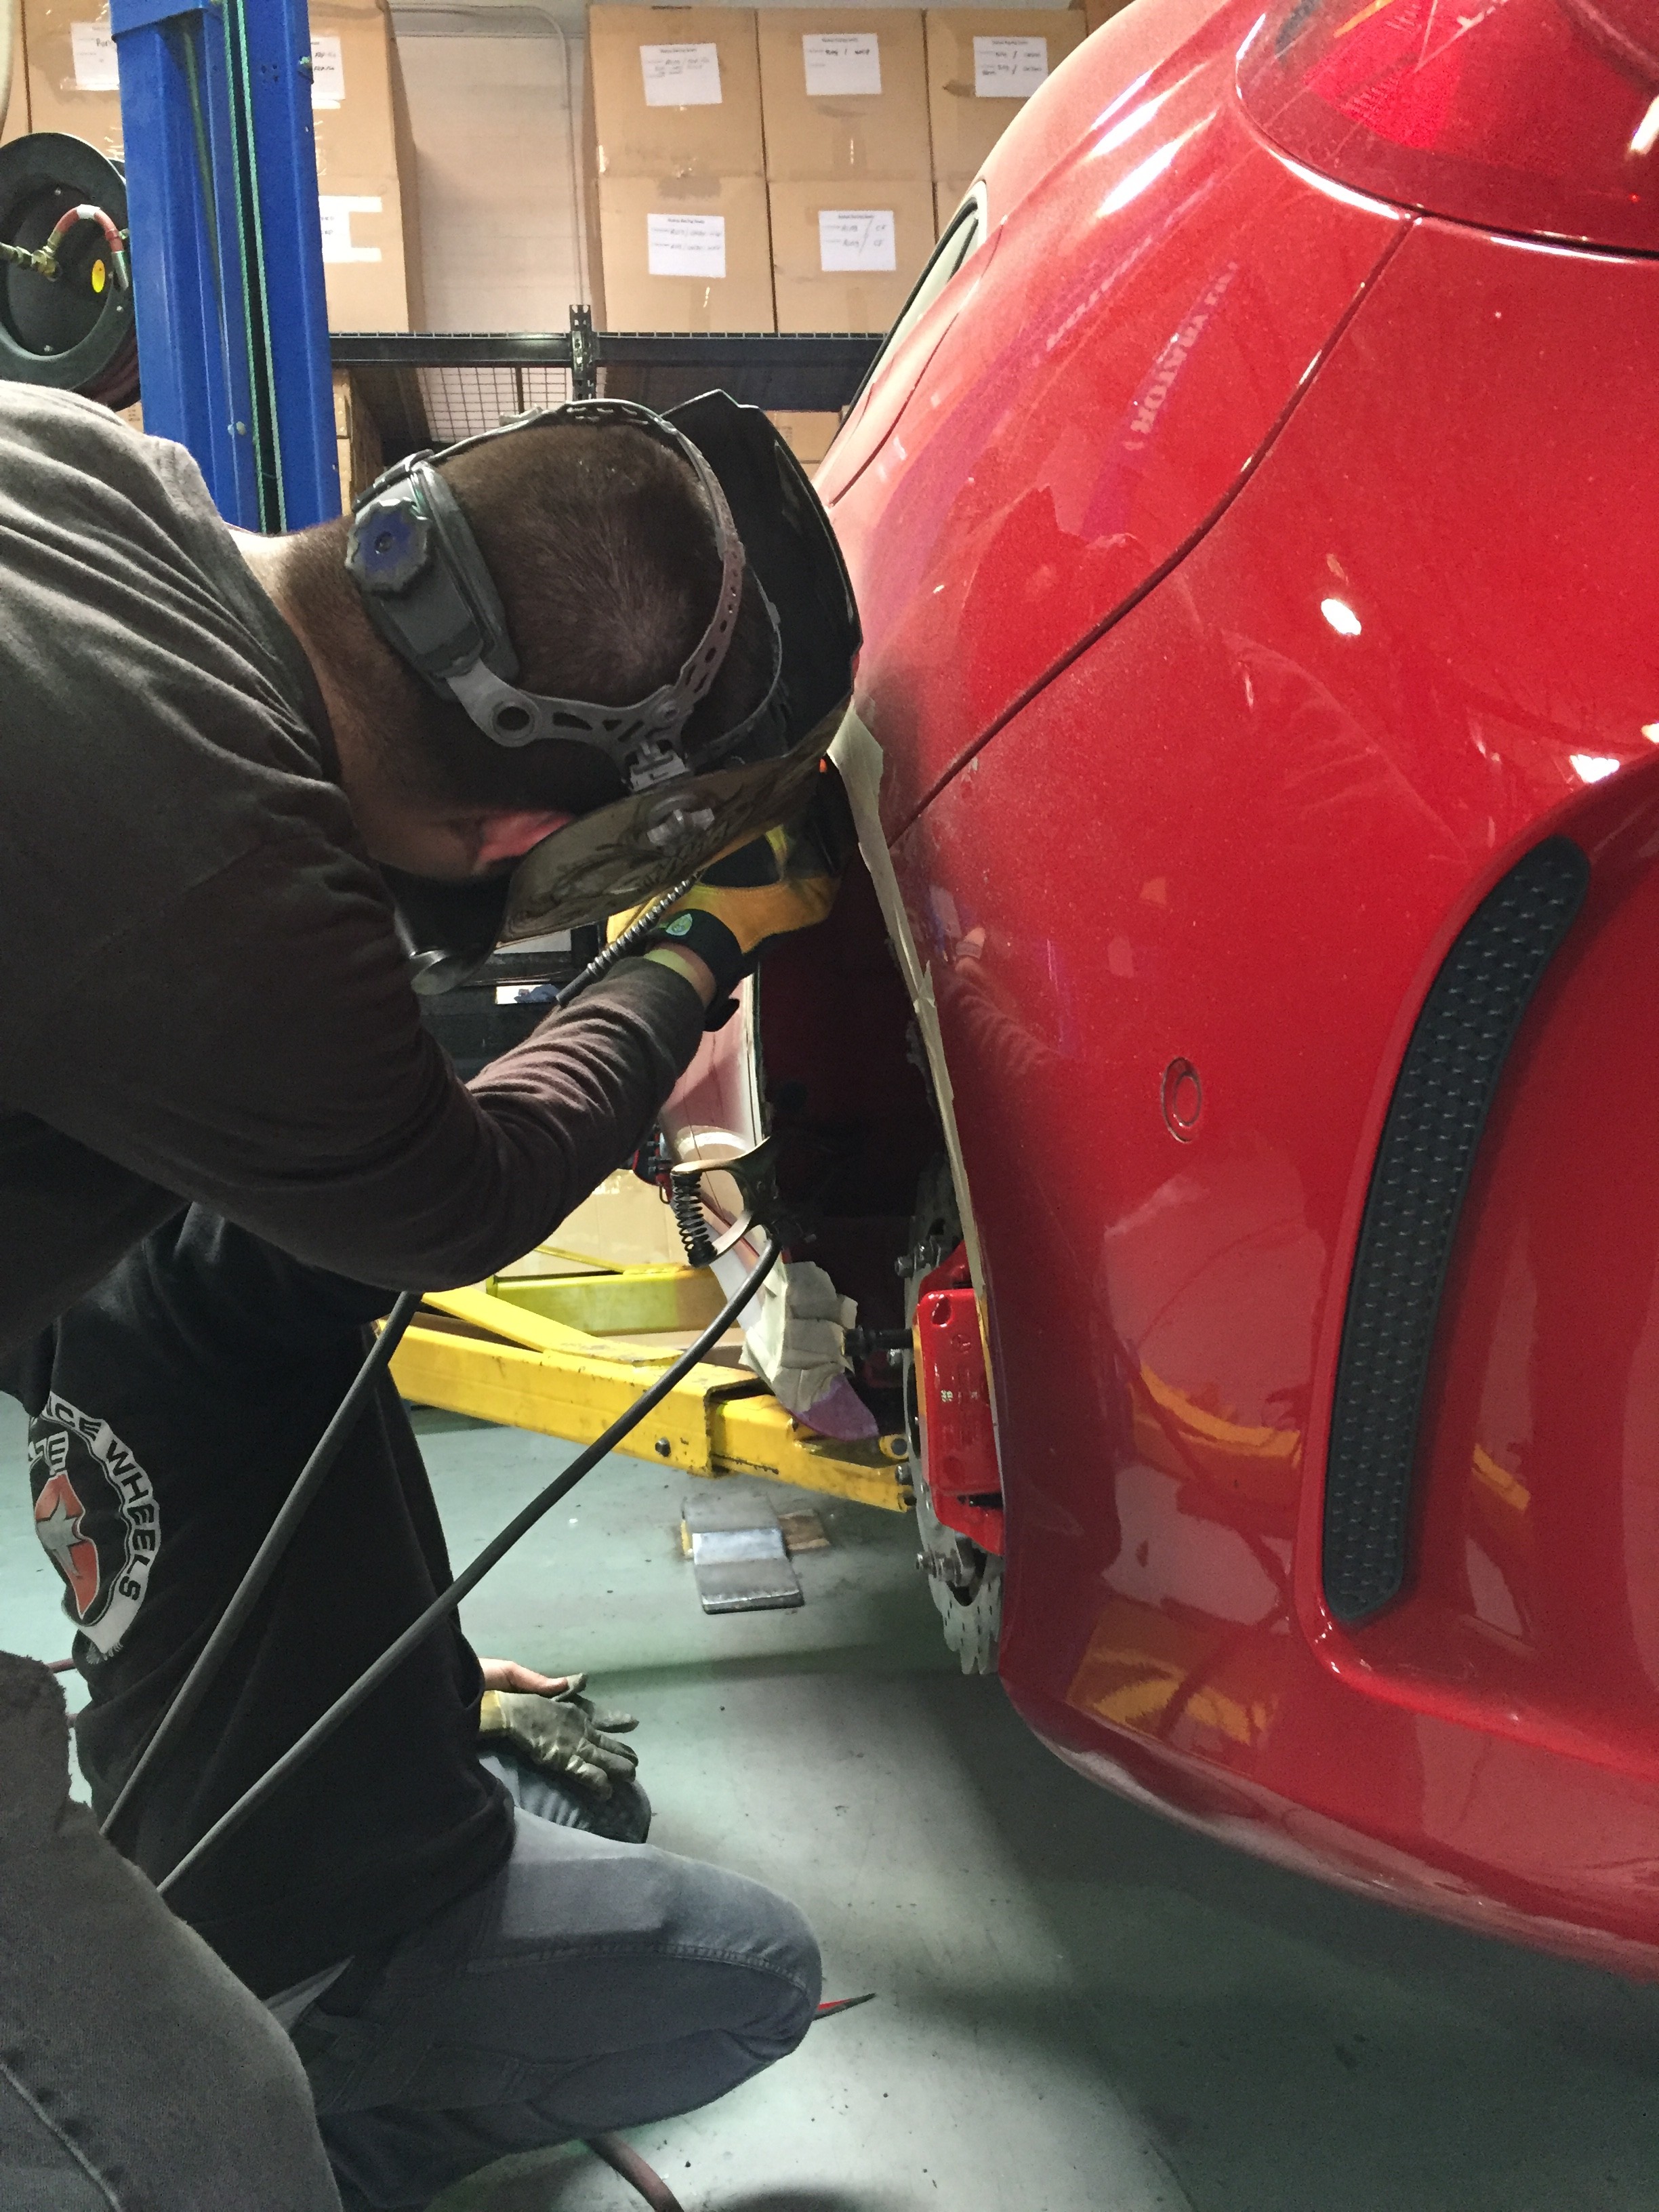

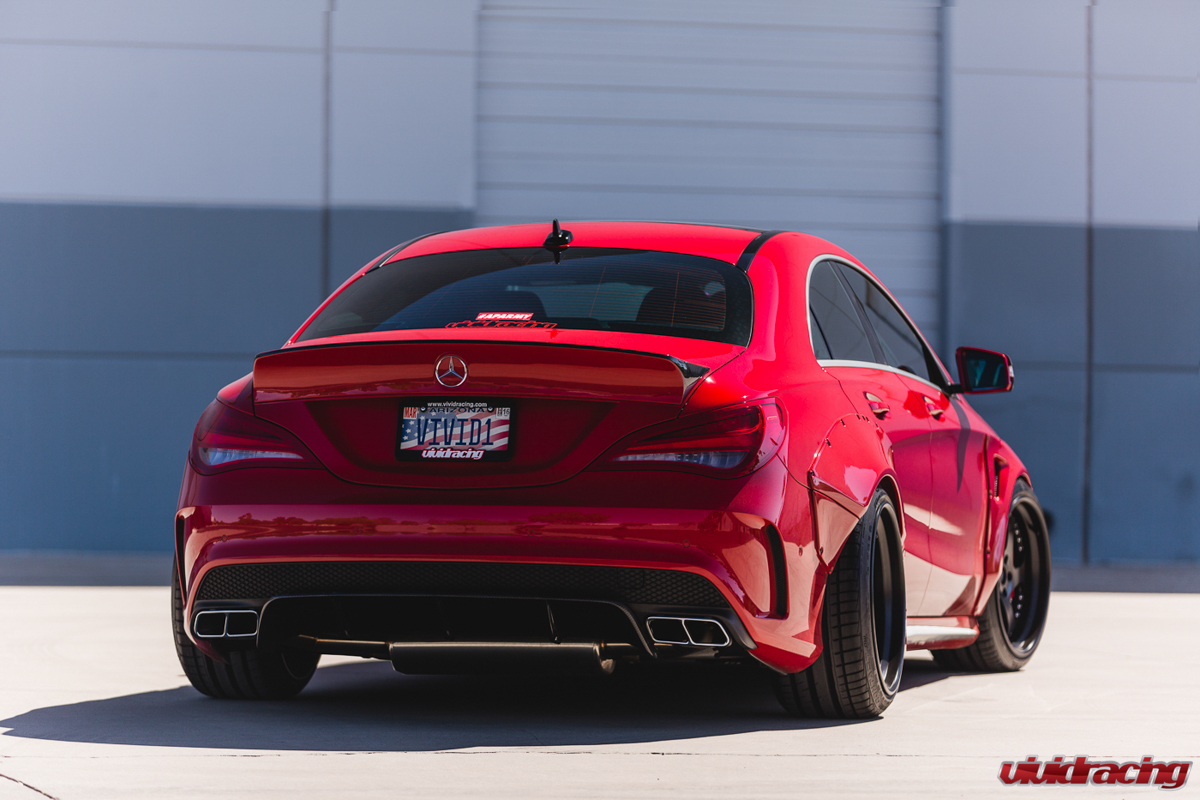
Once the parts came back from paint, it was install time. We had previously did the carbon fiber rear diffuser and front lip spoiler as they did not require any of the other parts to be changed. To do these fenders pro and not have to worry about stripped out self tapper holes or losing hardware, we meticulous drilled each hole out to install rib nuts. These were threaded nuts that became embossed in the panels where we could screw in nice allen head bolts. Each one of these holes was a process to do. Once finished, the fenders could easily be taken on and off. With the fenders now bolted up, it was time to get our silicone on. If you look at pictures of RWB cars, Liberty Walk cars, or even the Fairy Design CLA’s that have been done, you will notice they use silicone to fill in the space between the body and fenders. We chose to do this with black silicone and be a very fine line. This was one of the more tedious processes as well. First we had to tape the top and bottom lines. We would then run a bead of silicone across the lines, spritz it with water, then run our finger across. To make this perfect you had to immediately pull the tape so the line would not pull if left to long to dry. Panel by panel we did this to get perfect lines.
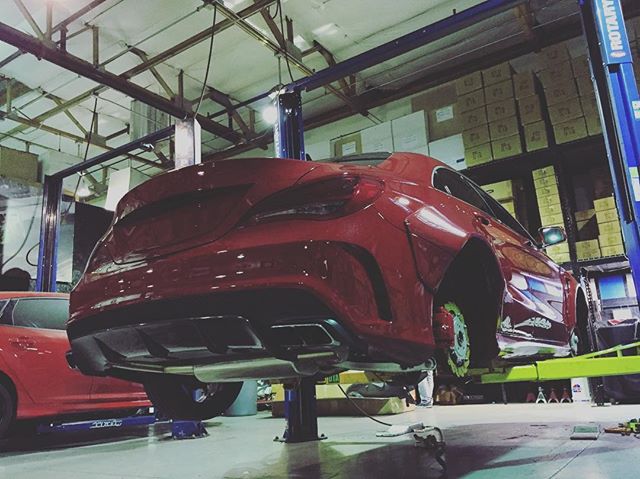
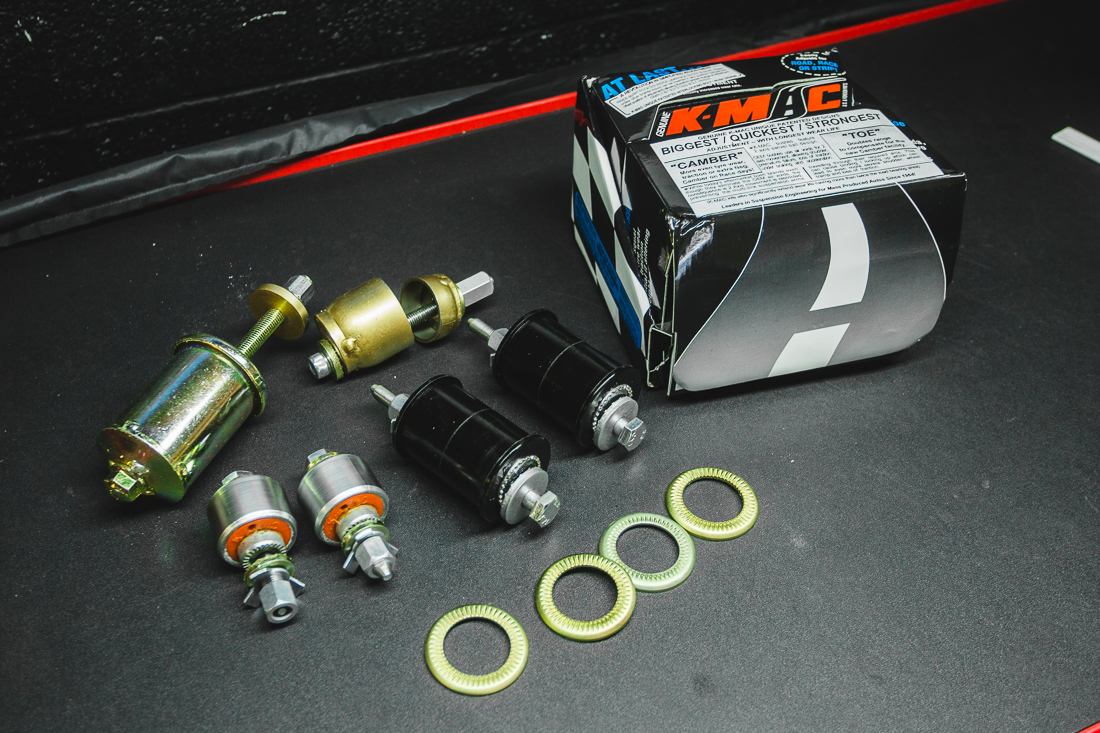
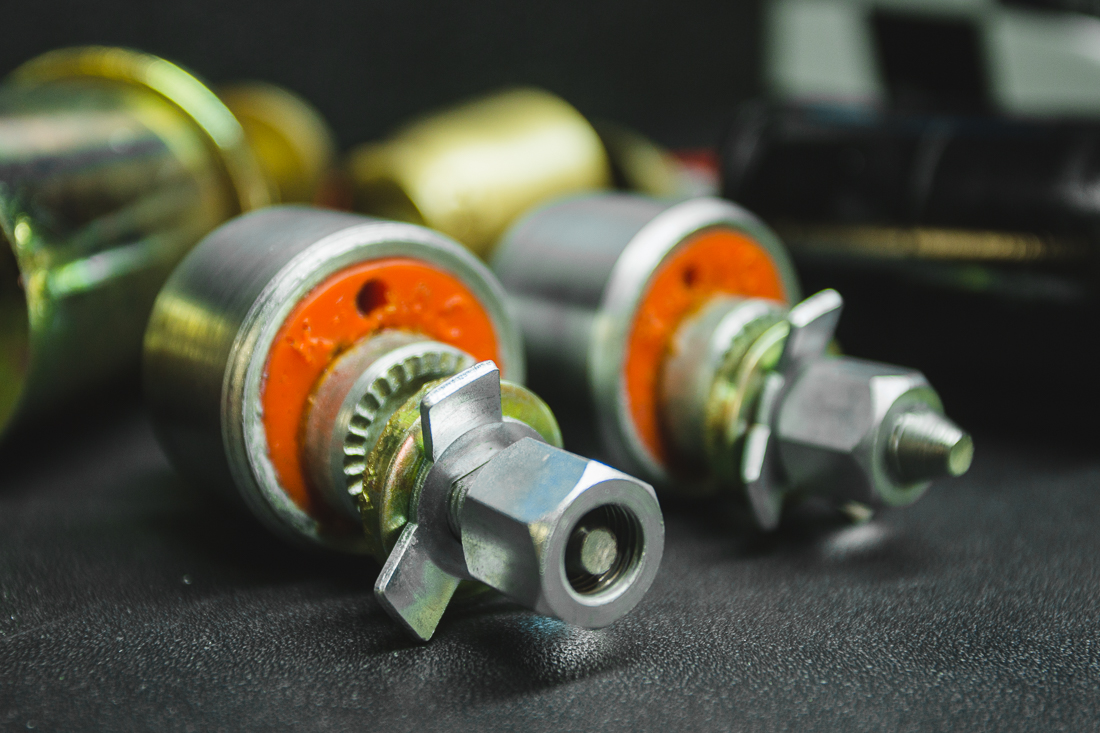
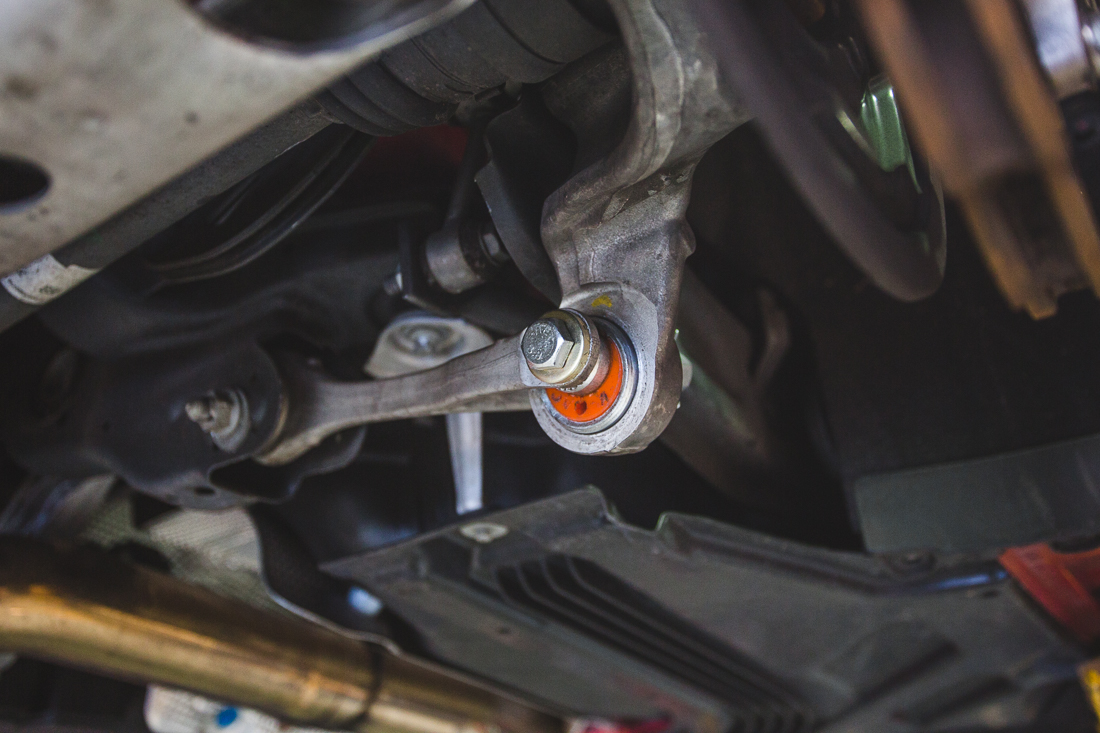
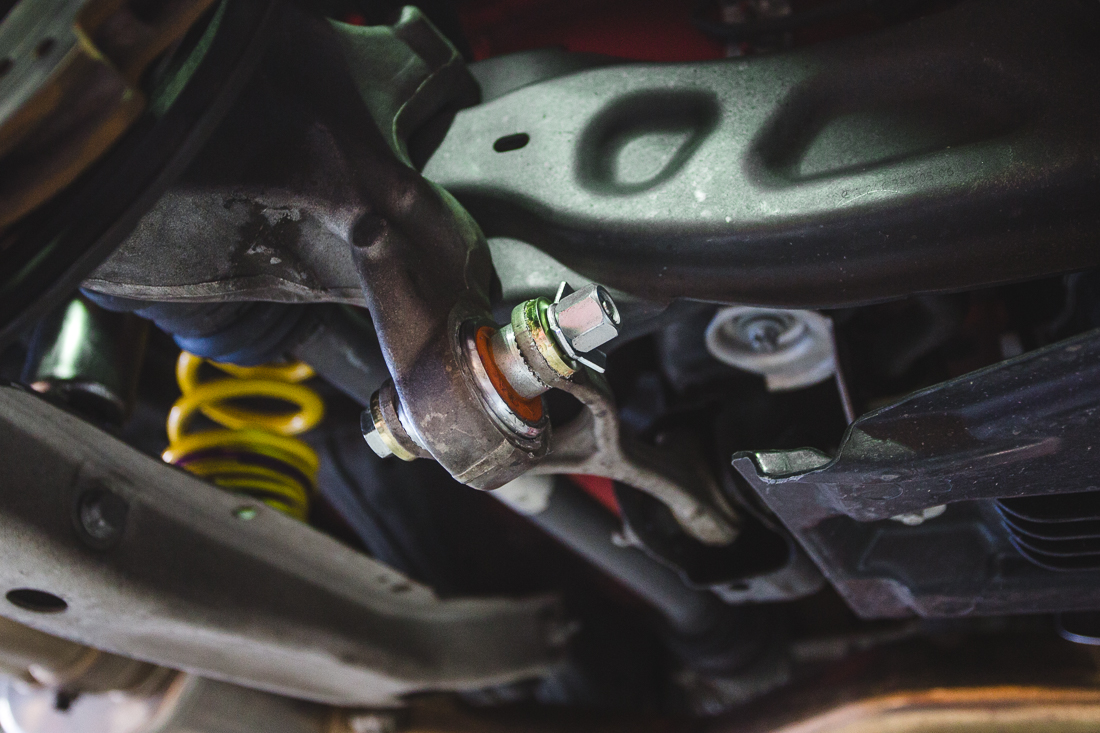
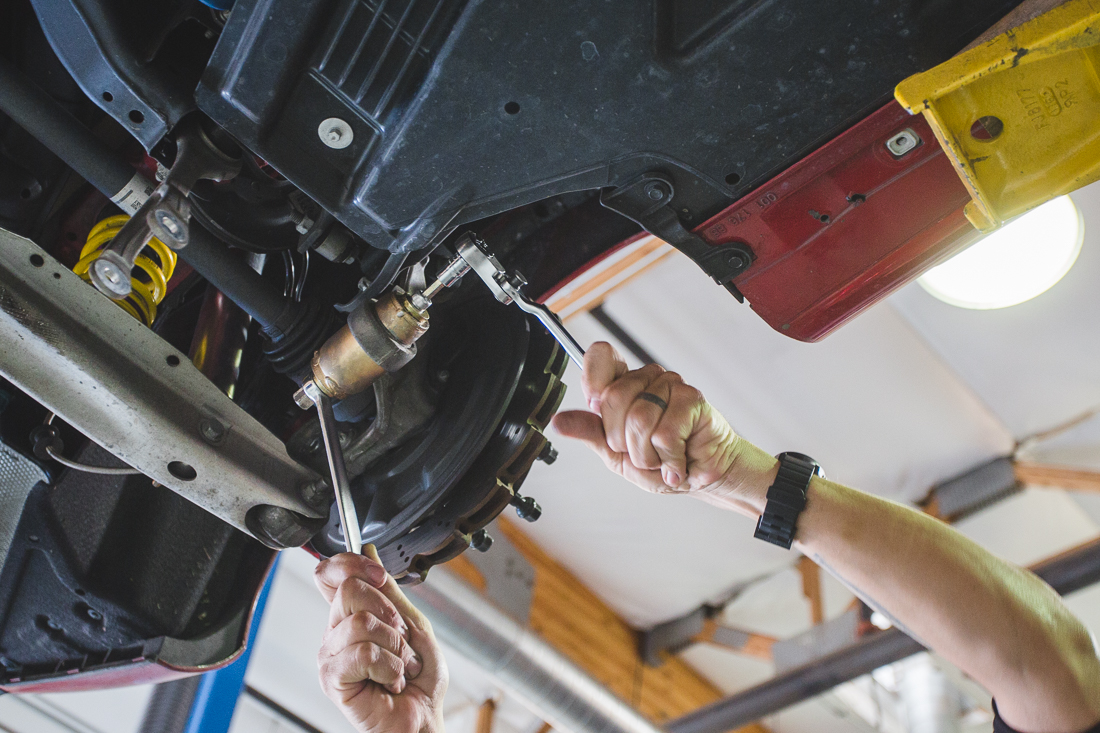
After touching up some final details, installing the fender liners, adding the emblems, installing the spacers and fitting the wheels. We had a better picture of where the rims sat and needed some tires. Remember the number one rule, no rubbing! We first did a set of Falken tires that were 285/35 and 265/35. Big mistake as these were way to tall. We swapped those tires out for a set of Continental Contact DW 275/35 and 245/35 which had the perfect fit. Just a little bit of stretch and looked like they were made for the wheels. We torqued them and lowered it down finally! It was 99% there. With the new wheel fitment, the car needed to be aligned. The rear had almost 3 degrees of negative camber and 2 degrees of toe. The fronts were not bad. To avoid having that stupid stance in the rear, we needed an alignment. Fun fact, the Mercedes CLA45 has no rear camber adjustment, just toe. We found a company called K-Mac (contact us for pricing) that sells a full camber and toe alignment kit for the rear end. It replaced all the main bushings with these alignment bushings so we could get some serious adjustability. The kit even came with the tool to push out the stock bushings! With this installed and a slight adjustment to our KW coilovers, it was alignment time.
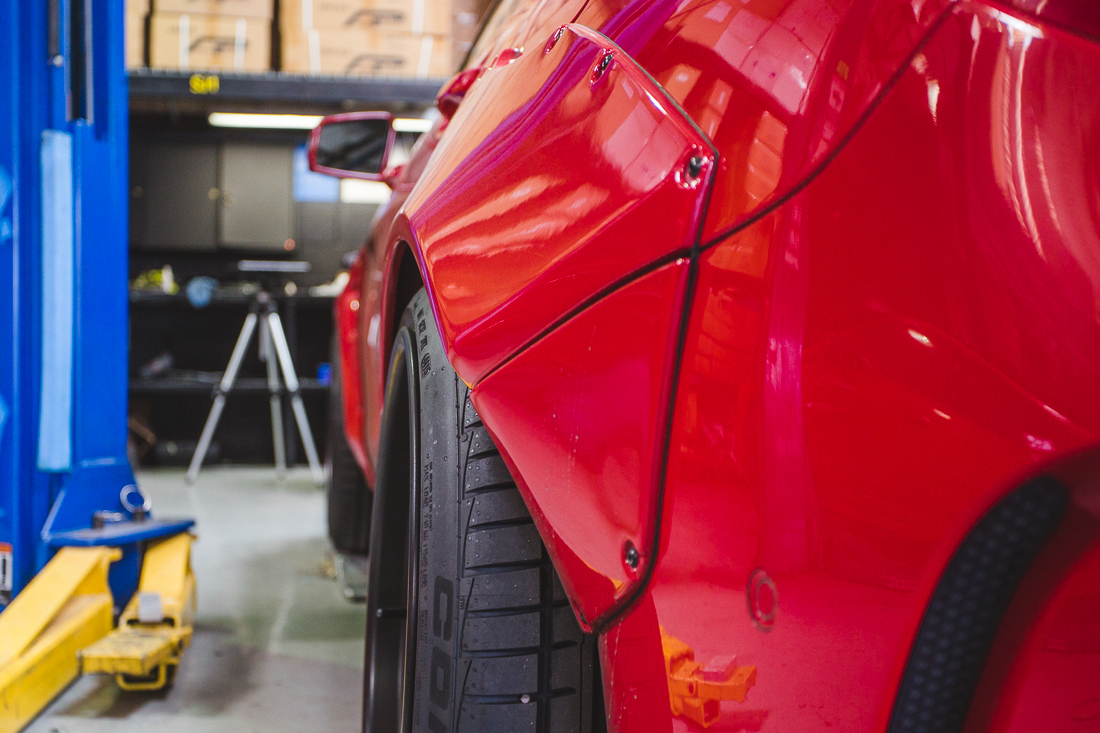
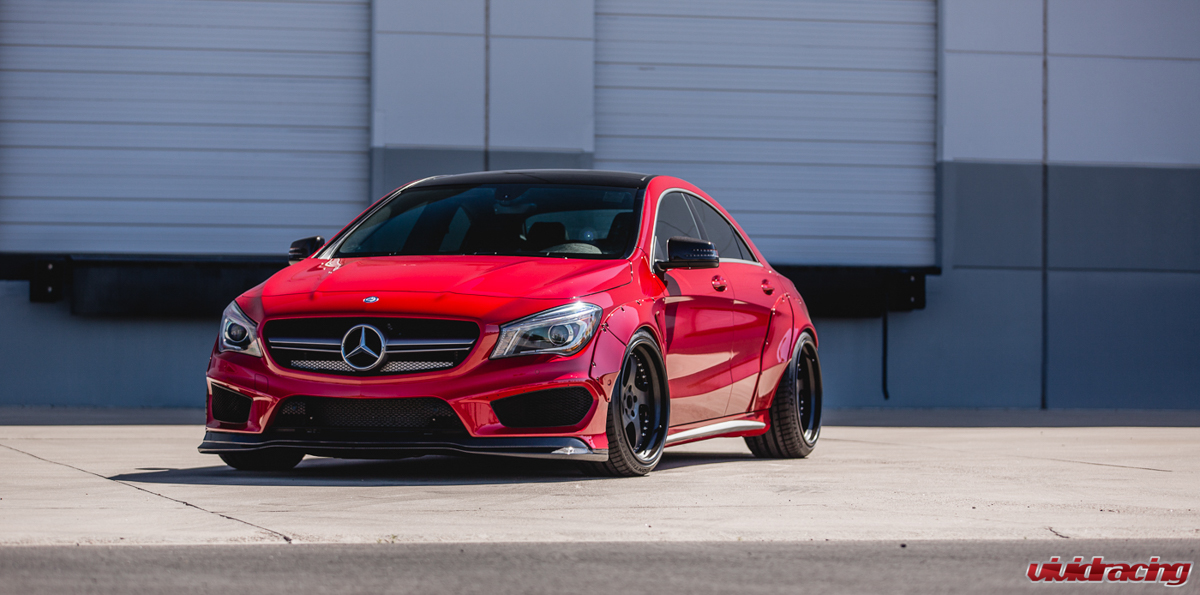
After a month of work, the car was done. It looked amazing! He had the car fully detailed and polished by @SuperiorDetail and then clear bra with Xpel film the fenders to prevent rock chips by @OZBRAZ. With it shining, we test drove it and went over every ditch we could find and no rubbing! This was one of the bigger projects we have done which has truly transformed the cars look. I have always been a fan of the CLA, but now I am a obsessed with the cars new look. The width of the tires, the bulge of the flares is something that this AMG should have come with stock. Its hard to capture every detail as we were lost in the moment and process of just “doing it” for a change. We hope you enjoy it!
Some fun light painting at night
