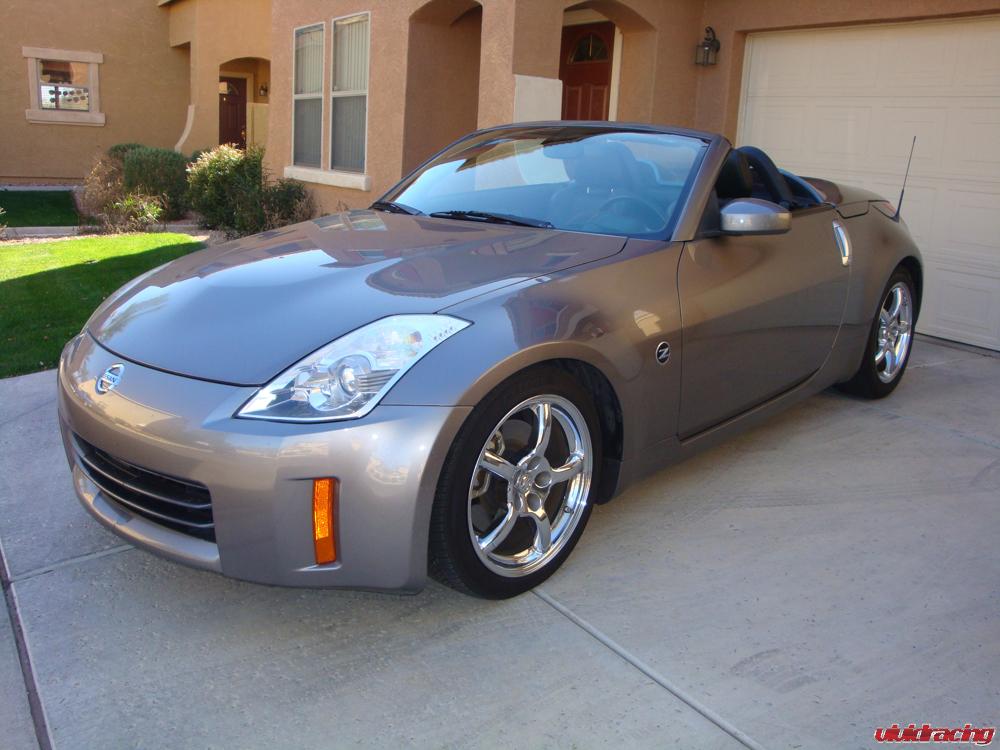
Nissan wanted to make a comeback to the sports car market after their giant success with the 300zx. The 240sx was ok at the time, but nobody could predict its heavy drifting involvement today. So they worked on the new Nissan 350Z. This Z came out in 2 generations. The first being the 03-06 and then the 07-08. On the Gen 2 models, though they looked identical, there were some variances in the engine and performance. One of the biggest one was the dual intake setup. What becomes just about everyones first modification of a intake and exhaust was definitely done here. So our customer equipped his 2007 Z with the Injen cold air intake kit. Injen has been around a long long time making intakes, exhausts, intercoolers for different cars worldwide. With their California based R&D department and manufacturing, they ensure each product makes justifiable horsepower and reliability. This cold air intake is no different. As you can see from the customers install pictures, it snakes around to be in the perfect spot for drawing in cooler air. Cooler air to the engine means an increase in performance. Check out the pictures below and some of the customers installation tips. Shop all our Nissan 350Z Performance Parts here.
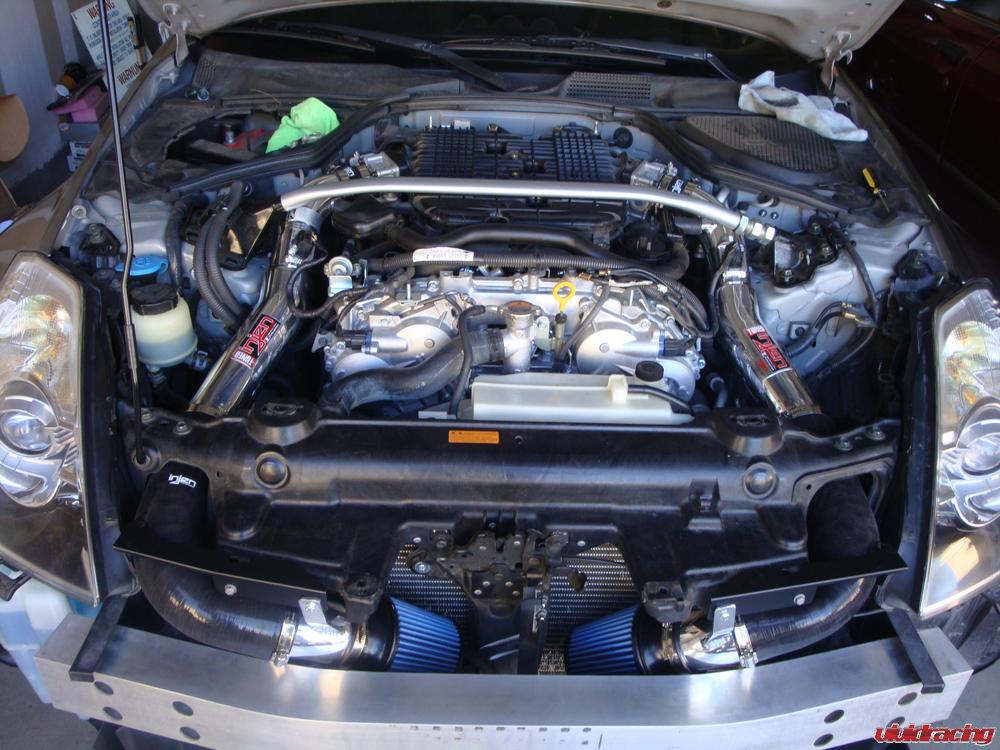
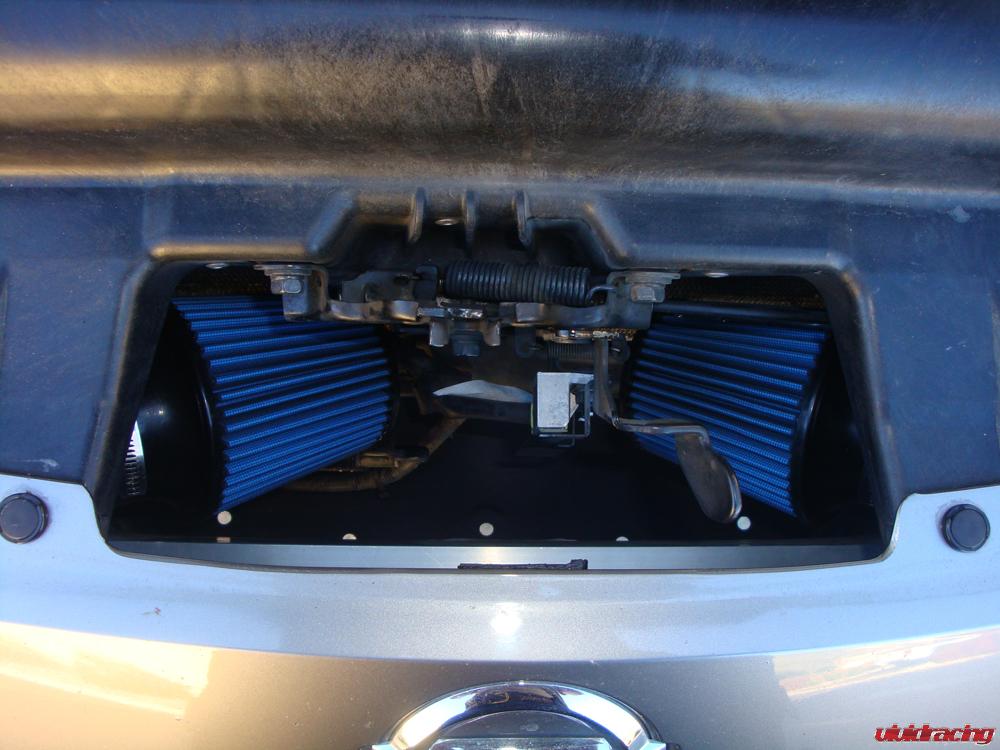
Installation Advice by customer:
1. The removal of the Strut Tower Bar should be done after releasing the pressure by loosening the outer large bolts on the drivers side of the Strut. Counting the turns of the center nut should be done so reinstallation can go smoothly. Reinstallation: Once the 4 nuts on the passenger and drivers side are tight ( always a good idea to mark where the bolts were), retention the center nut and then tighten the outer nuts so tension is maintained. If this is not done correctly, while cornering the strut tower will not perform its job.
2. An additional note should be made with the horns to say that the wiring should be placed in front of the horns and not behind where they could rub against the radiator.
3. Figure 31 shows the placement of the new horn bracket and reads: ” The assembled horns and bracket are now lowered behind the bumper area and attached to the drivers side stock location.” It should read the Passenger side stock location.
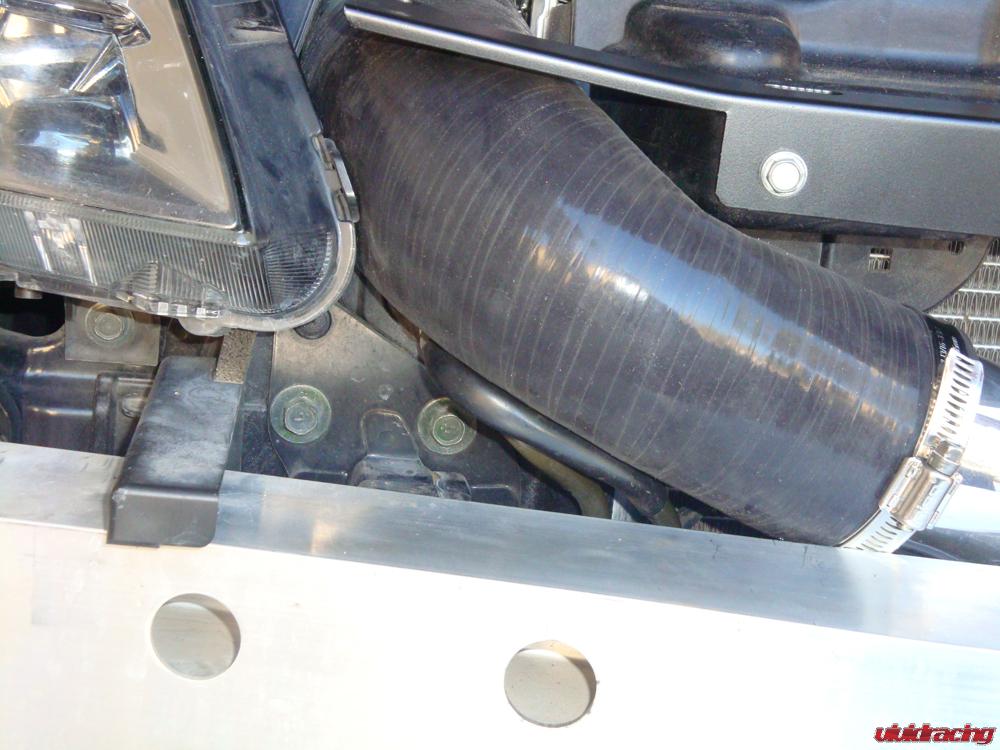
4. Figure 36: Installation of the Silicone Intake Hoses. There were no notes to include that on the passenger side there is a stock Oil Cooler. The passenger side Silicone Hose presses on those hoses leading to the oil cooler in front of the passenger side lower radiator. Luckily the hoses are protected, but with the usage of that extra space, you will not be able to get the left side bumper plastic fastener back in the supplied bracket… fig 20 and 38.
Overall a great install



Comments 1