Installation Overview
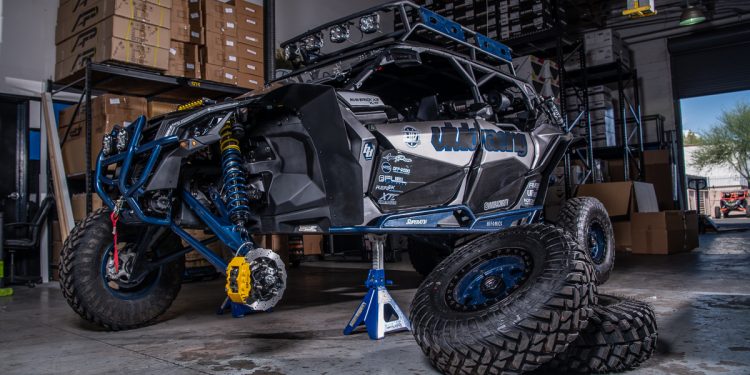
WP Pro Front Big Brake Kit Can-Am Maverick X3 | Model #WP-BRP-X3-405
Step 1: Properly secure the vehicle with jack stands and remove the front wheels.
Step 2: Remove the cotter pin from the axle nut and loosing the nut using a 30mm socket and breaker bar. Have someone assist during this step by holding down the brake pedal, this will hold the axle in place and allow you to break the nut loose. Do this for both the passenger and driver side.
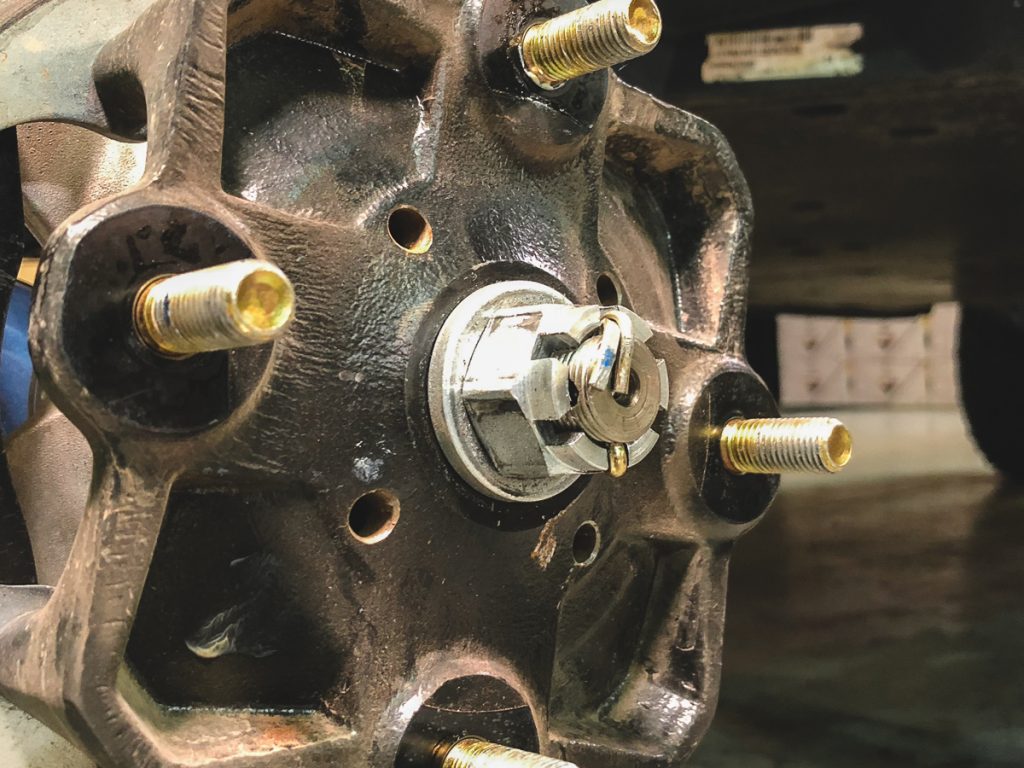
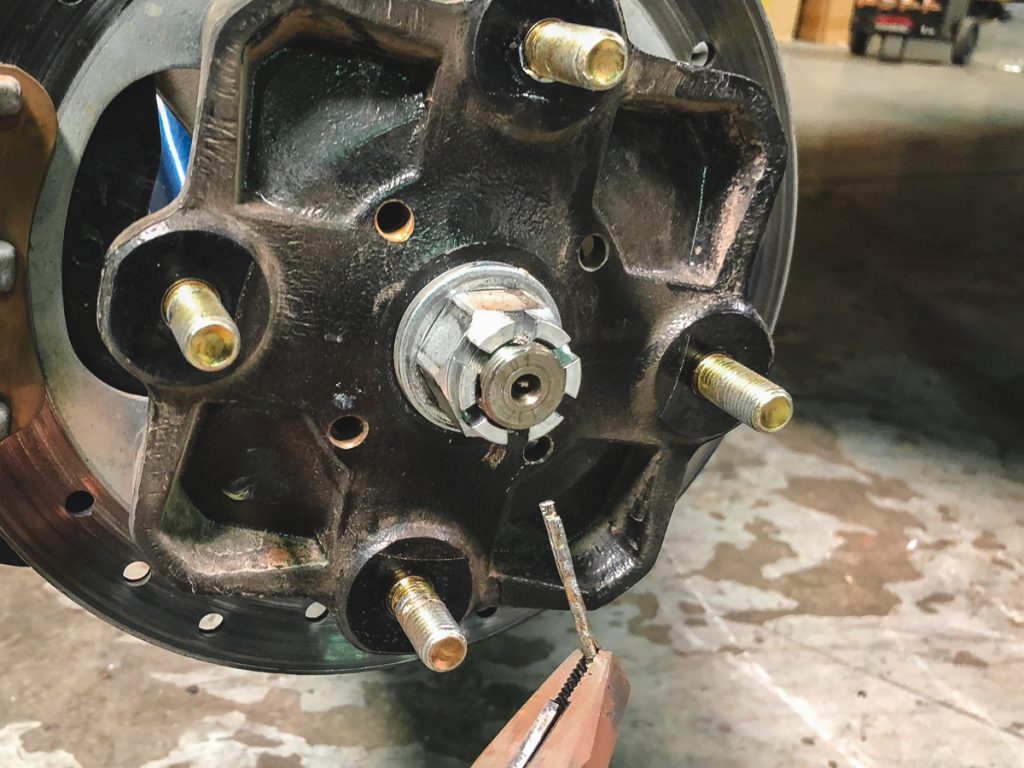 Step 3: Disconnect the brake line and remove the factory front brake calipers.
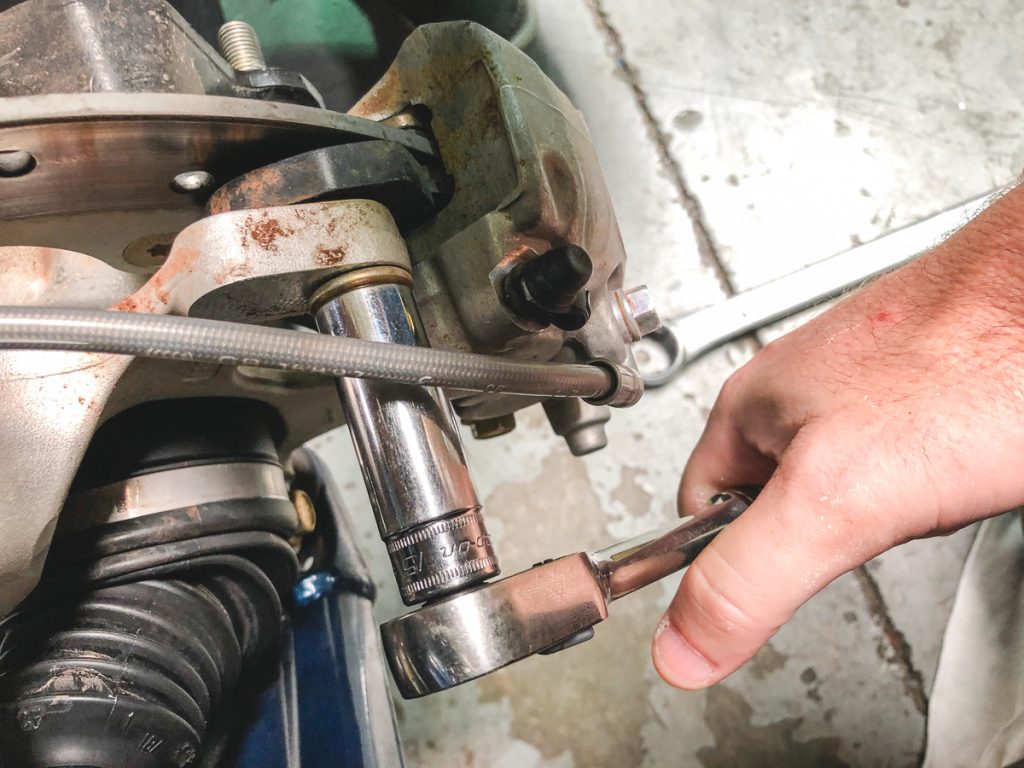
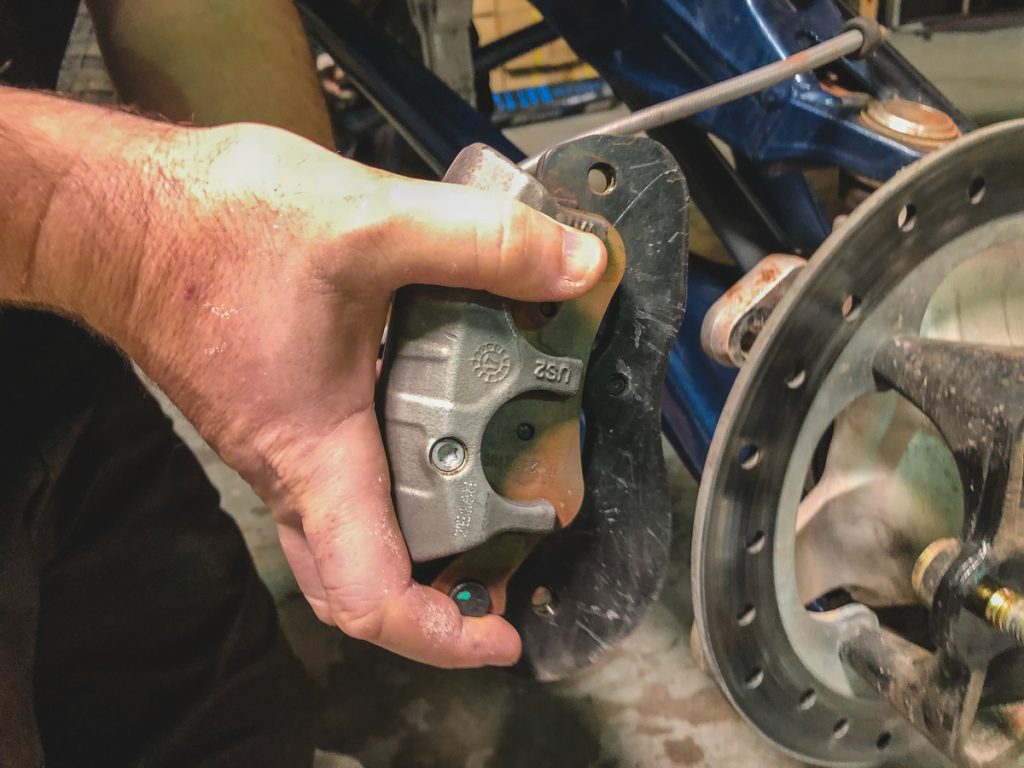
Step 4: Remove the rotor and hub from the vehicle.
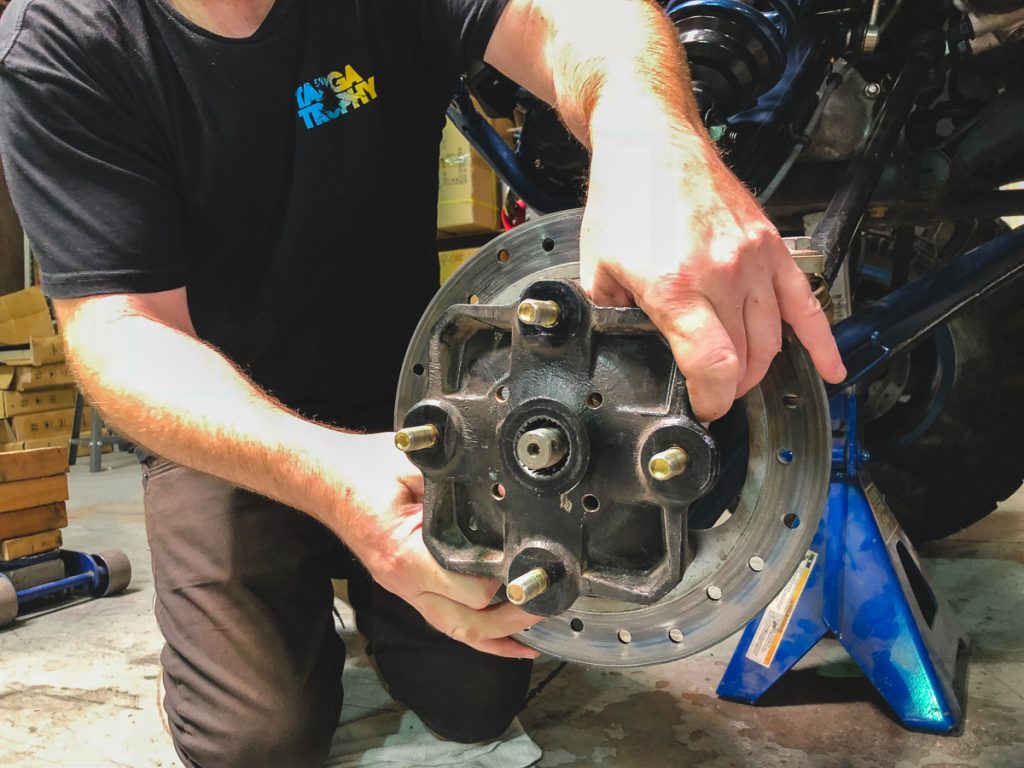
Step 5: Remove the (4) Torx screws that secure the hub to the rotor.
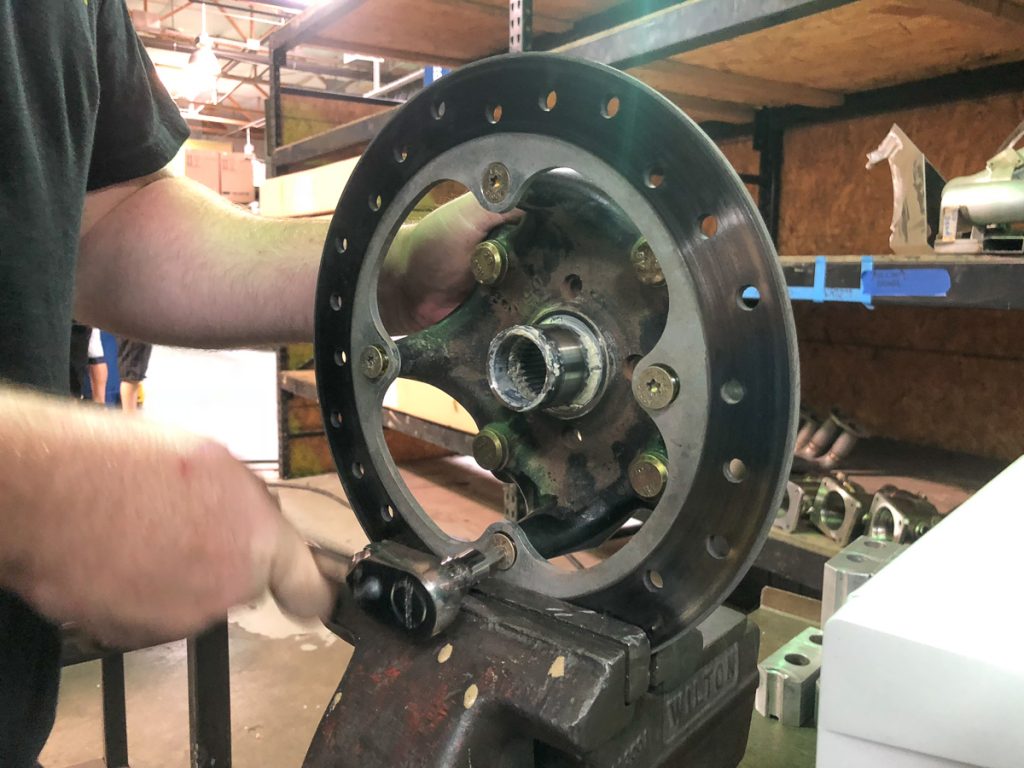
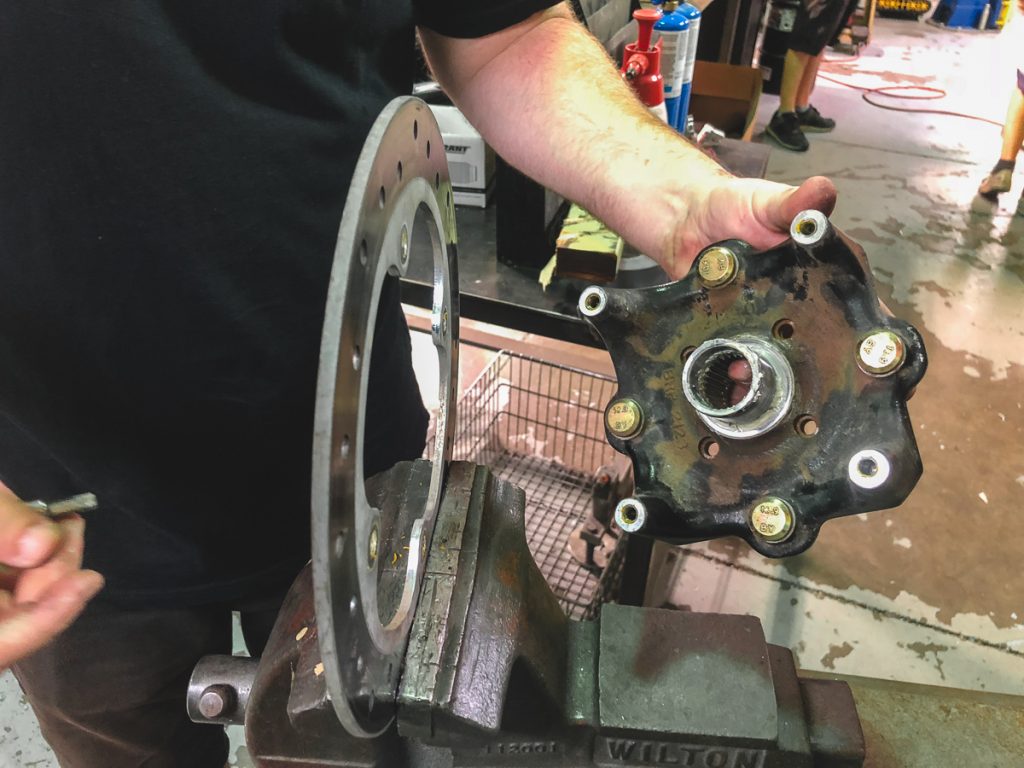
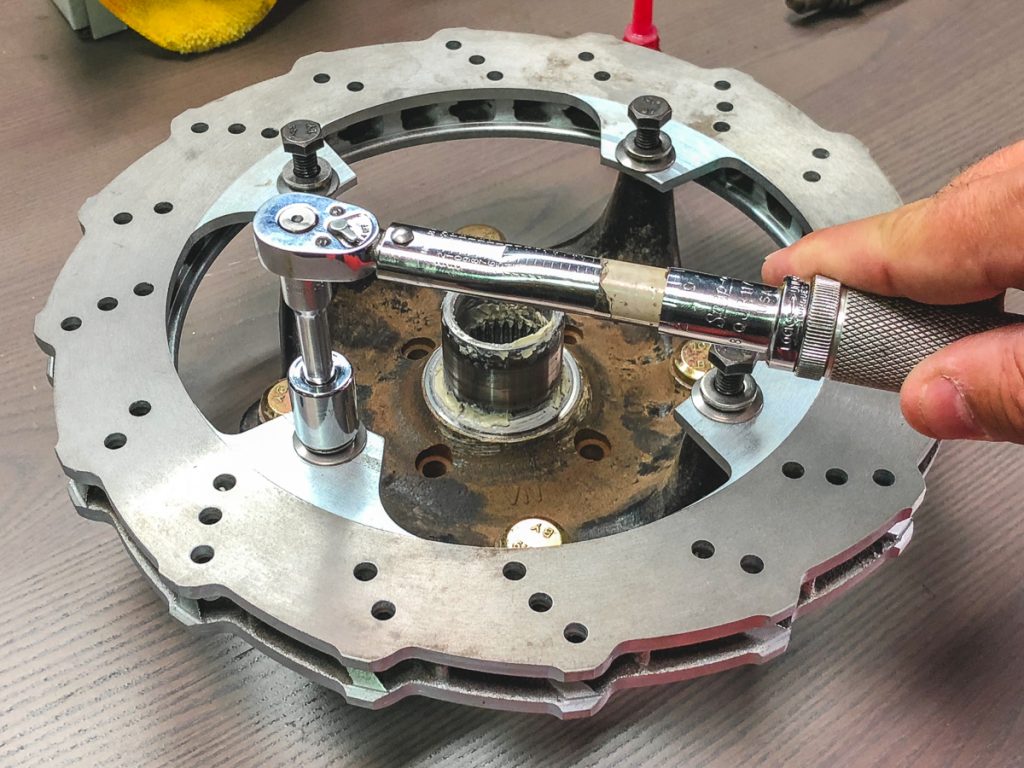
Step 6: Use the supplied floating hardware and install the WP Pro Rotor to the Hub. Torq The kit includes two alignment screws that are to be used to align the rotor onto the hub. Use Apply thread locker and Torq to 25nm / 18.44 ft-lbs
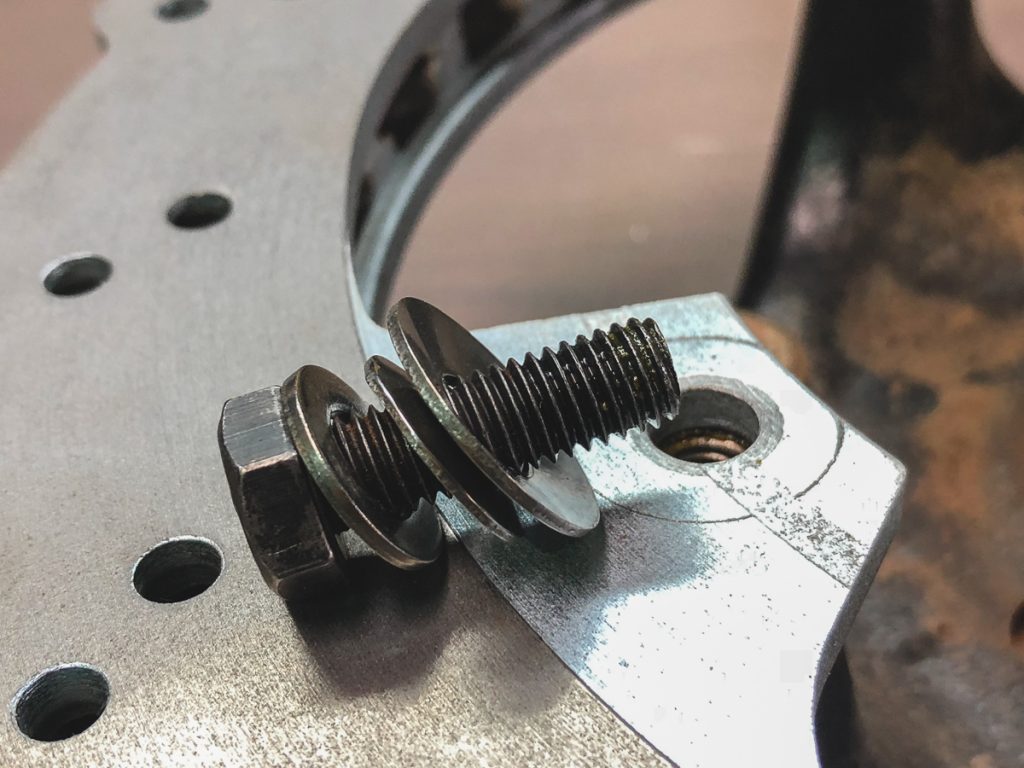
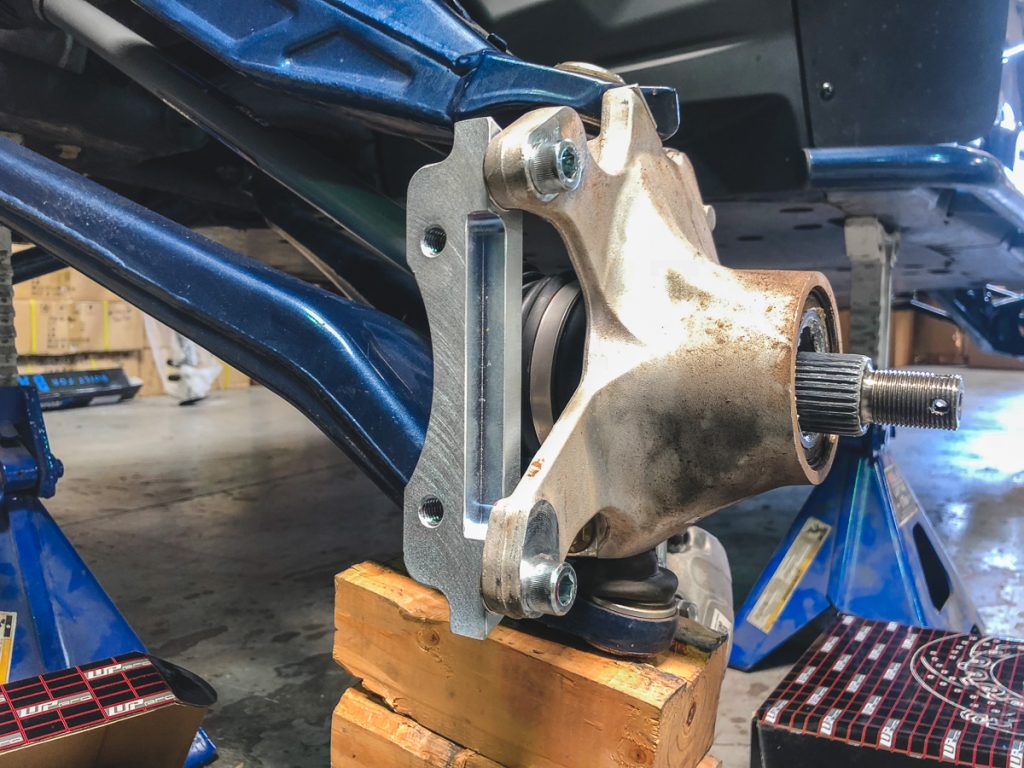
Step 7: Use the supplied hardware to attach the bracket to the spindle as shown. Apply thread locker and Torq to 80nm / 59 ft-lbs
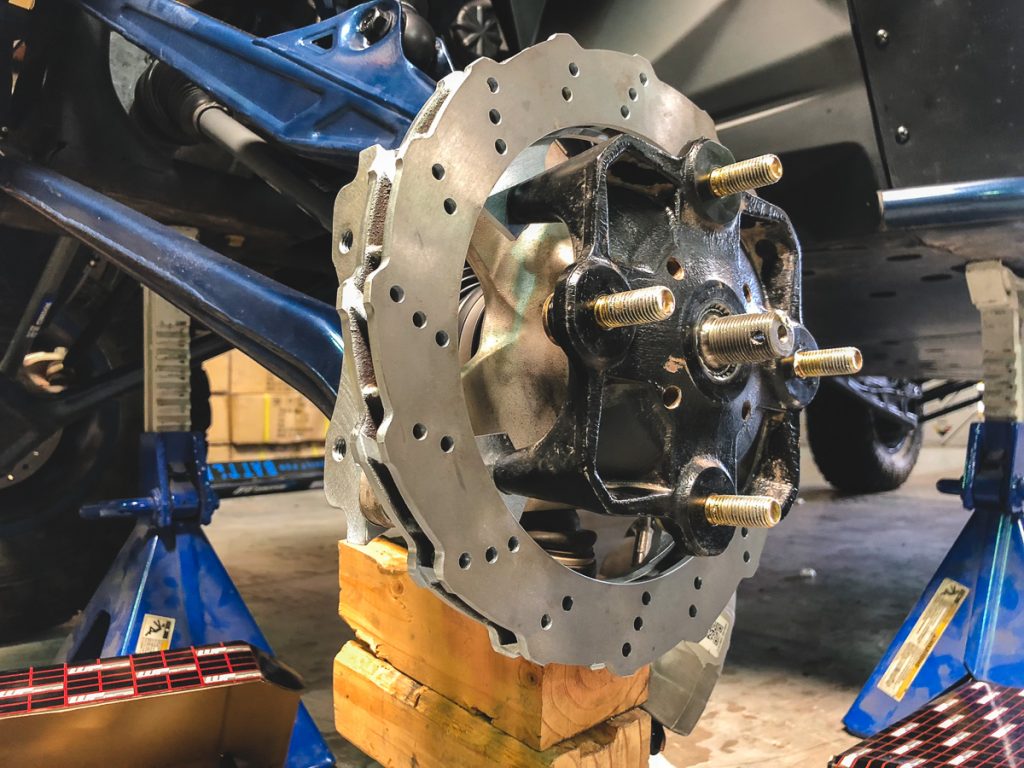
Step 8: Install Rotor
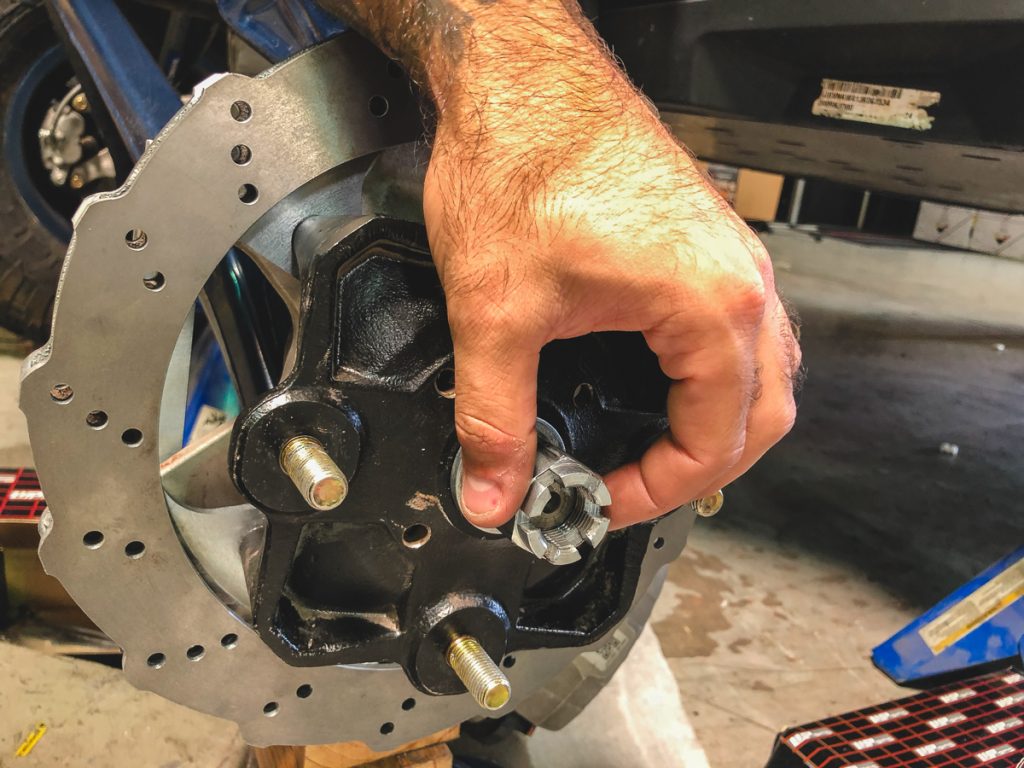 Step 9: Install provided brake pads into each caliper and bolt the caliper to the rotor using supplied hardware.
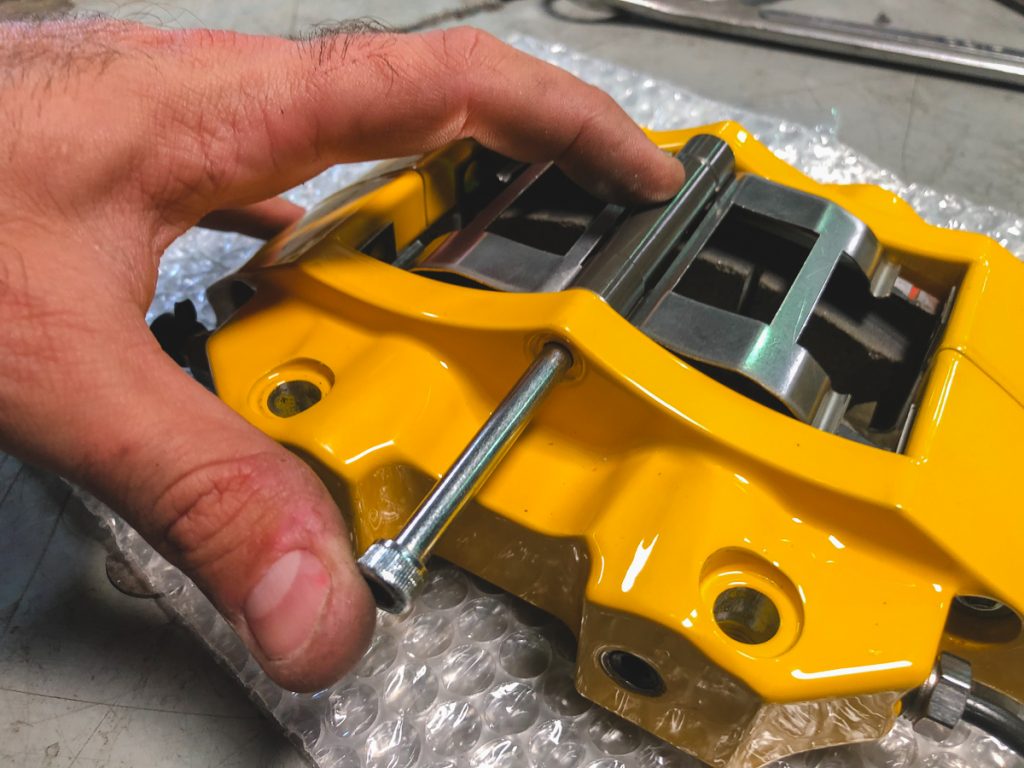
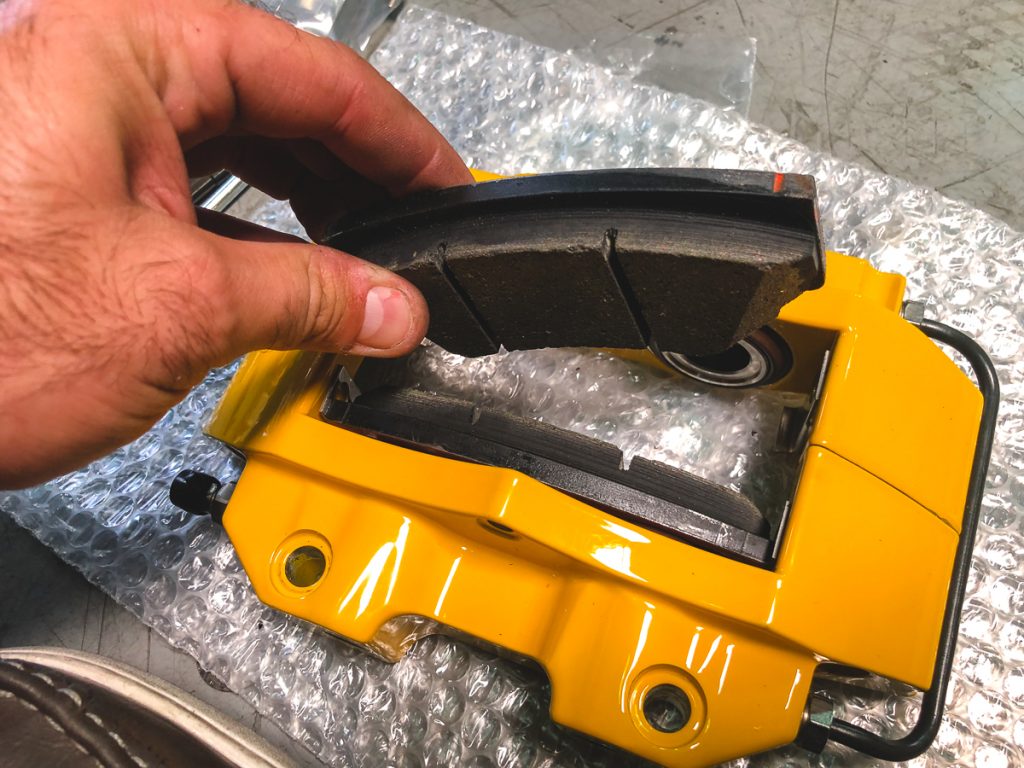
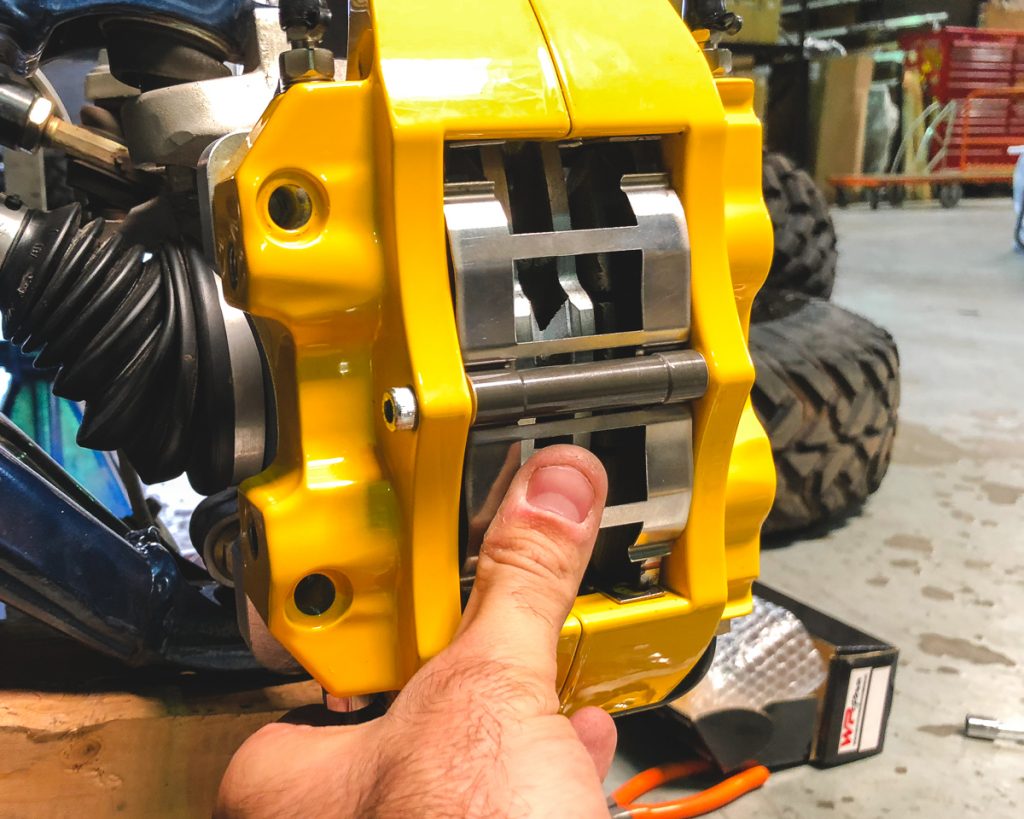
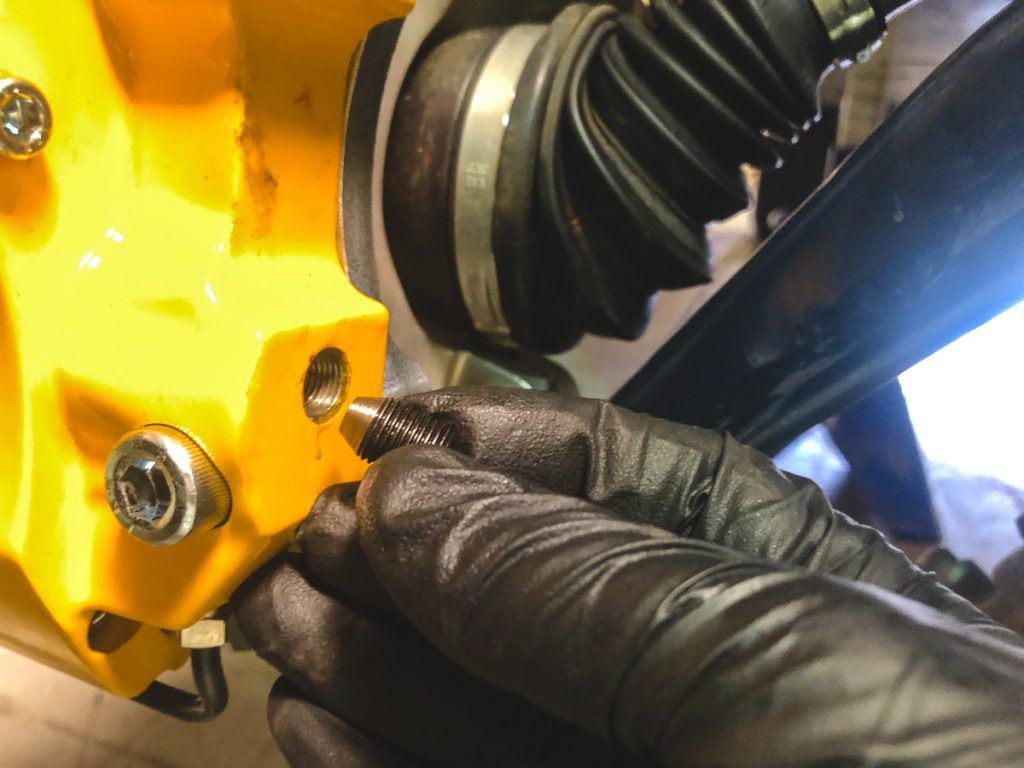
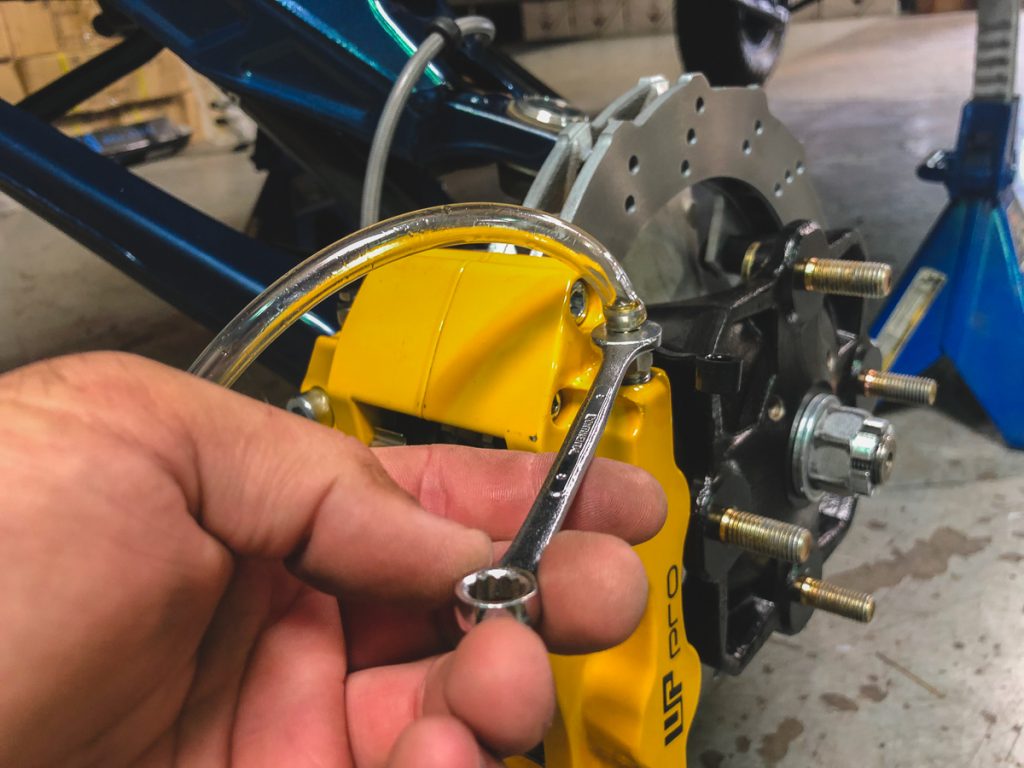
Step 10: The WP Pro Calipers have two inlet locations for brake line connections. Remove the screw inside the port that best fits your brake line length. Attach brake line using the provided Banjo Bolt and Copper washers.
Note: On our Can-am X3xRS with Factory Suspension we found that the lower brake line inlet port worked best.
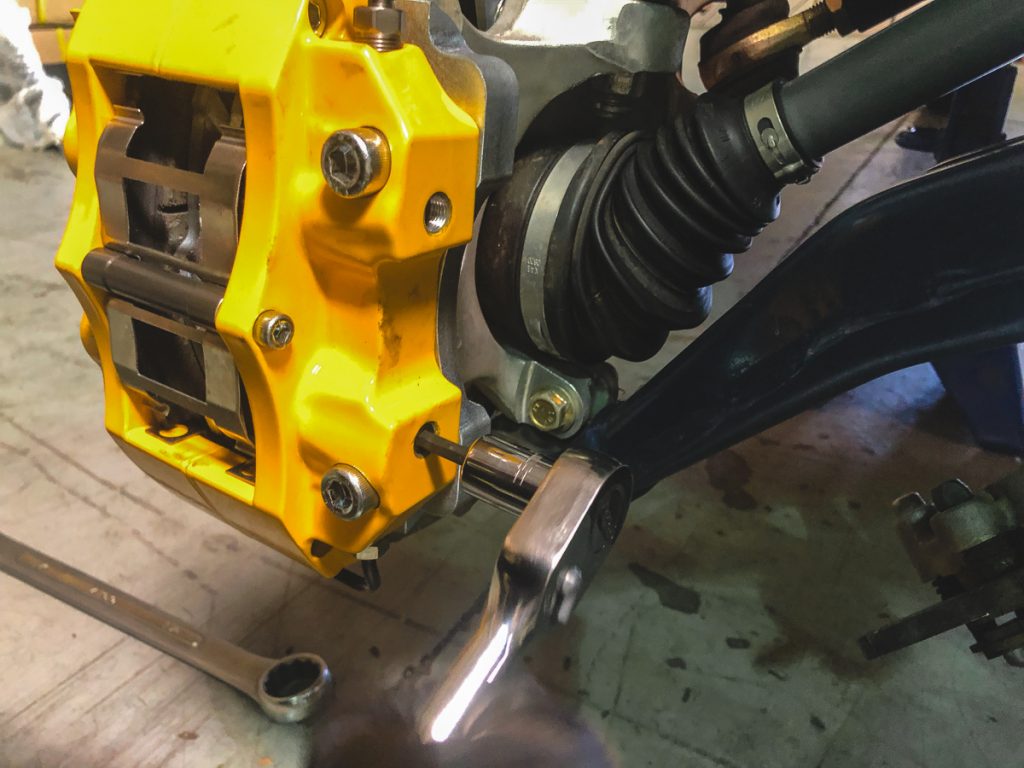
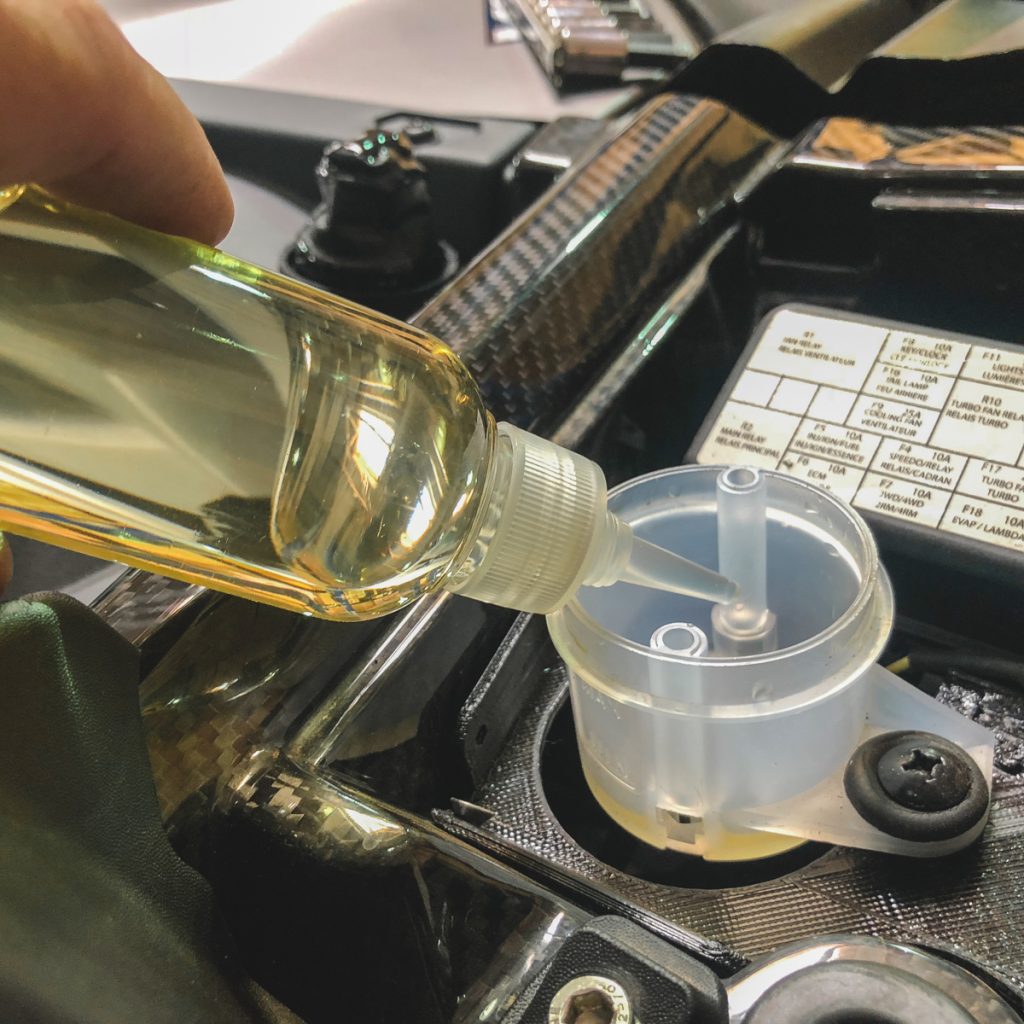
Step 11: Bleed the brake system.
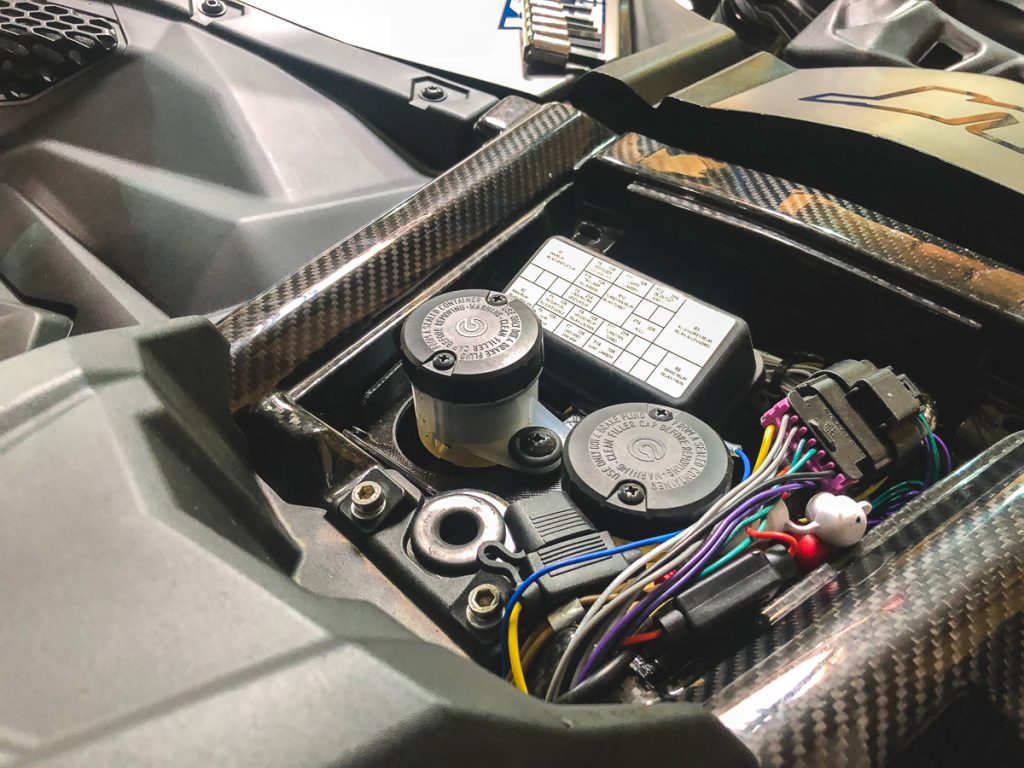
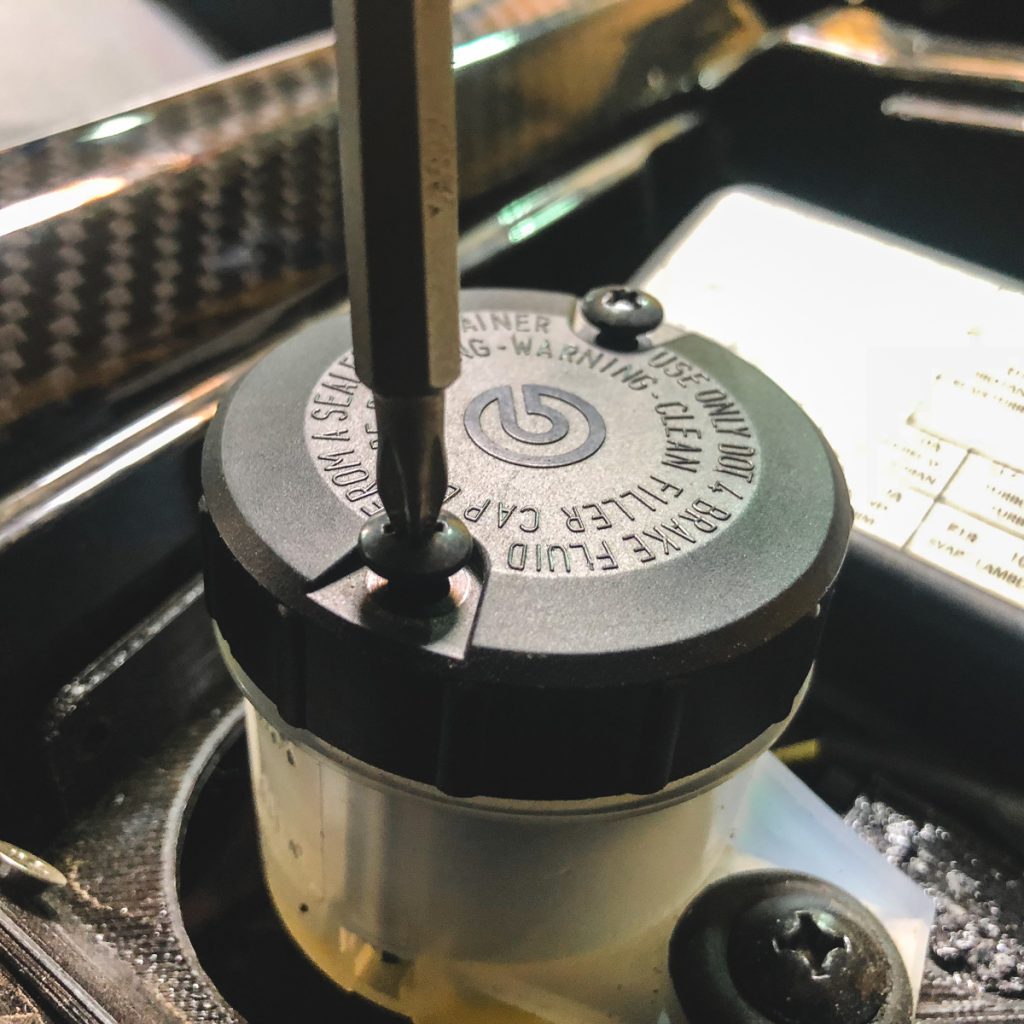
BRAKE FLUID DOT 4 (P/N 779151)
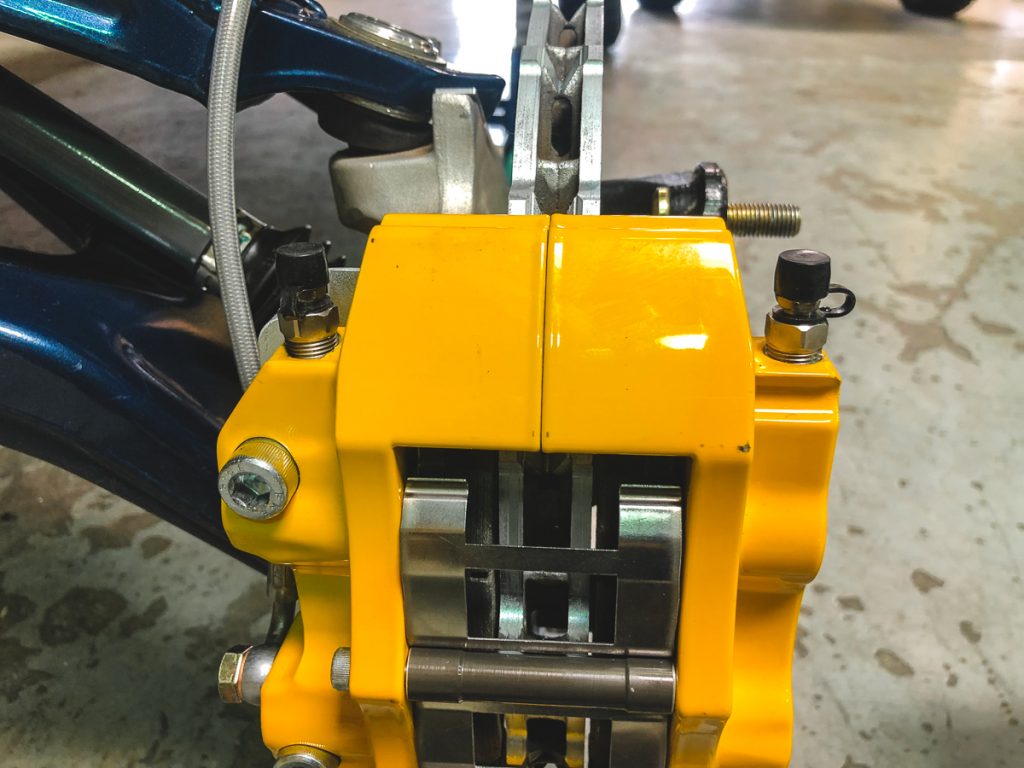
WP Pro Caliper have two bleed screws to assist with getting the air out of the system. When bleeding each caliper start at the outside bleed screw and work inward.
Bleeding Brake System
(Manual BleedingProcedure)
NOTE: Brake fluid reservoir must be kept full to
prevent air from being pumped into the system.
1. Connect a clear hose onto caliper bleeder.
2. Pump up system pressure with brake pedal until
pedal resistance is felt.
3. Depress and hold brake pedal.
4. Open bleeder and then close it.
5. Release brake pedal slowly.
NOTE: Do not release brake pedal until bleeder
has been closed.
6. Repeat procedure until fluid flows out without
any air bubbles.
7. Tighten bleeder.
8. Add recommended brake fluid to MAX. mark.
Do not overfill.
Bleeding Brake System
(Procedure Using a Vacuum Pump)
NOTE: Brake fluid reservoir must be kept full to
prevent air from being pumped into the system.
1. On each caliper, unscrew bleeder until brake
fluid comes out then close it.
2. Install the vacuum pump onto caliper bleeder.
3. Place pump to vacuum position.
4. Pump vacuum pump a few times.
5. Loosen bleeder.
6. Continue to pump until no more air bubbles appear
in clear hose.
7. Close then tighten bleeder.
8. Add recommended brake fluid to MAX. mark.
Do not overfill.




Do you make a kit for the rear?
You can use the same kit on the rear by making 1/4” spacers to where the caliper bolts to the wheel carrier. Have done it before. We have several colors instock and we can make you a special price for the front and rear.